Rechte Blende und Vorderteil // Right Neckband and Front Piece
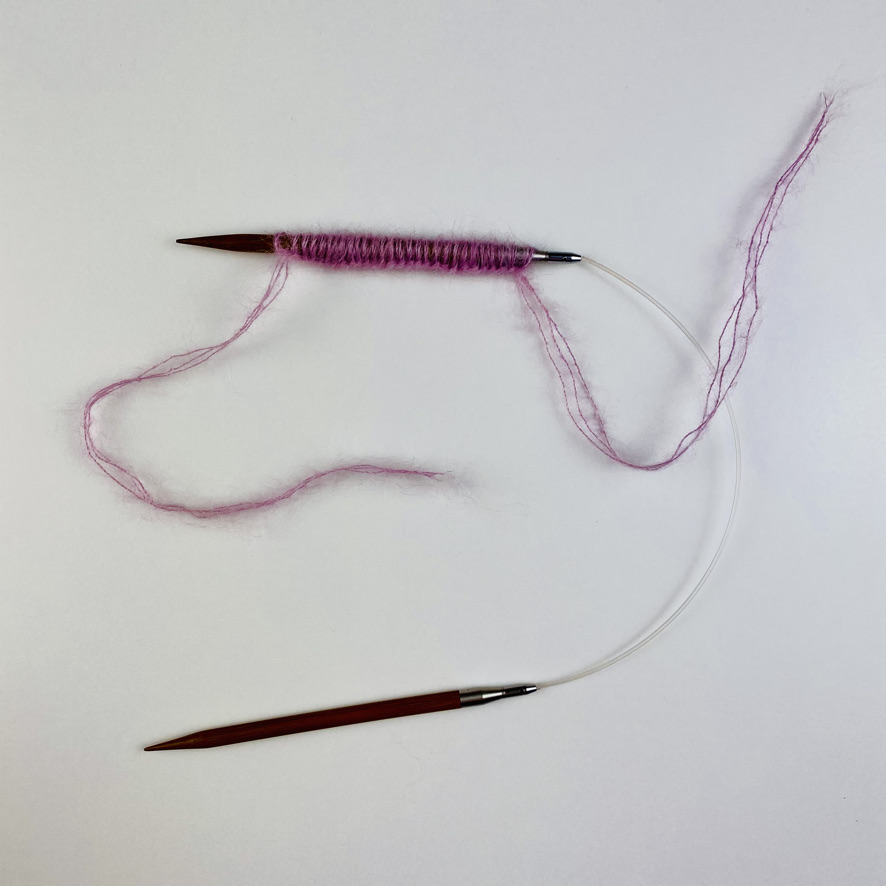
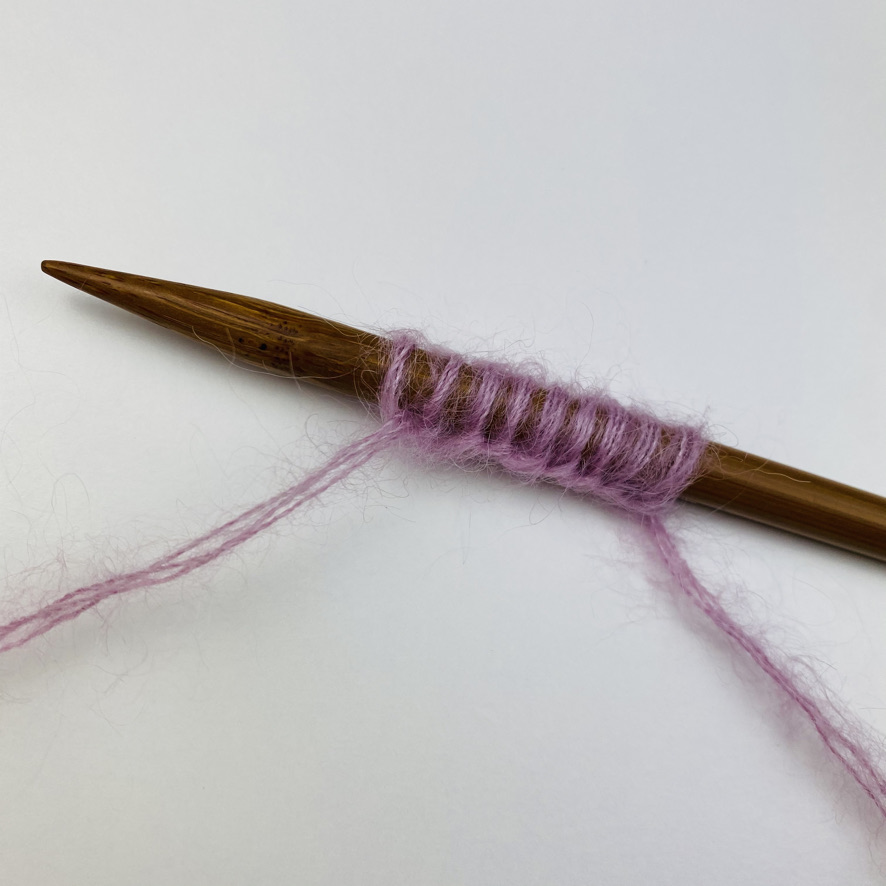
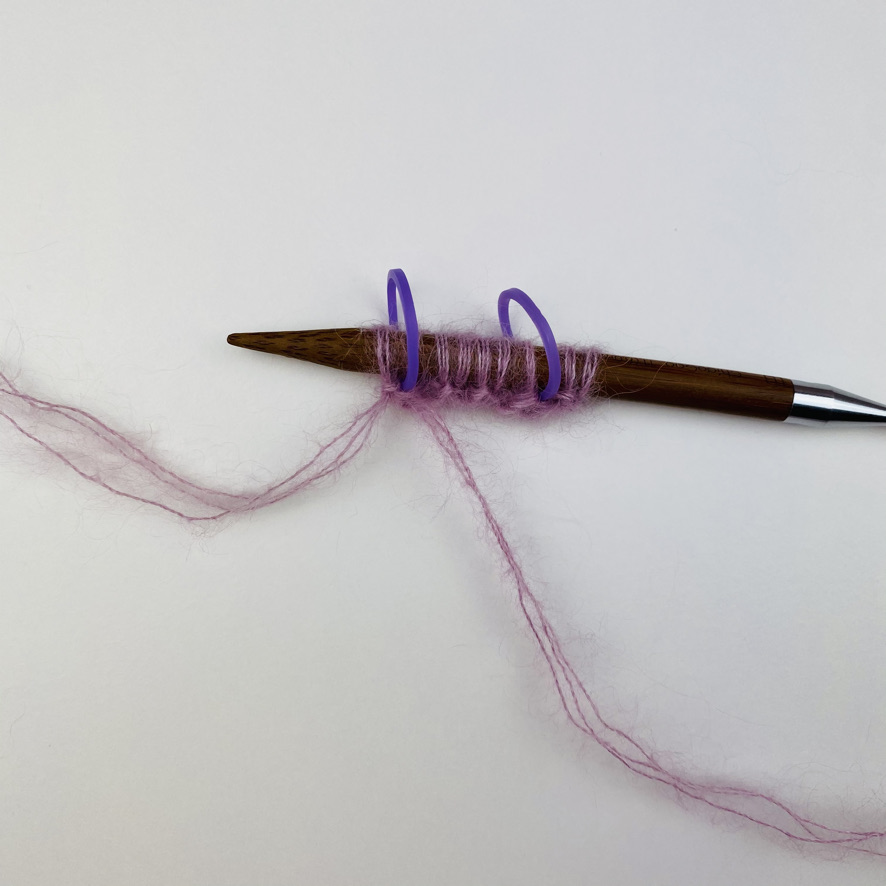
A) Vorbereitung // Set Up
![](https://www.lotilda.de/wp-content/uploads/2021/03/1A-1-1.jpeg)
B) Rechte Blende // Right Neckband
![](https://www.lotilda.de/wp-content/uploads/2021/03/1B-1.jpeg)
![](https://www.lotilda.de/wp-content/uploads/2021/03/1B-2.jpeg)
![](https://www.lotilda.de/wp-content/uploads/2021/03/1B-3.jpeg)
![](https://www.lotilda.de/wp-content/uploads/2021/03/1B-4.jpeg)
![](https://www.lotilda.de/wp-content/uploads/2021/03/1B-6.jpeg)
![](https://www.lotilda.de/wp-content/uploads/2021/03/1B-7.jpeg)
![](https://www.lotilda.de/wp-content/uploads/2021/03/1B-8.jpeg)
![](https://www.lotilda.de/wp-content/uploads/2021/03/1B-10.jpeg)
C) Rechtes Vorderteil // Right Front Piece
![](https://i1.wp.com/www.lotilda.de/wp-content/uploads/2021/03/Schritt-1-Fertig.jpeg?fit=665%2C659&ssl=1)
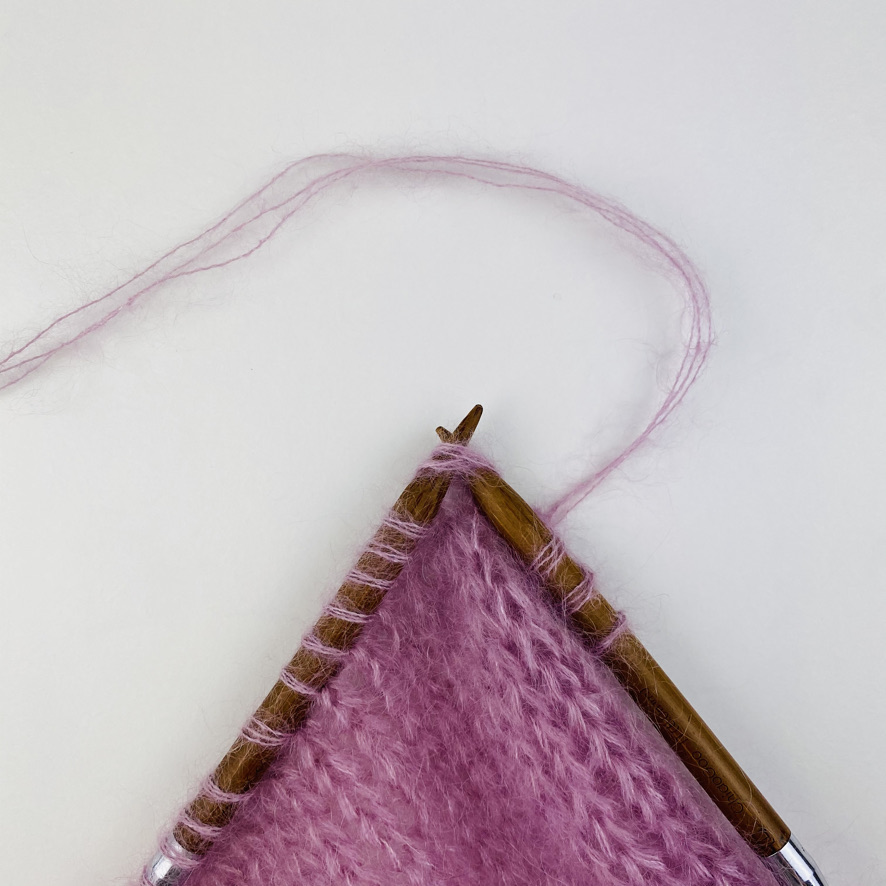
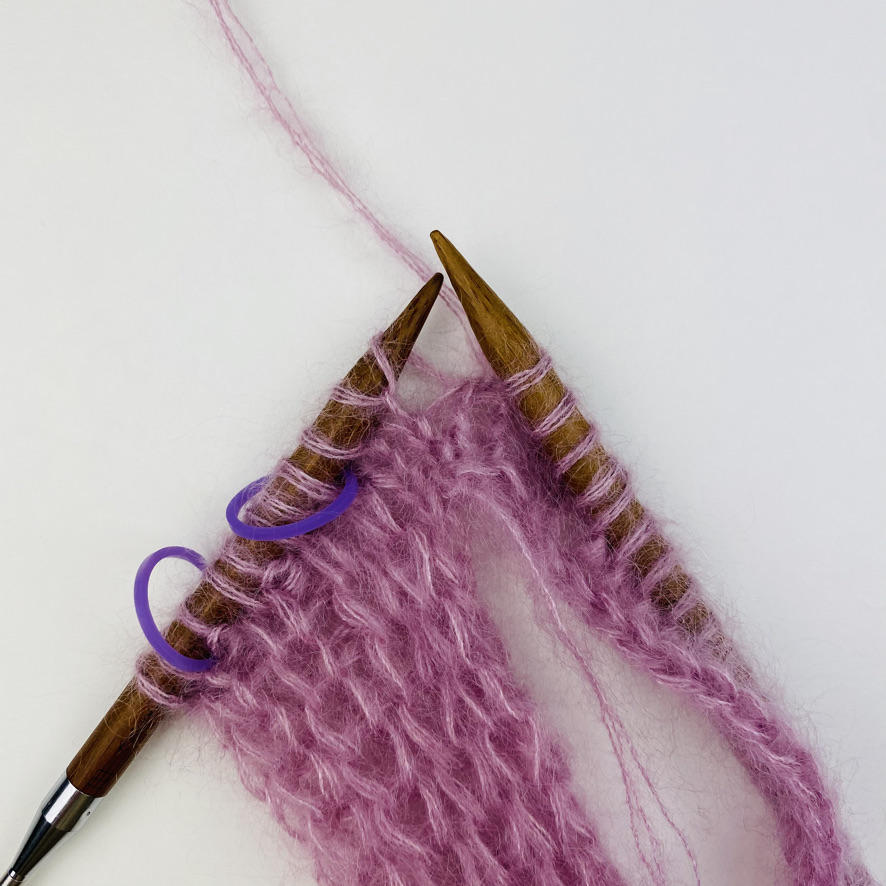
(1a) Verkürzte Reihen // Short Rows
![](https://www.lotilda.de/wp-content/uploads/2021/03/1C1a-2.jpeg)
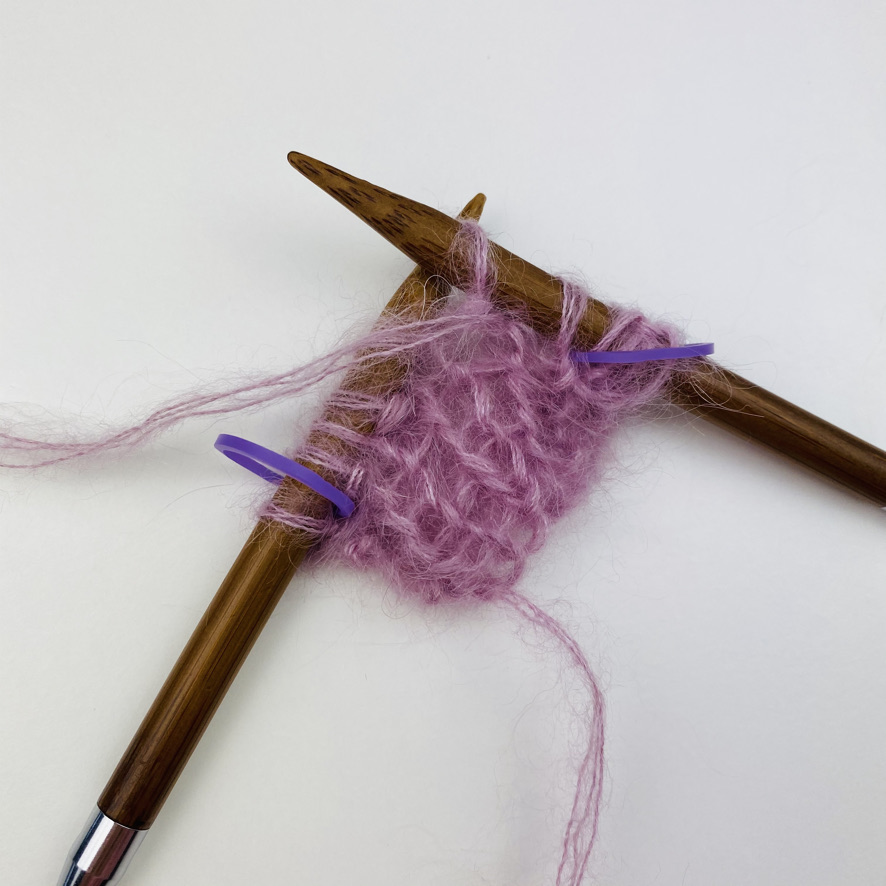
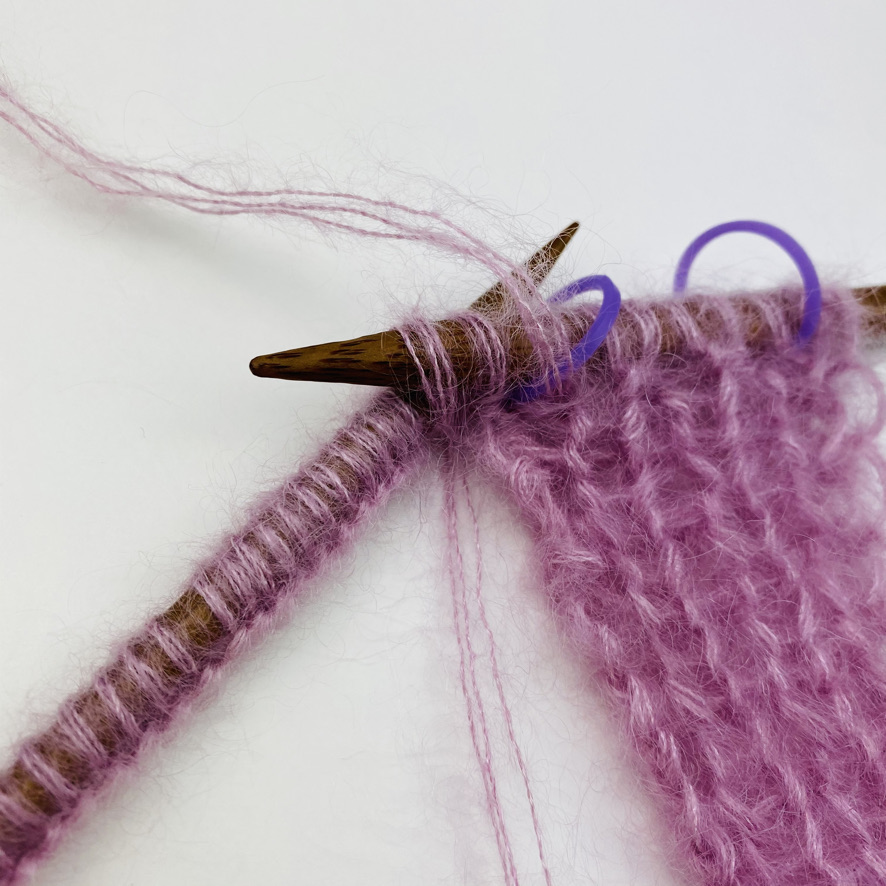
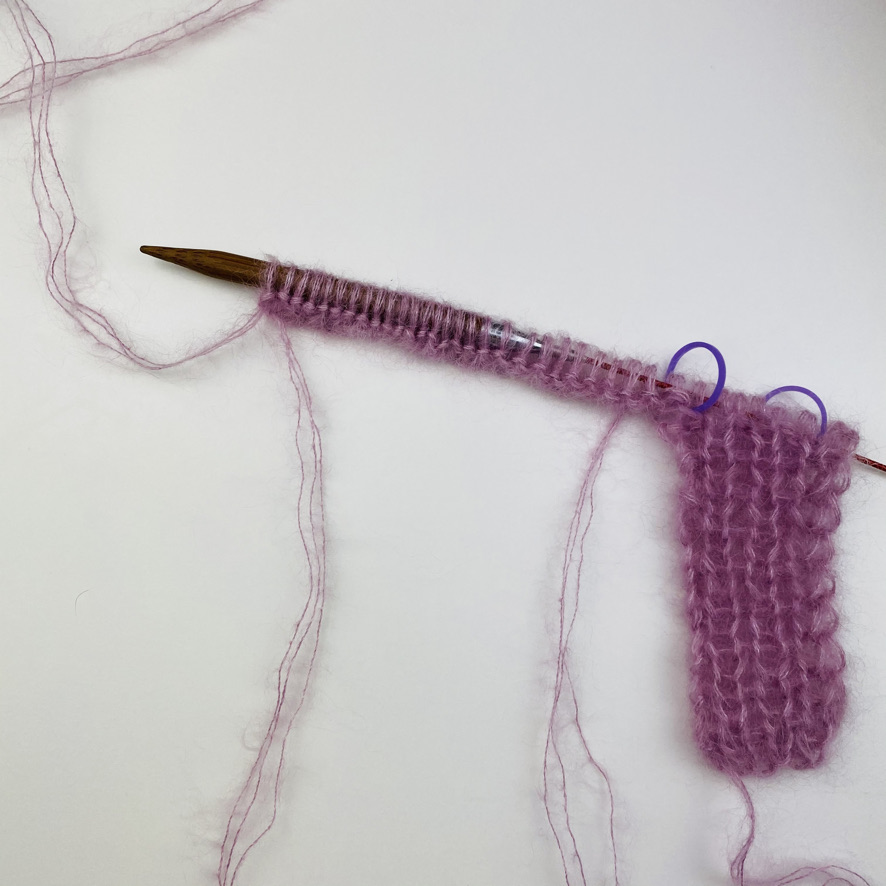
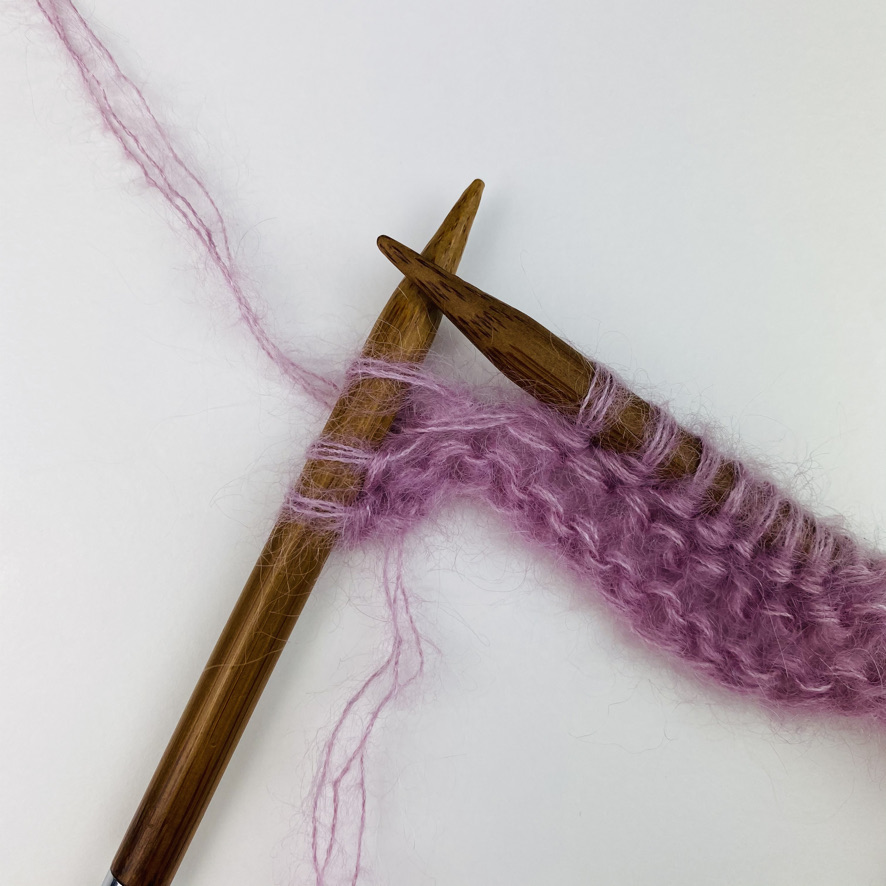
// Picture 2/4: At the turning point slip the stitch purlwise …
![](https://www.lotilda.de/wp-content/uploads/2021/03/1C1a-3.jpeg)
// Picture 2/4 … put yarn in back of work …
![](https://www.lotilda.de/wp-content/uploads/2021/03/1C1a-4.jpeg)
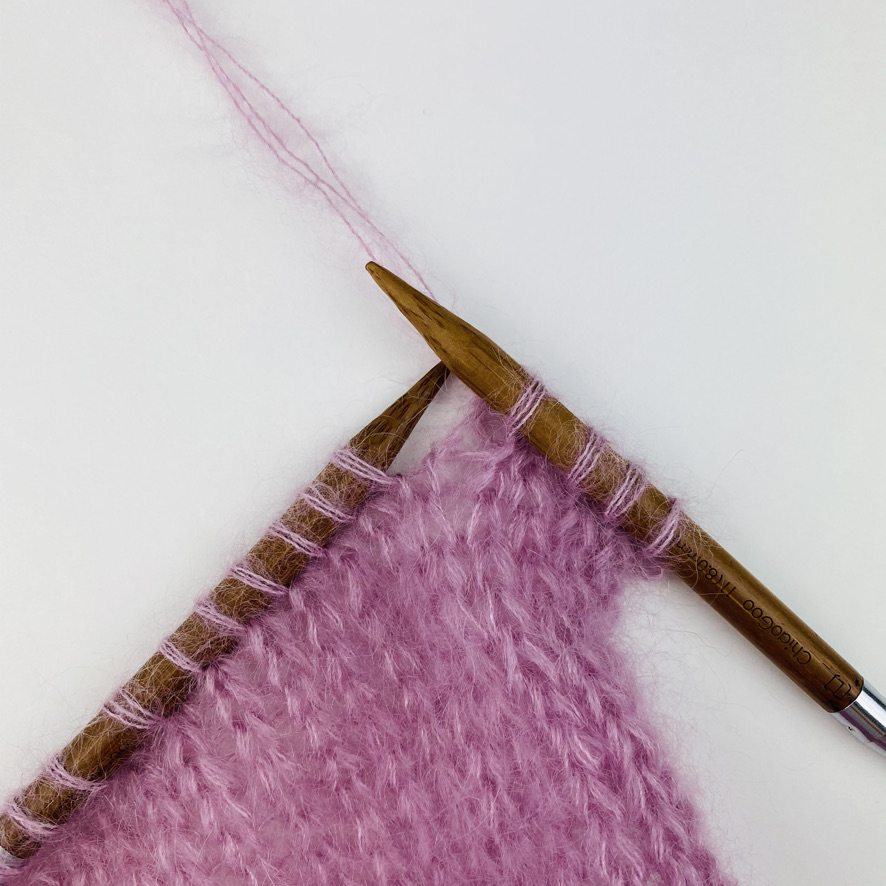
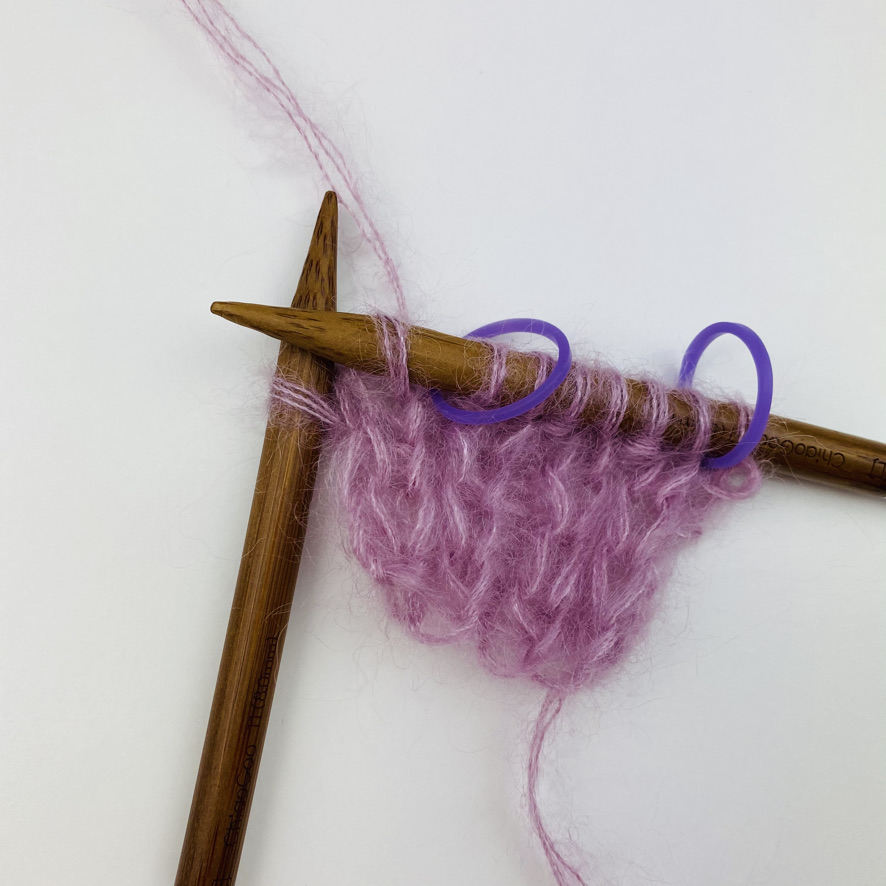
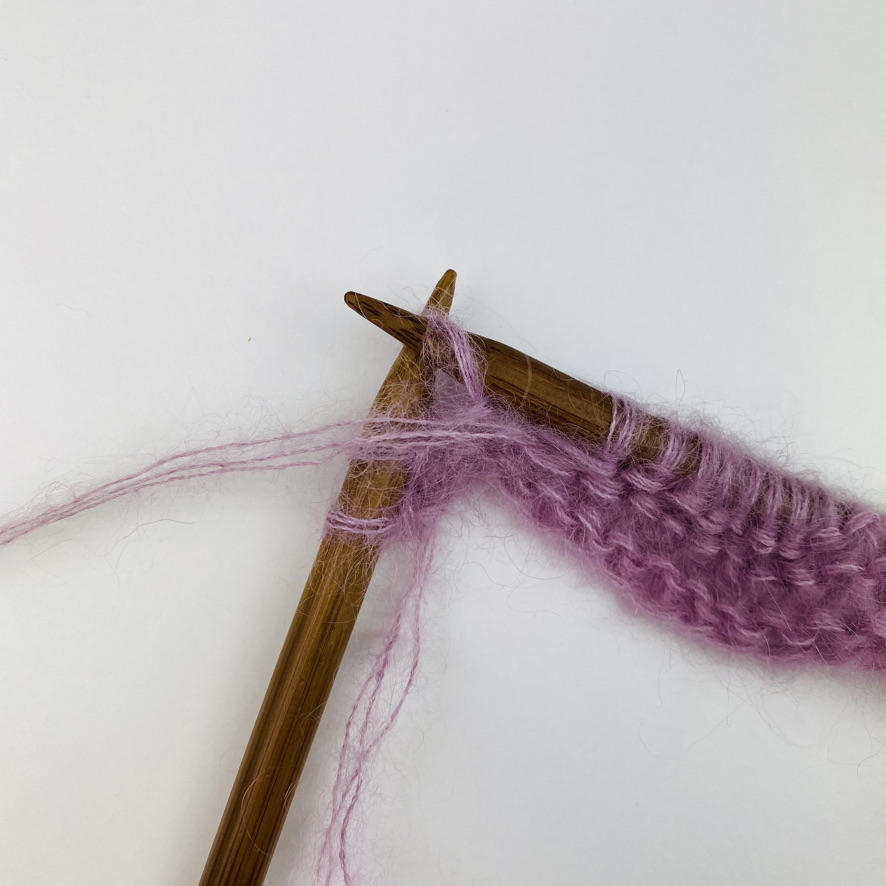
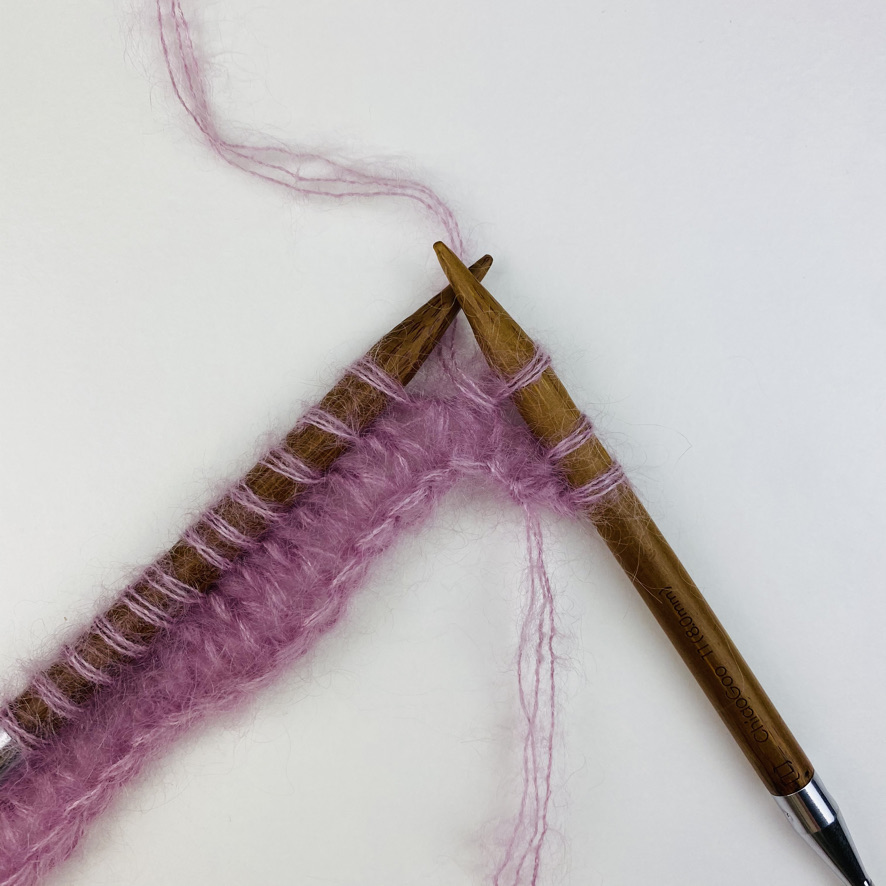
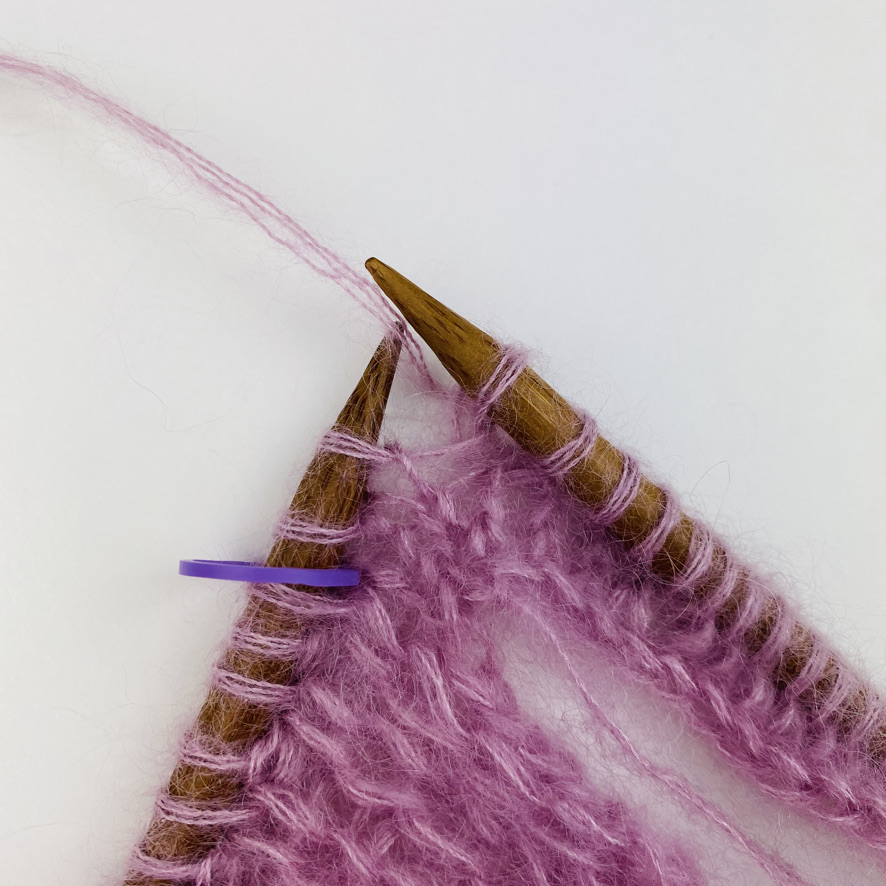
// Picture 3/4: … place the slipped stitch back on the left needle …
![](https://www.lotilda.de/wp-content/uploads/2021/03/1C1a-5.jpeg)
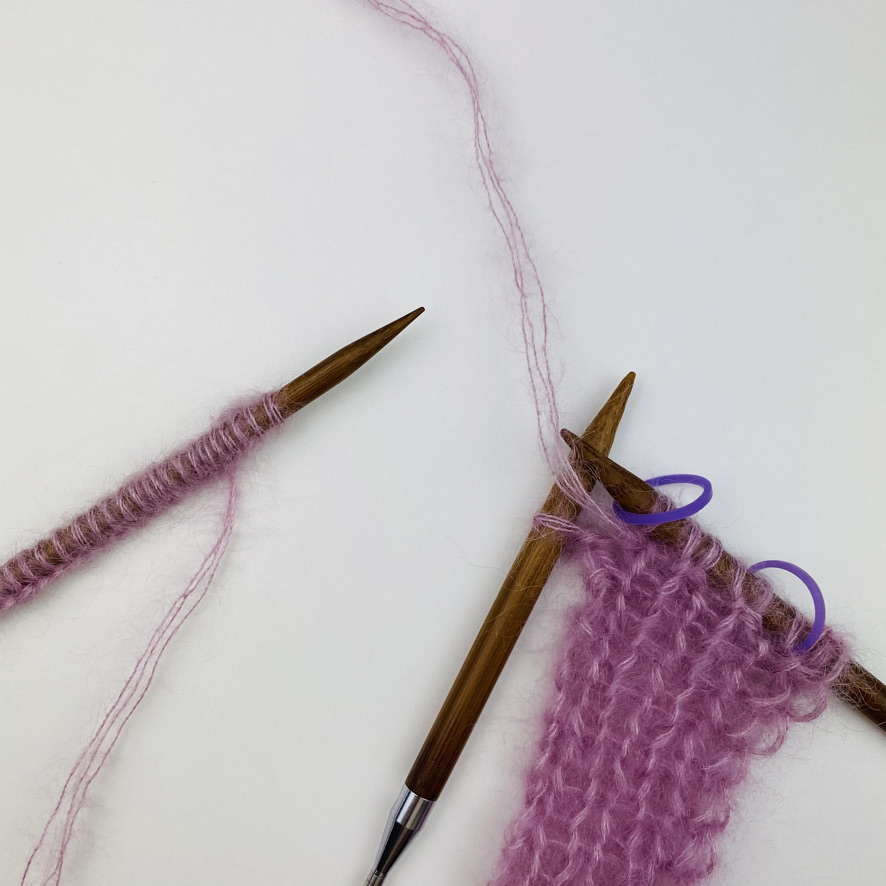
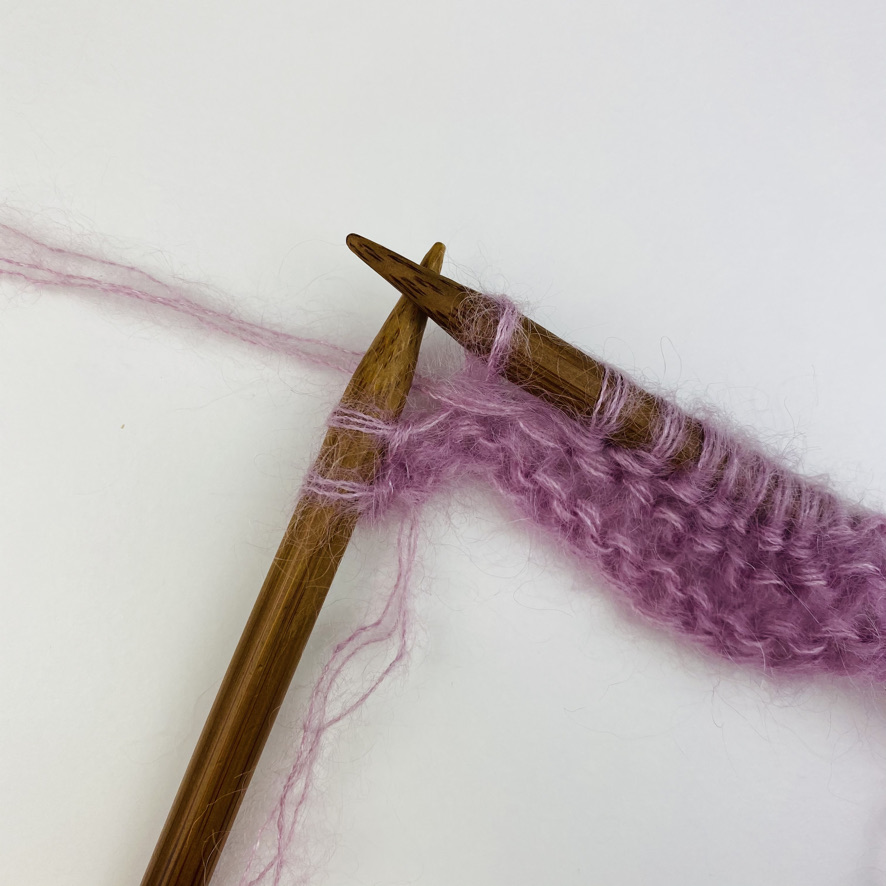
// Picture 4/4: … turn work.
![](https://www.lotilda.de/wp-content/uploads/2021/03/1C1a-6-1.jpeg)
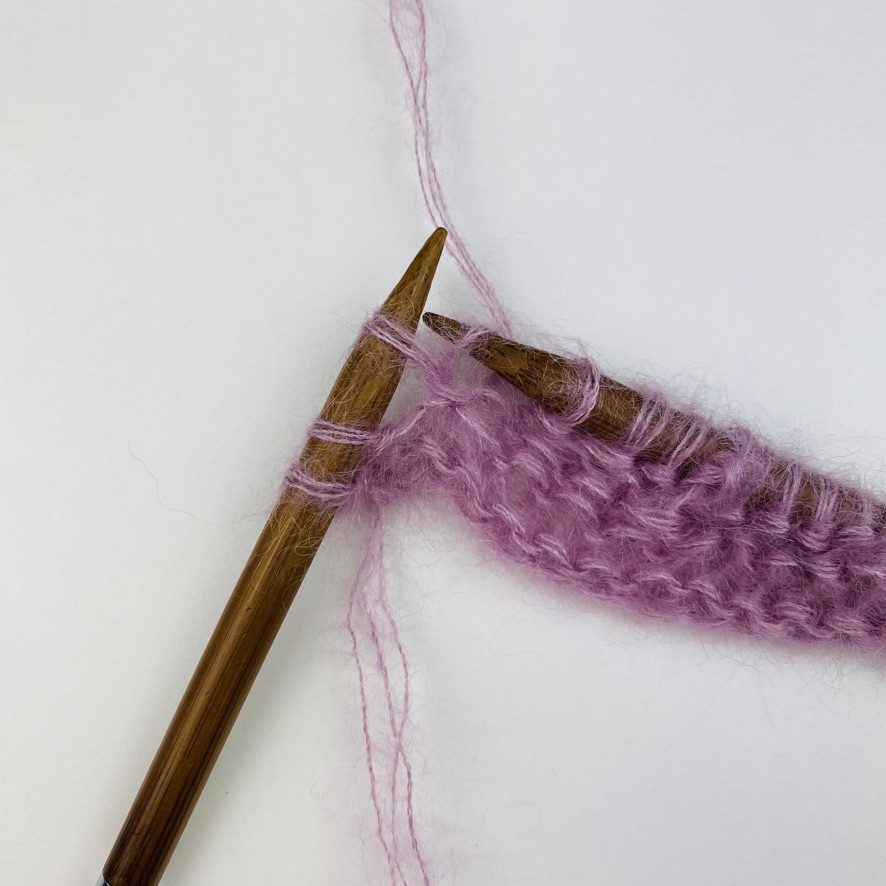
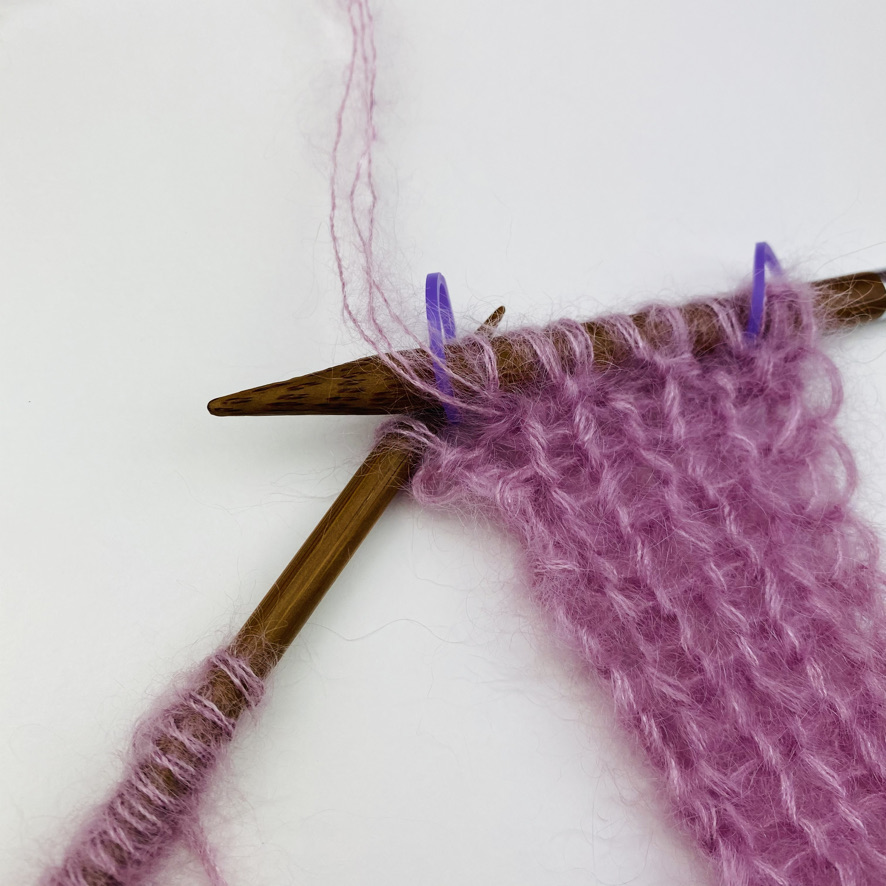
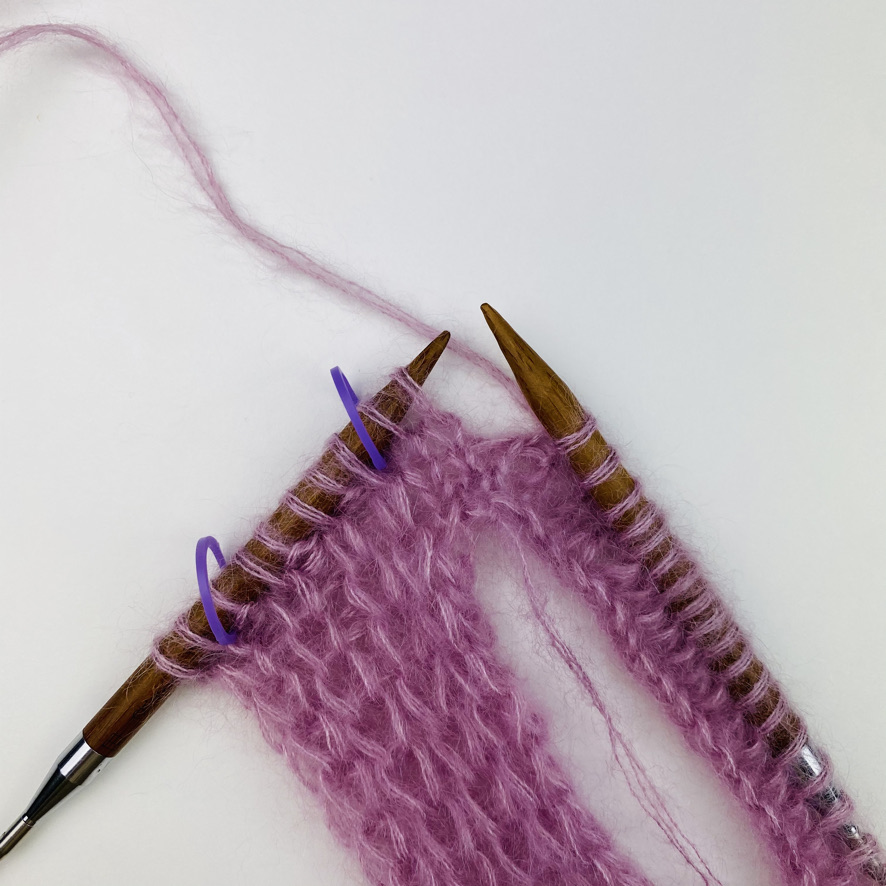
Bild 1/4: Den Wickelfaden verschränkt auf die linke Nadel heben …
// Picture 1/4: Place the wrap through the back loop on the left needle …
![](https://www.lotilda.de/wp-content/uploads/2021/03/1C1a-7.jpeg)
Bild 2/4: Den Wickelfaden verschränkt auf die linke Nadel heben
// Picture 2/4: Place the wrap through the back loop on the left needle
![](https://www.lotilda.de/wp-content/uploads/2021/03/1C1a-9.jpeg)
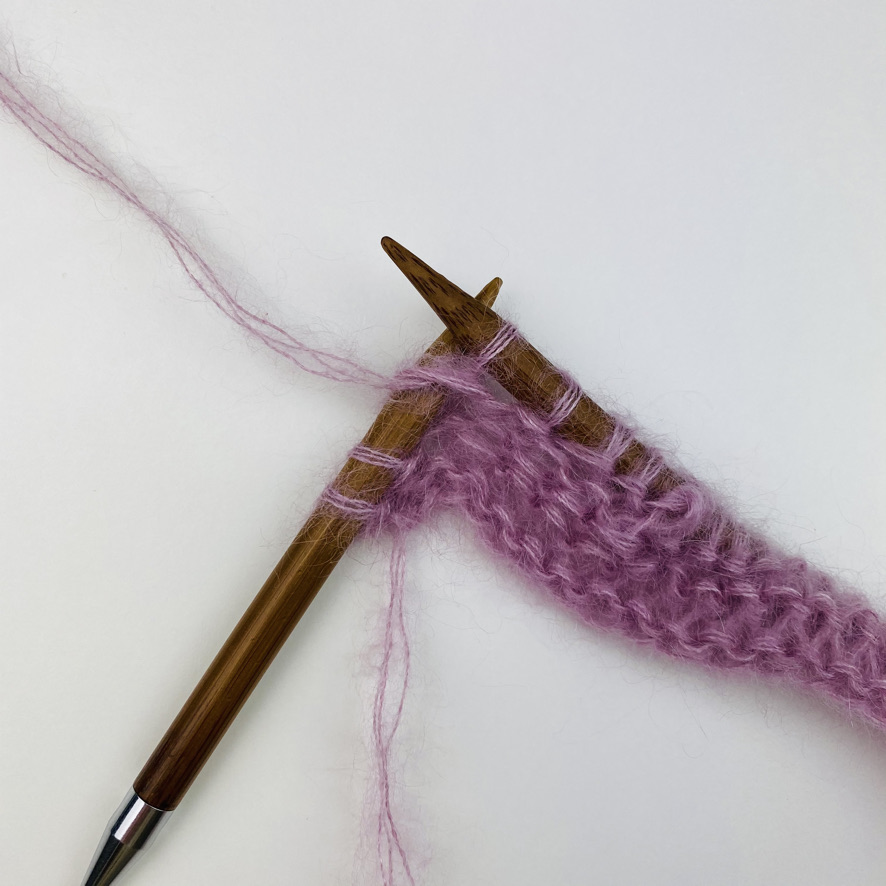
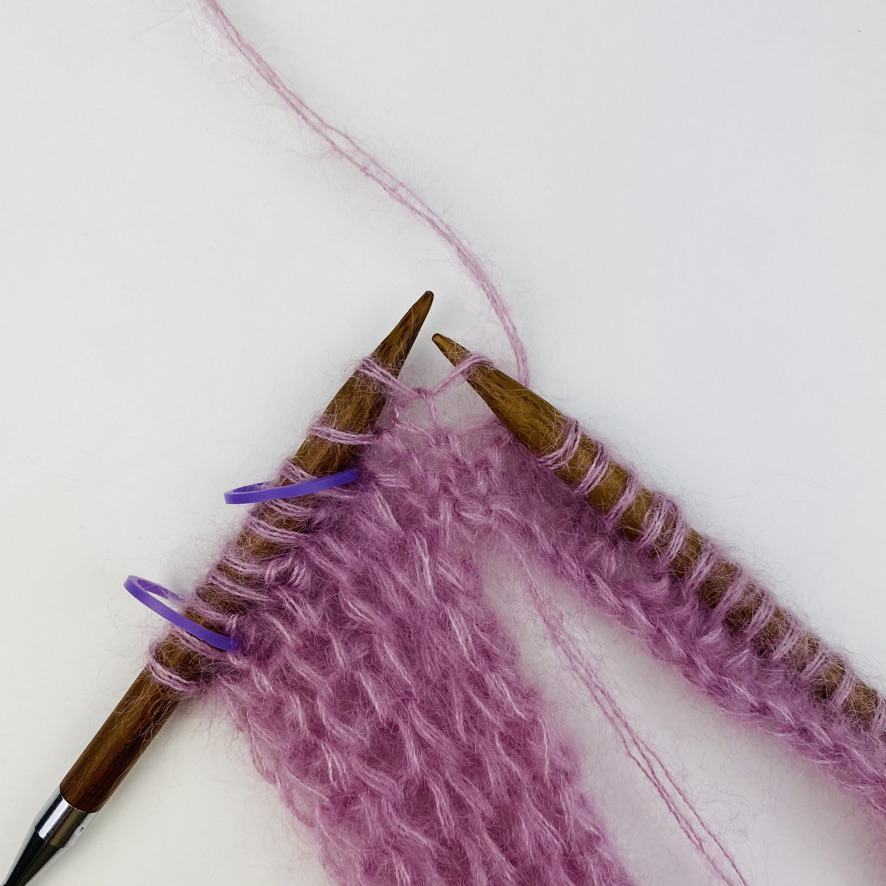
Bild 3/4: … den Wickelfaden mit der Masche links stricken …
// Picture 3/4: … purl the stitch with the wrap as 1 stitch …
![](https://www.lotilda.de/wp-content/uploads/2021/03/1C1a-10.jpeg)
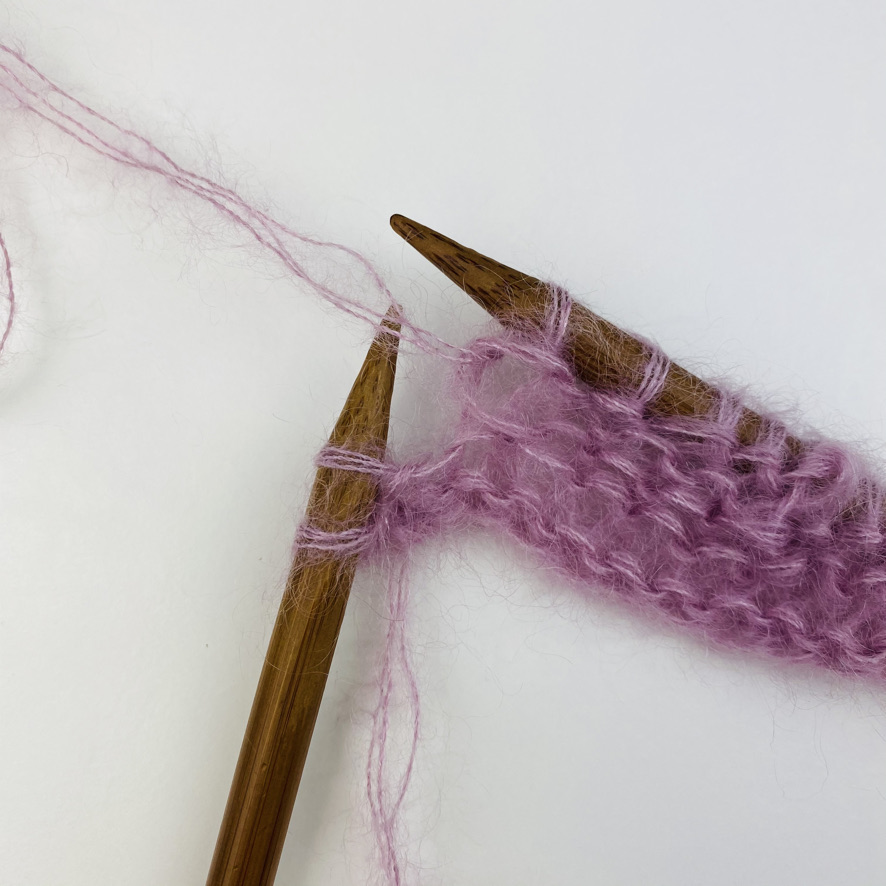
Bild 4/4: Fertig! // Picture 4/4: Done!
(1b) Zunahmen V-Ausschnitt // Increases V-neck
![](https://www.lotilda.de/wp-content/uploads/2021/03/1C1b-1.jpeg)
// Picture 1/4: At the beginning of a row pic up the bar between 2 stitches, bringing the needle from front to backd)
![](https://www.lotilda.de/wp-content/uploads/2021/03/1C1b-2.jpeg)
// Picture 2/4: … pick up the bar between 2 stitches …
![](https://www.lotilda.de/wp-content/uploads/2021/03/1C1b-3-1.jpeg)
// Picture 3/4: … place the new stitch from back to front on the left needle …
![](https://www.lotilda.de/wp-content/uploads/2021/03/1C1b-4.jpeg)
// Picture 4/4 … knit.
(1c) Abnahmen Armausschnitt // Decreases Armhole Opening
![](https://www.lotilda.de/wp-content/uploads/2021/03/1C1c-1.jpeg)
![](https://www.lotilda.de/wp-content/uploads/2021/03/1C1c-2.jpeg)