Jumper und Cardigan: Fotos zu Schritt 1 (Blende) und Schritt 2 (1. Reihe) // Jumper and Cardigan: Photos for step 1 (neckband) and step 2 (1st row)
Rechte Blende in der angegebenen Breite und Länge stricken. // Knit right neck band in the indicated width and length
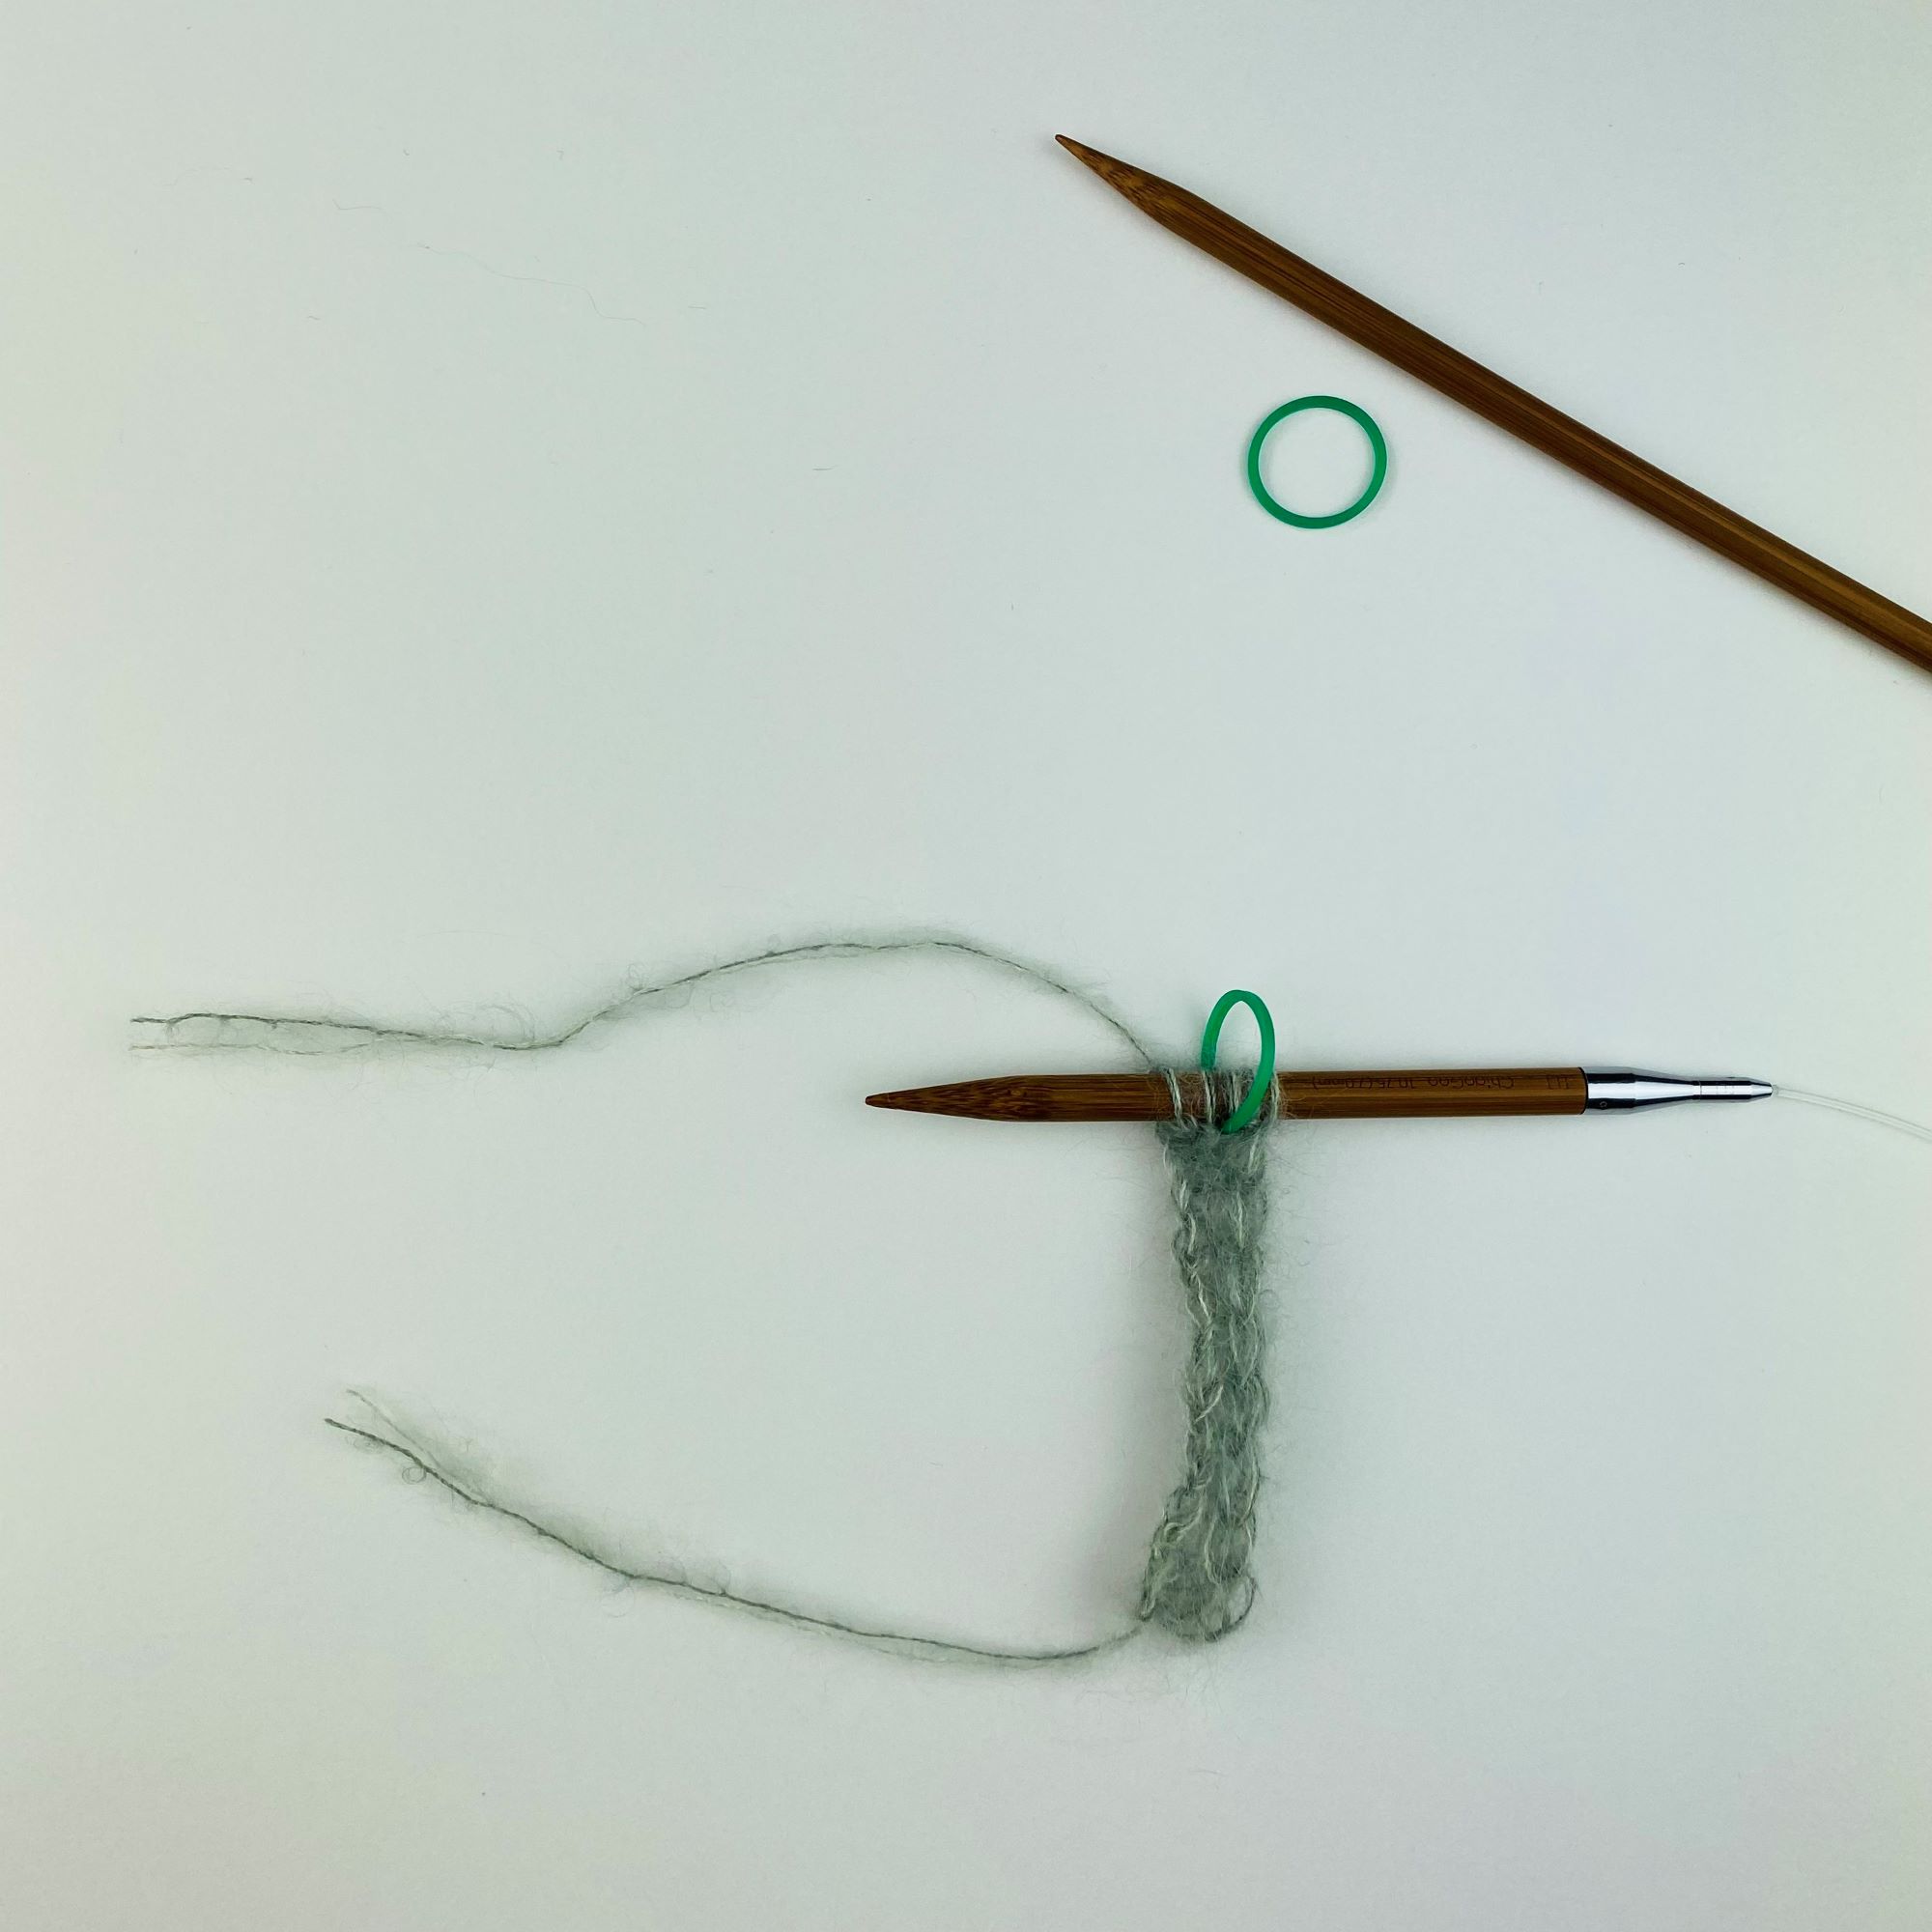
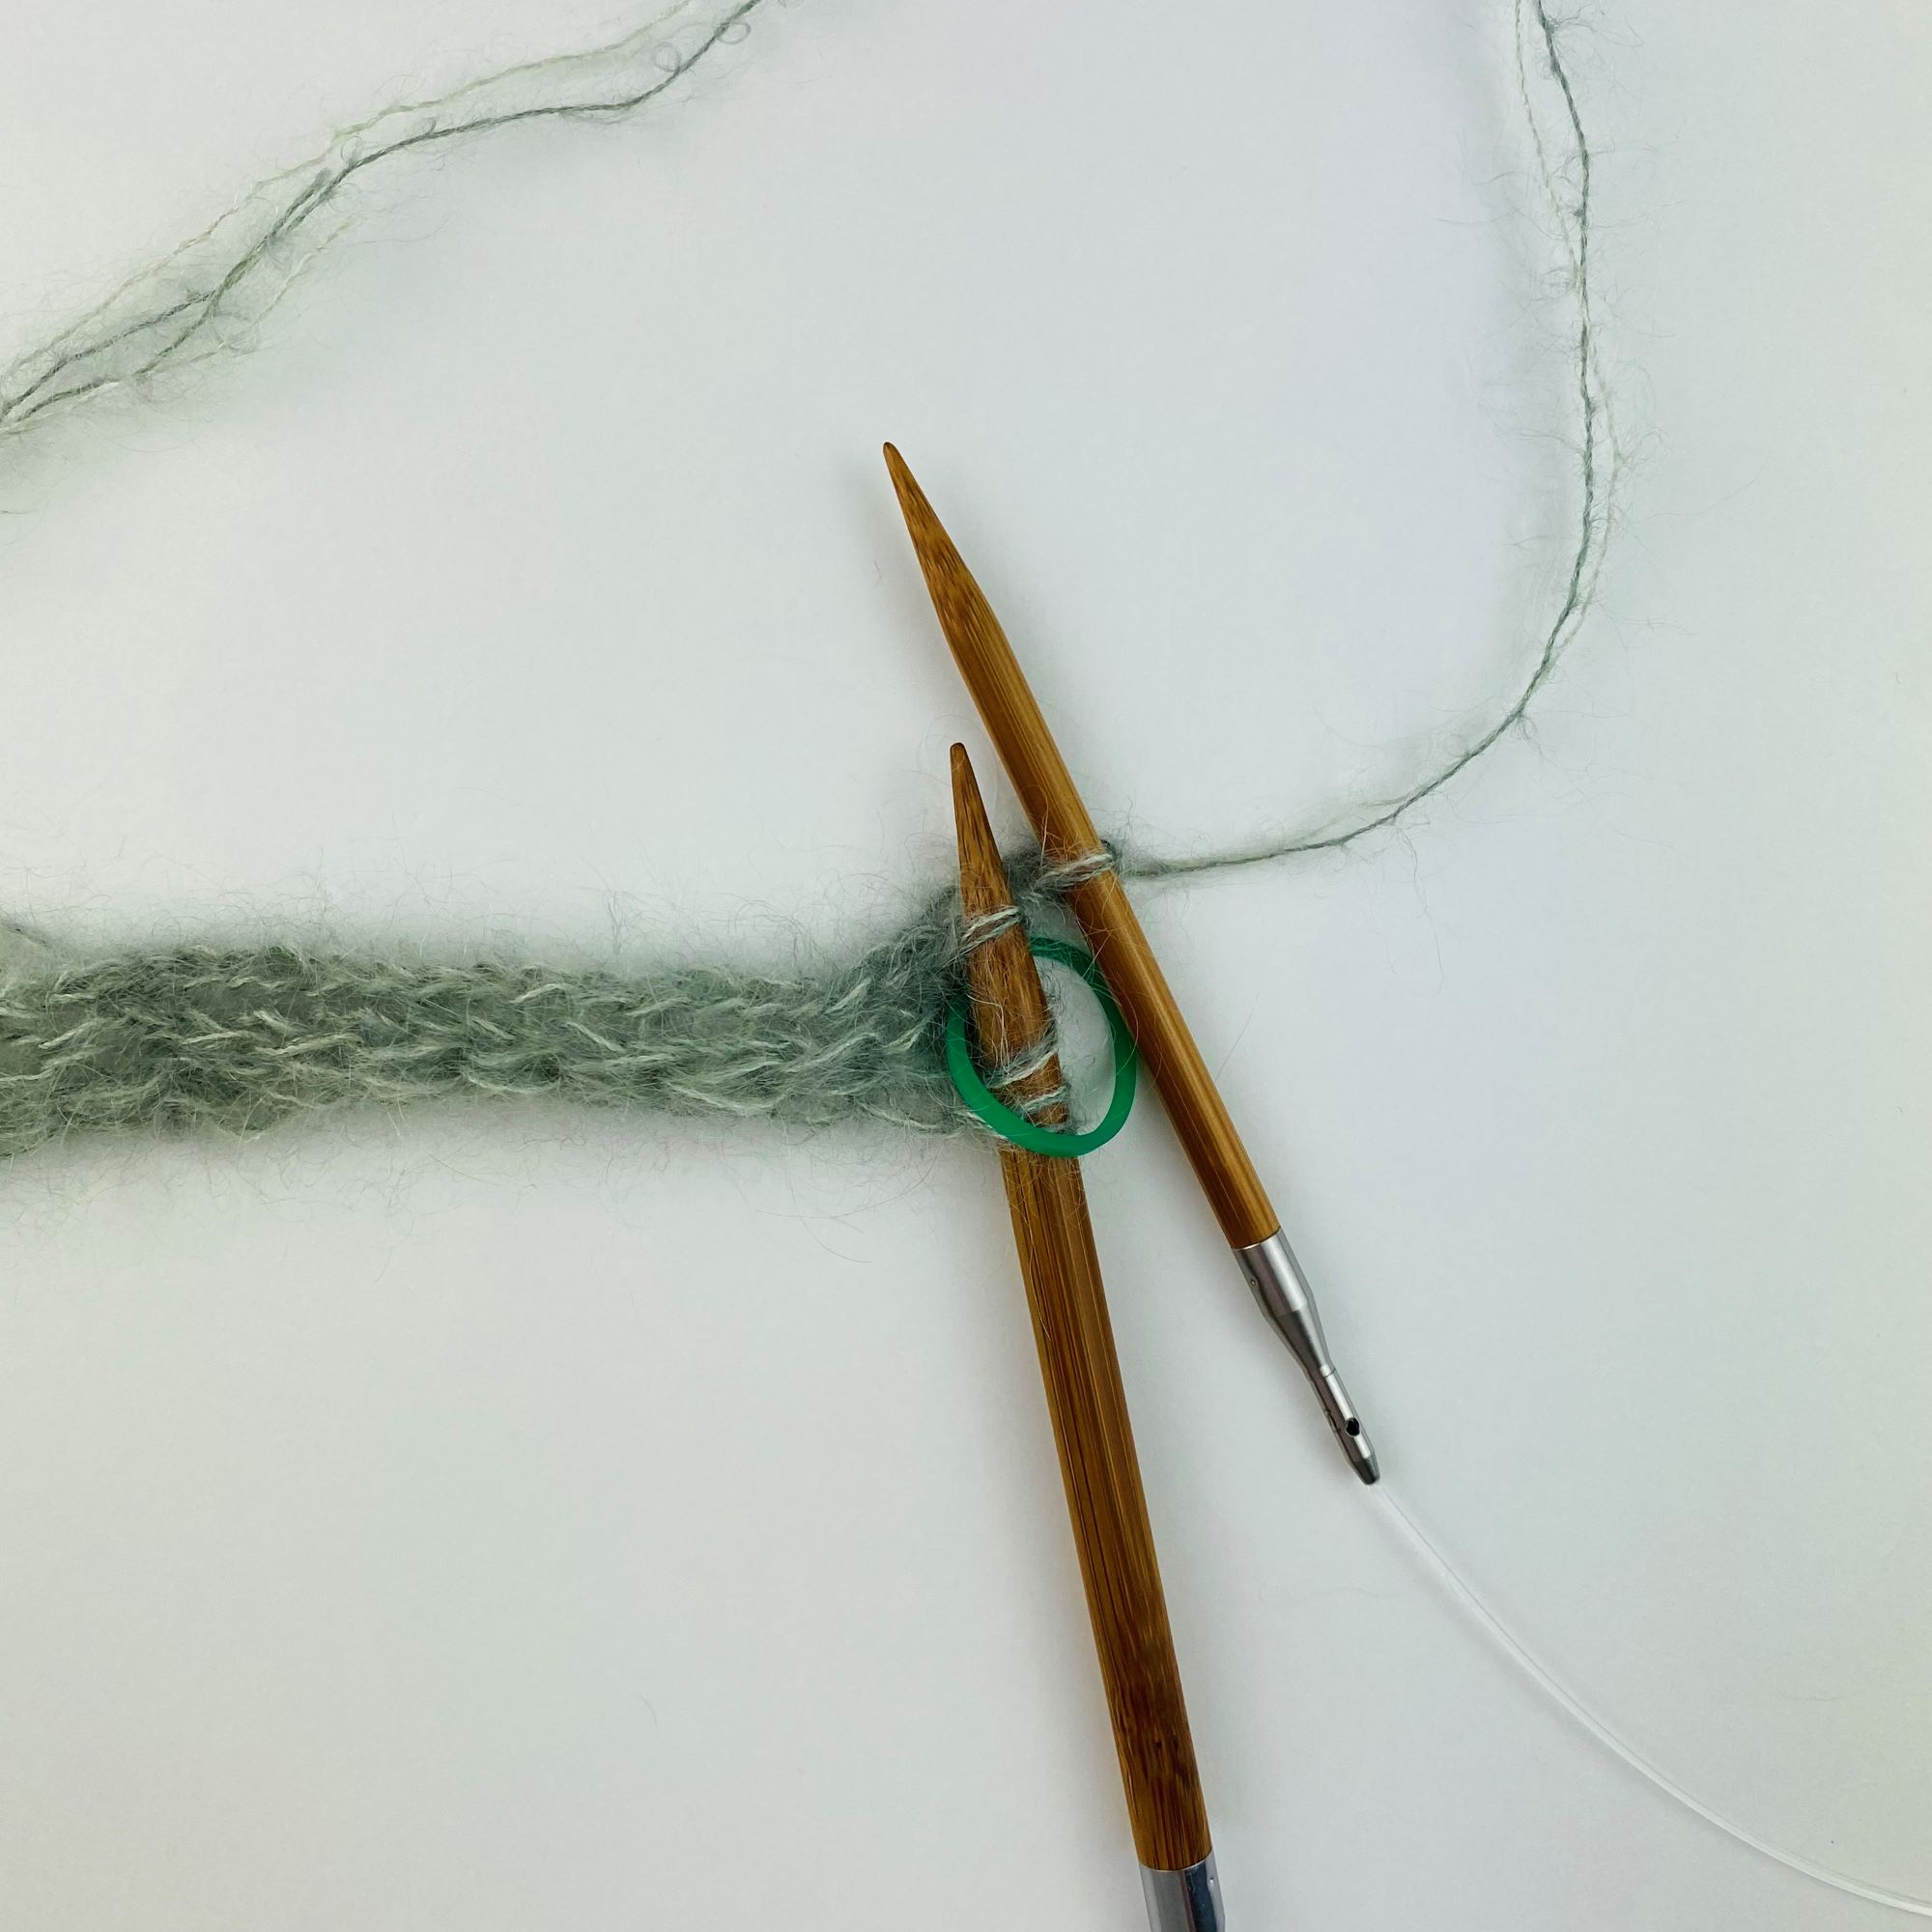
Maschenaufnahme mit Nadelspielnadel und neuem Faden (Fadenende liegt links)
von rechts … // using a new thread of yarn (the yarn tail from the cast on is to the left) and pick up 5 sts with a DPN from right …
… nach links … // … to left …
… und die Maschen an das andere Ende der Nadelspielnadel schieben. //… and slide them to the other end of the needle,
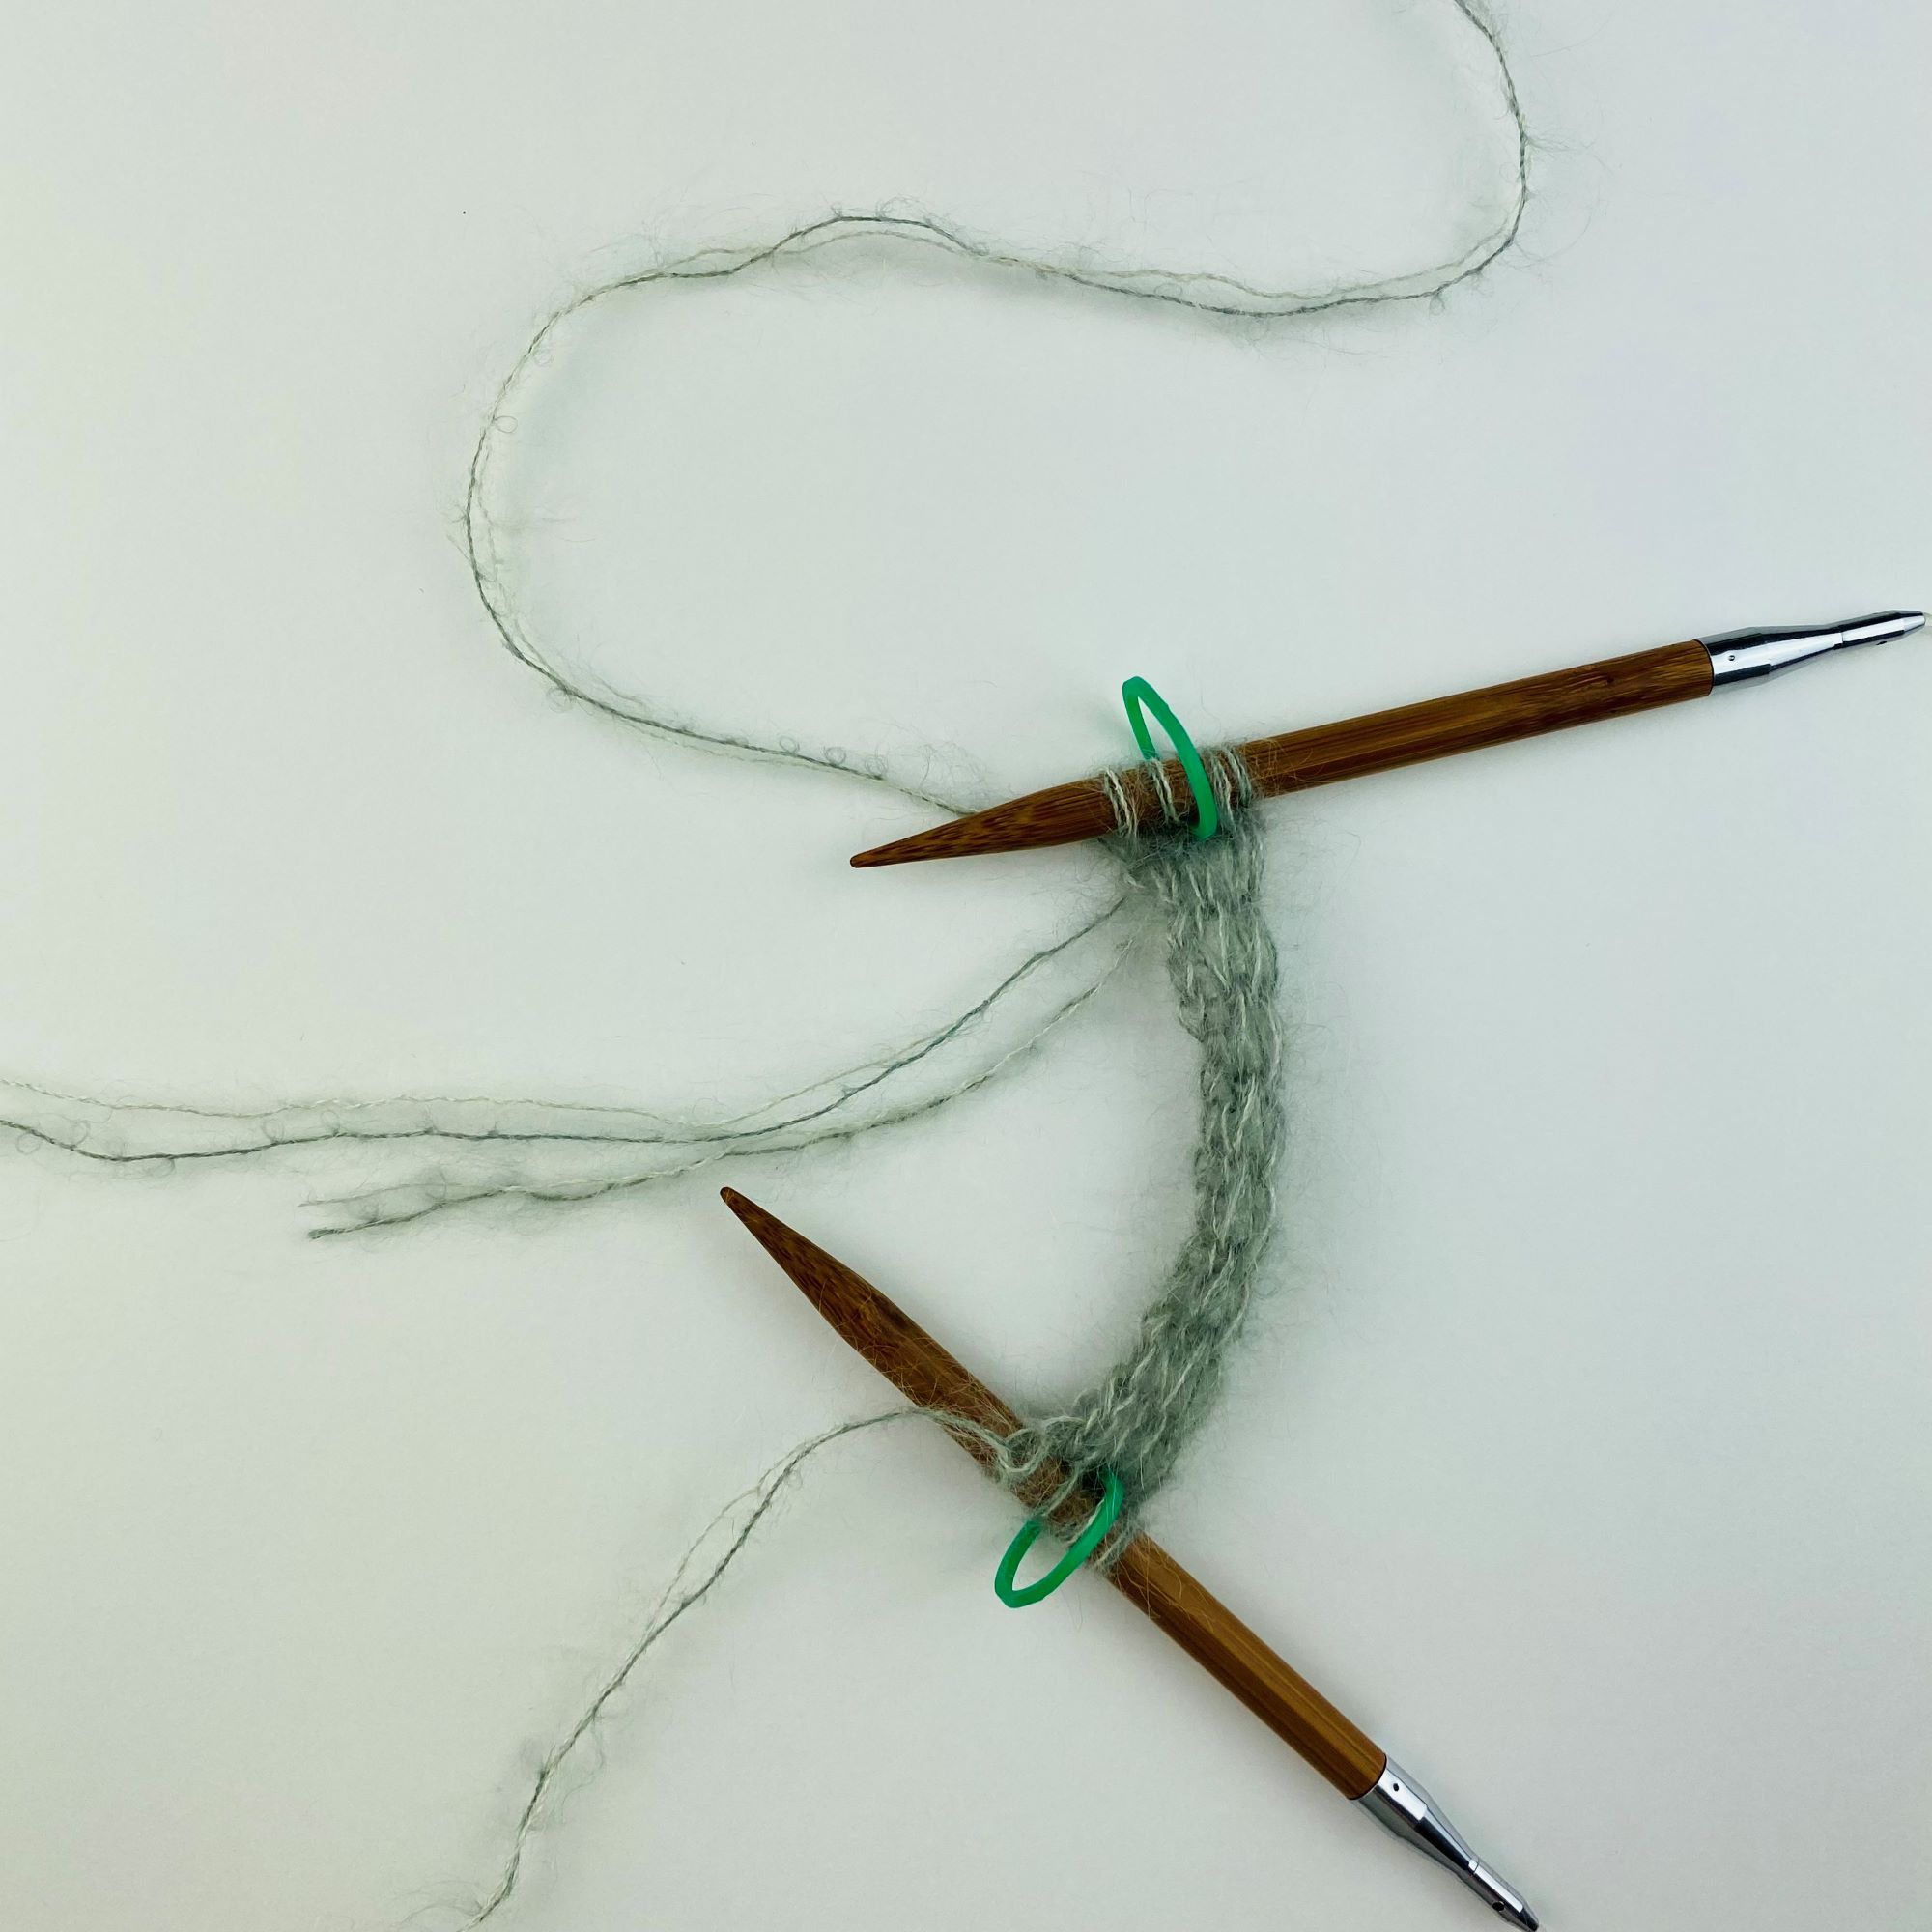
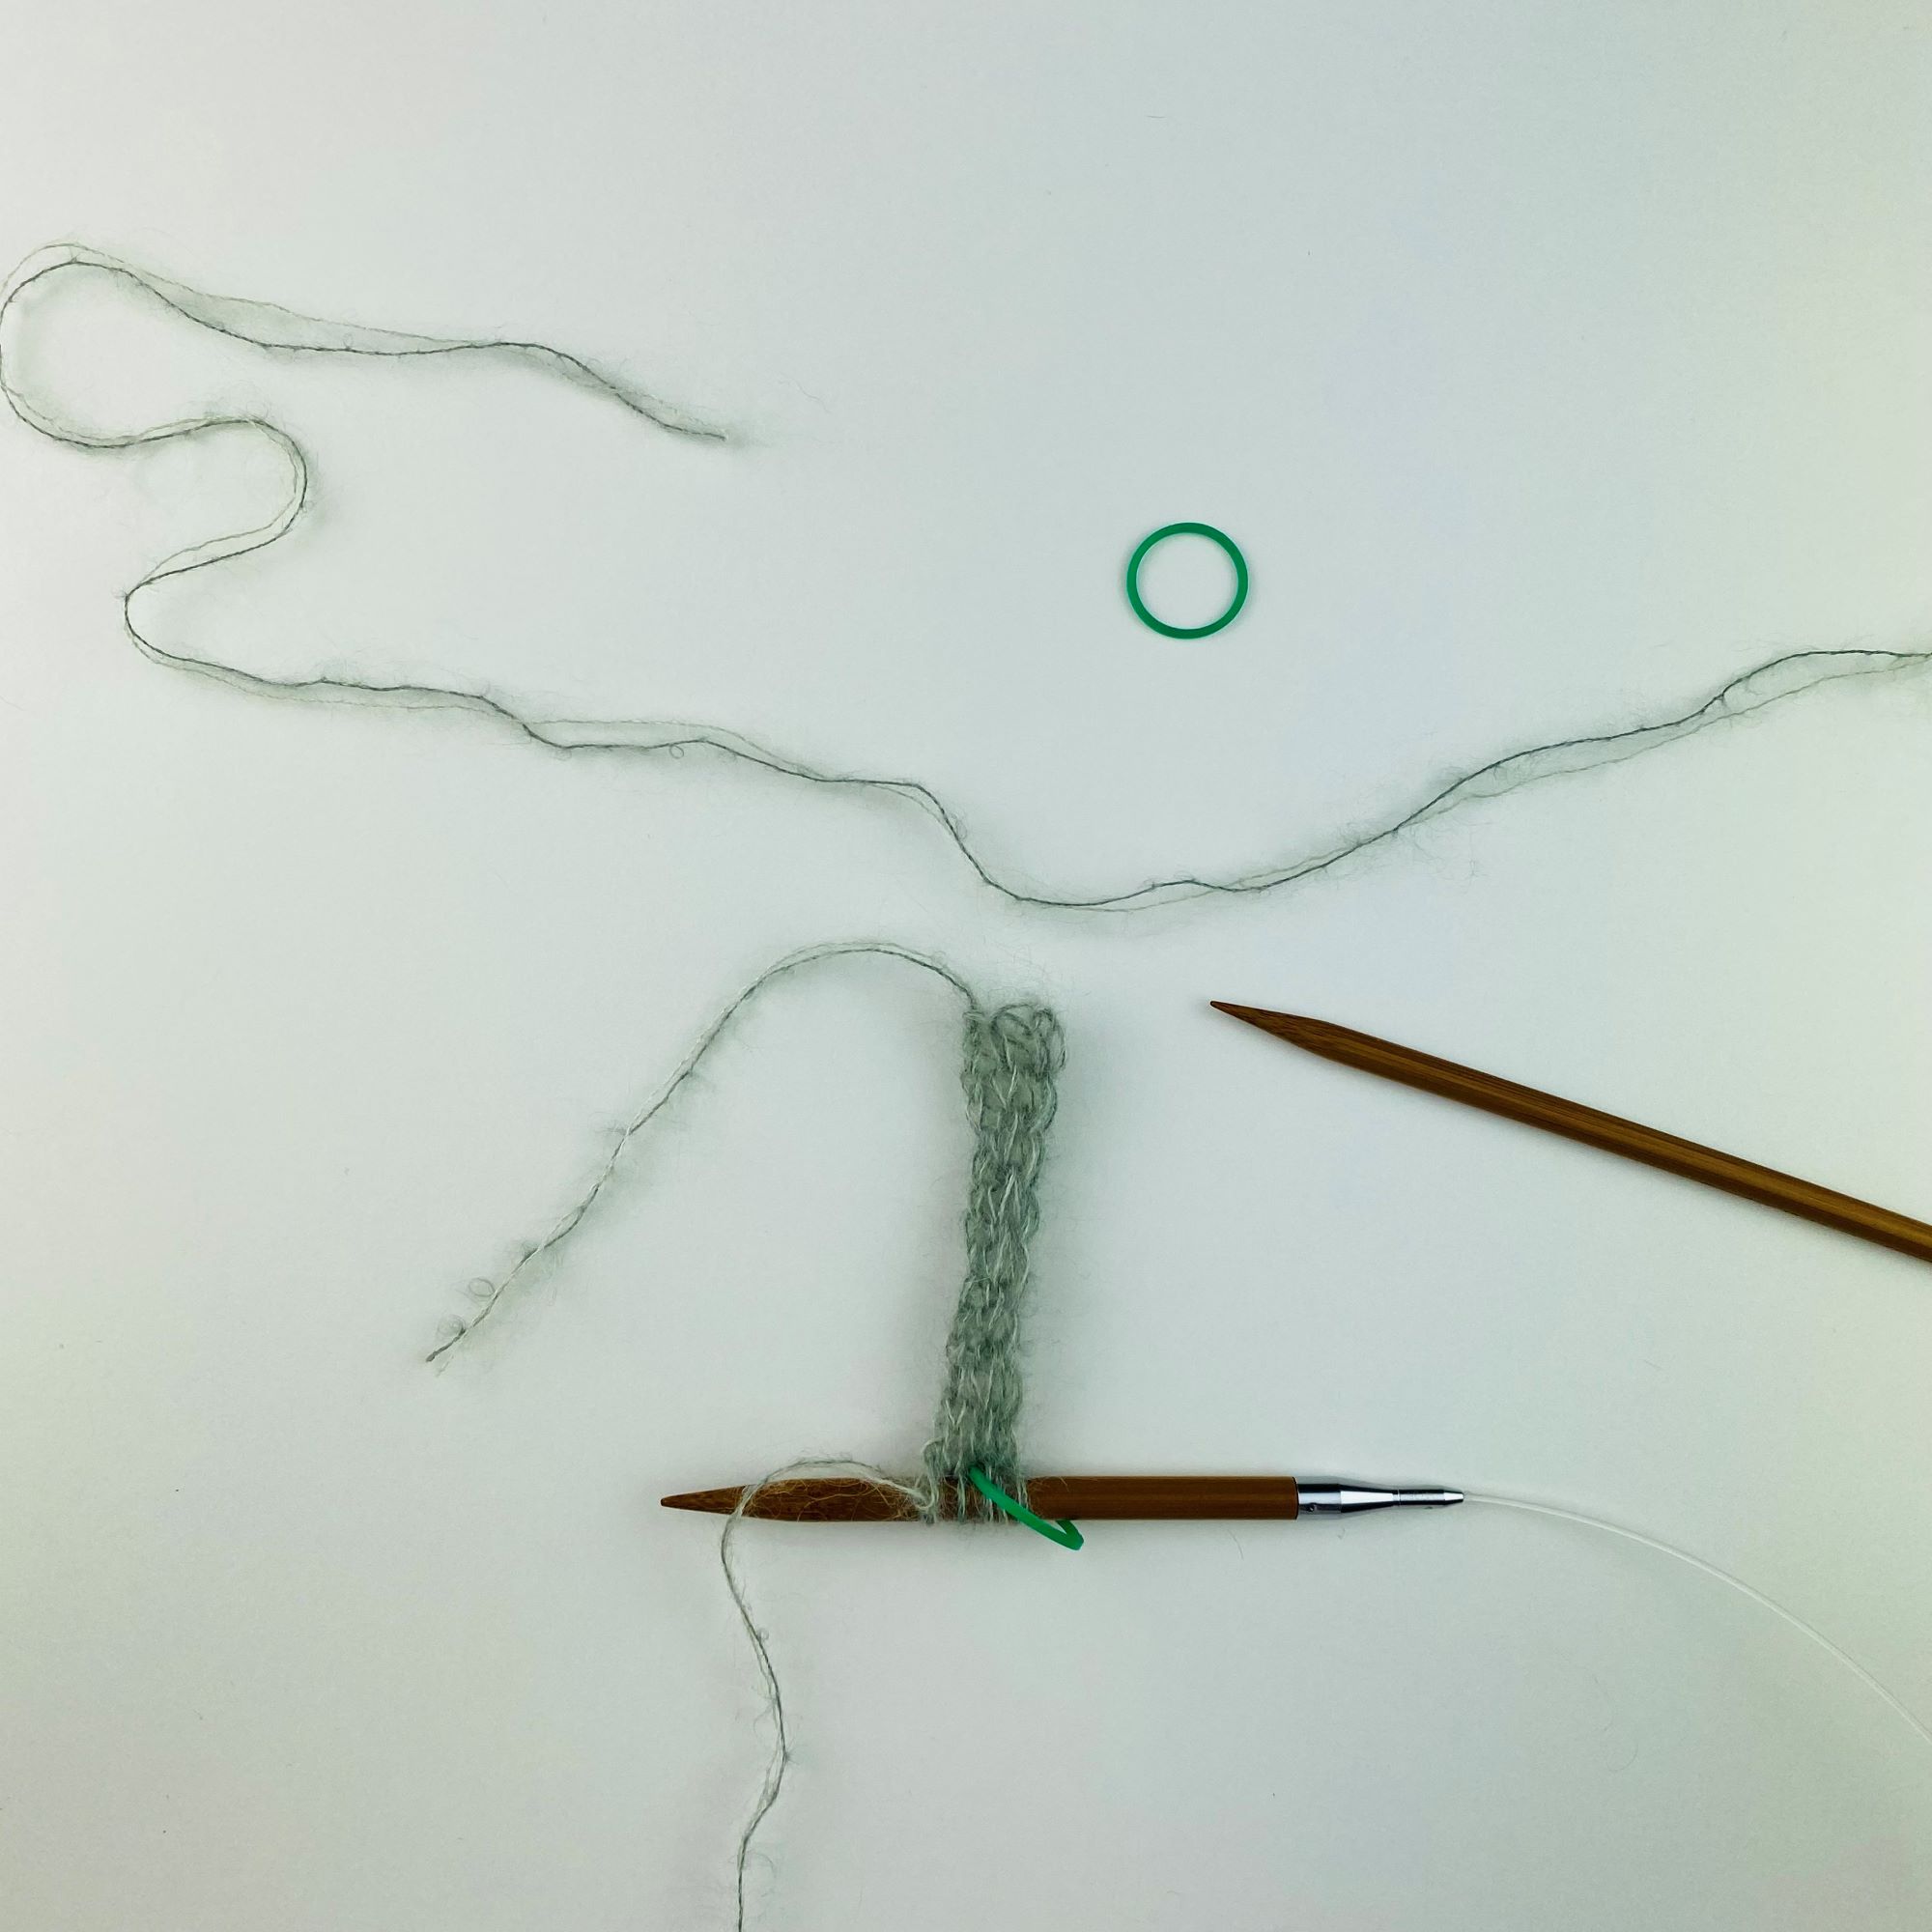
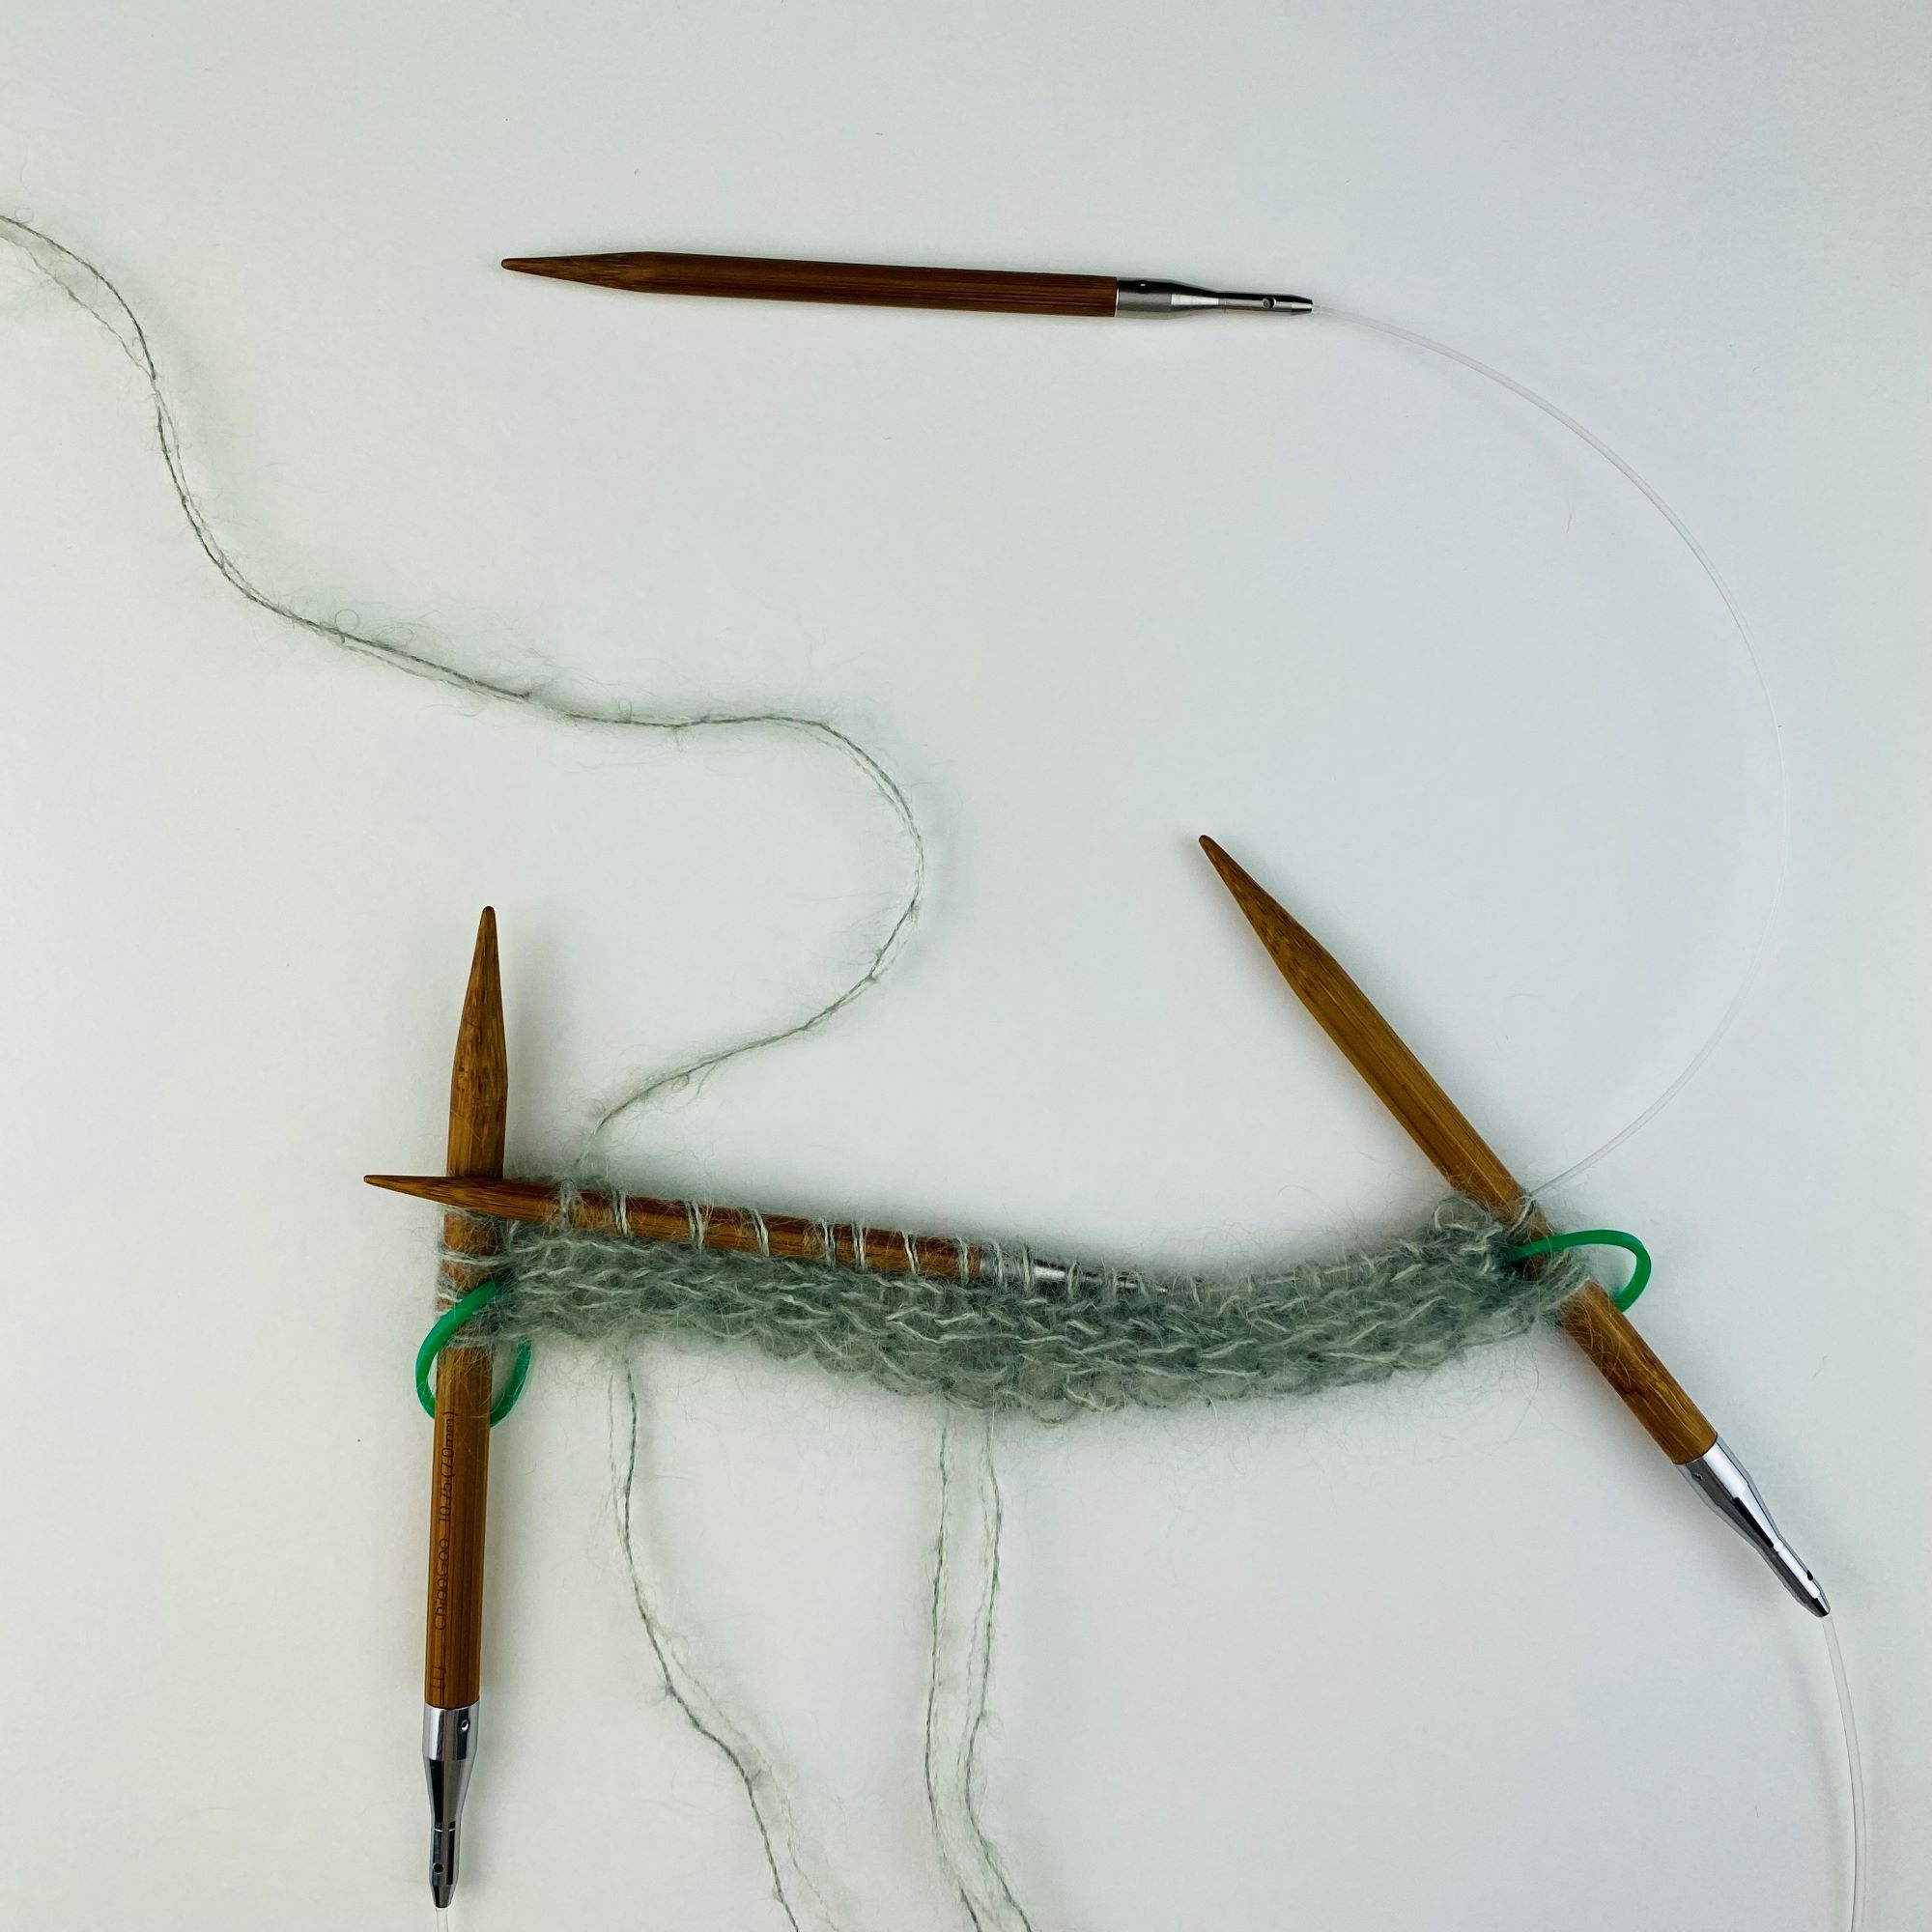
1. Reihe fertig! // 1st row done!
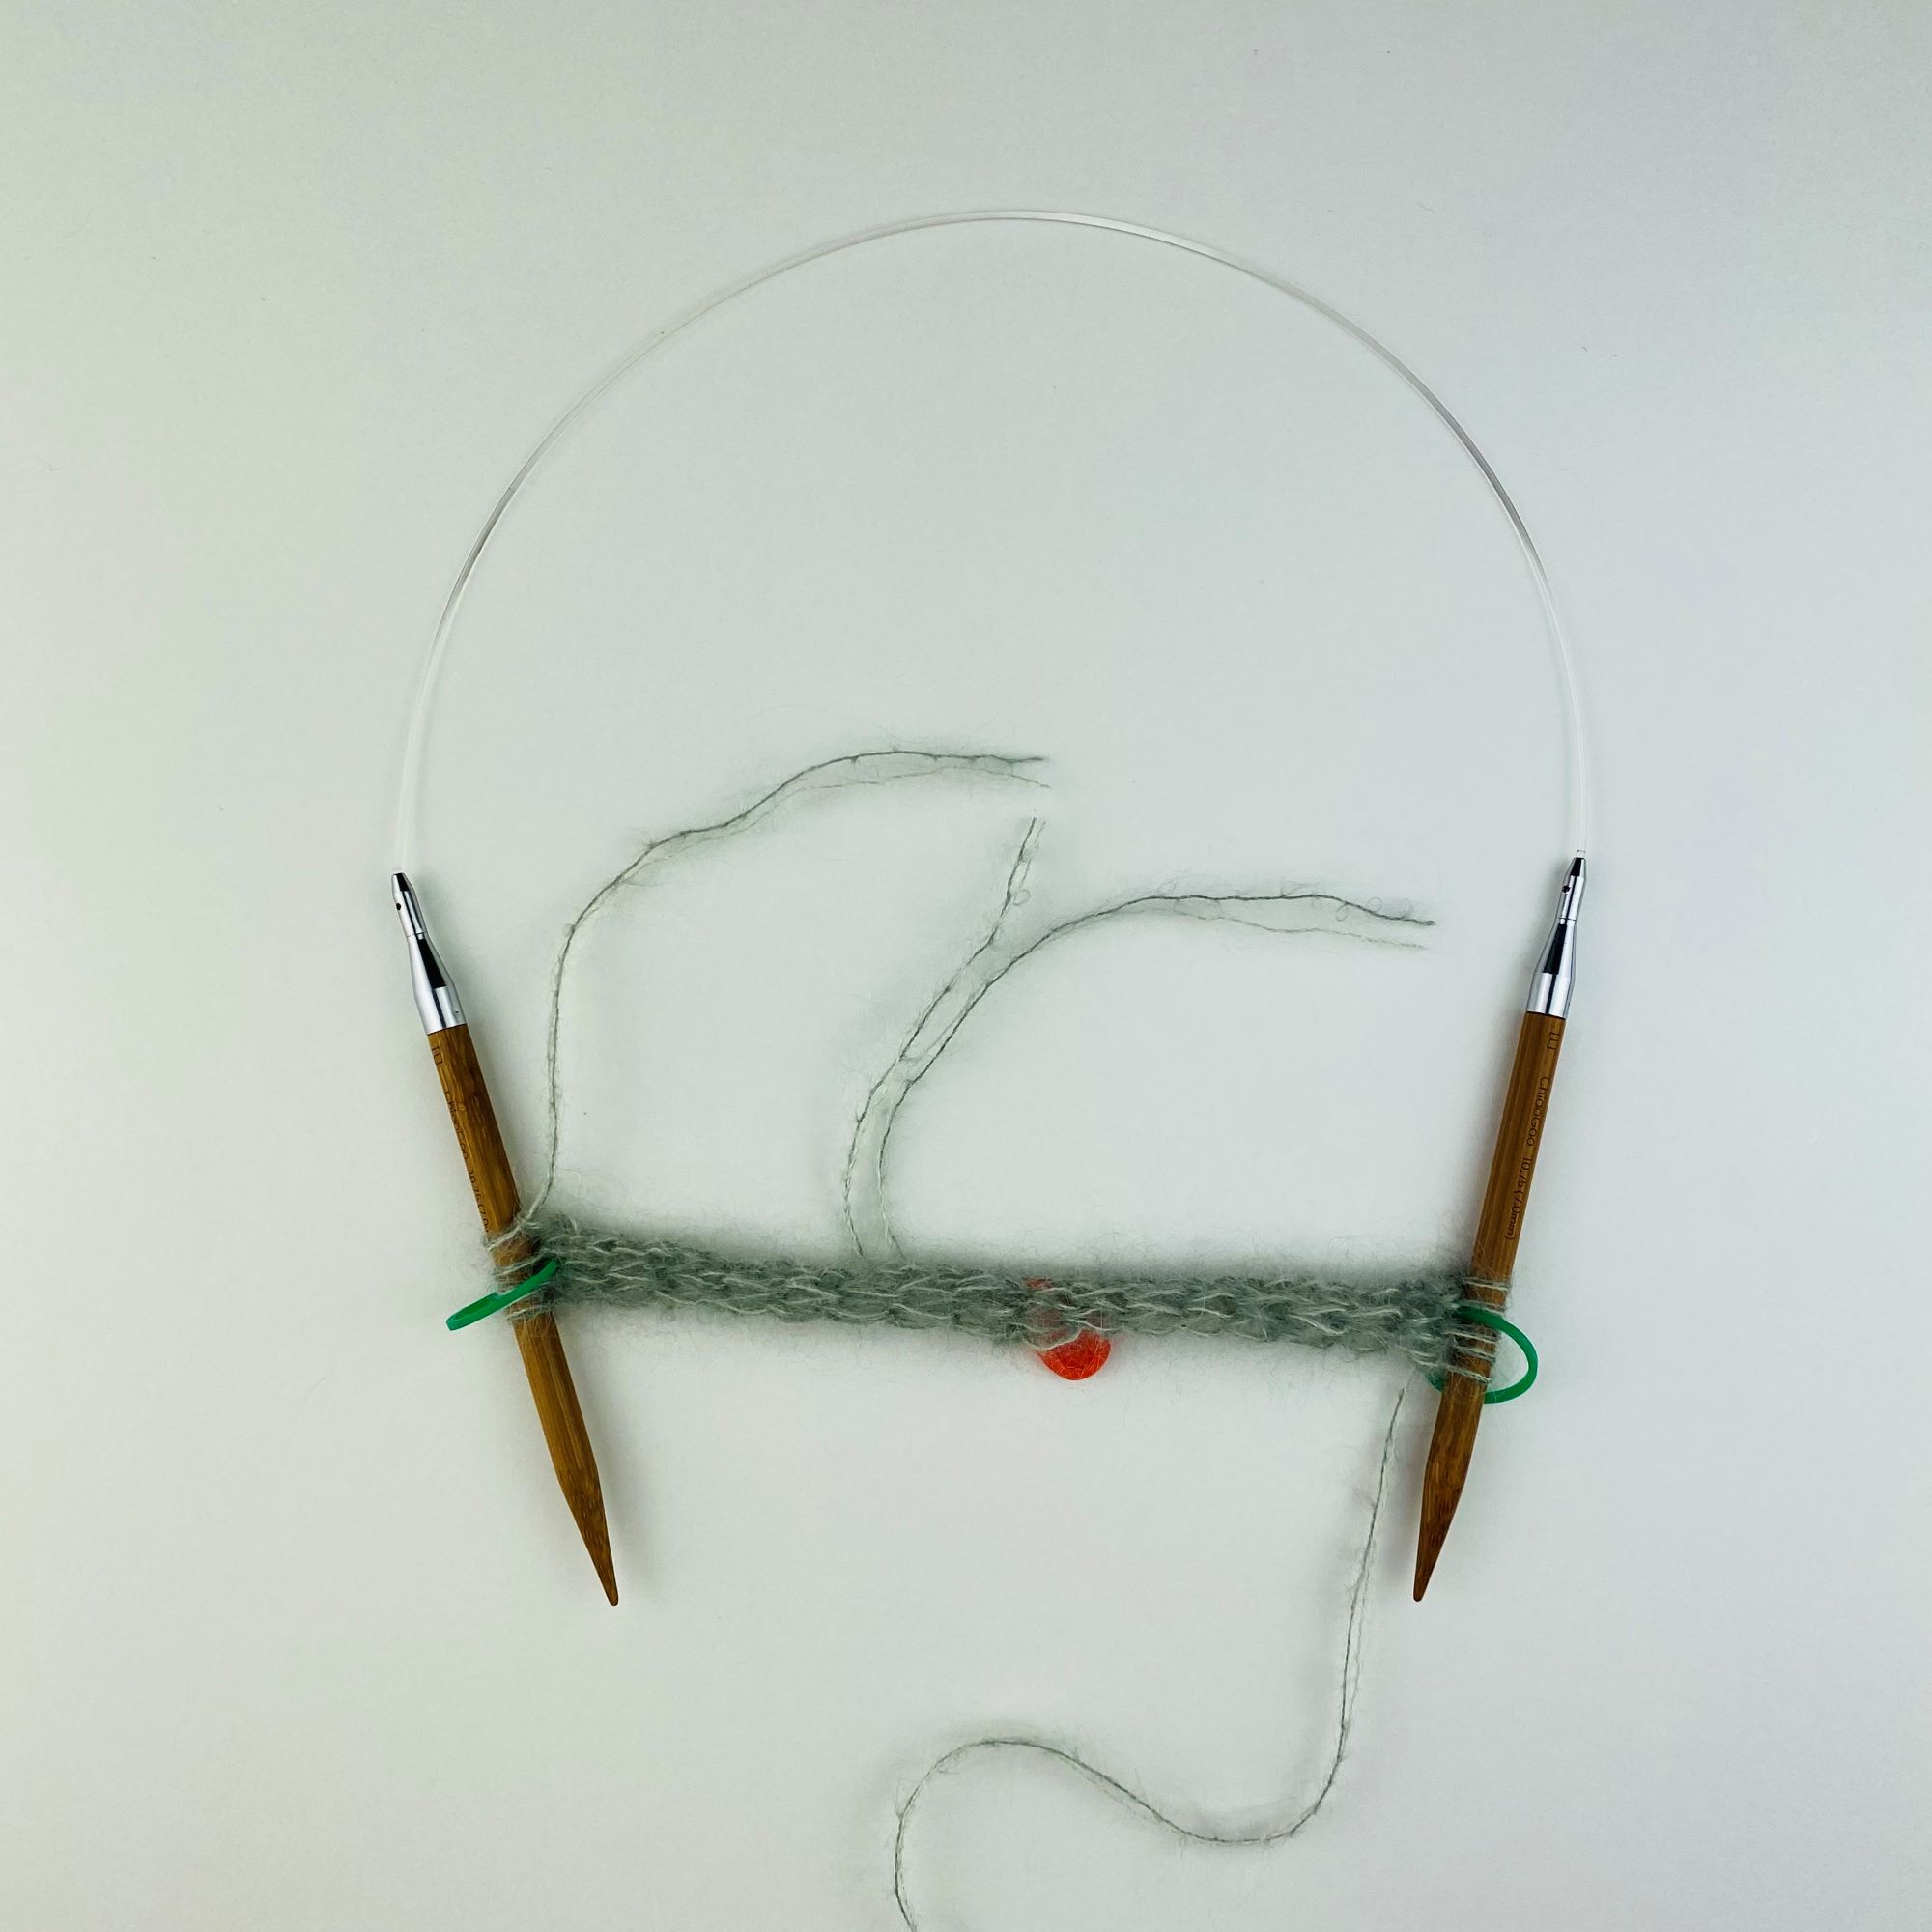
Rechte und Linke Blende fertig! // Right and Left band done!
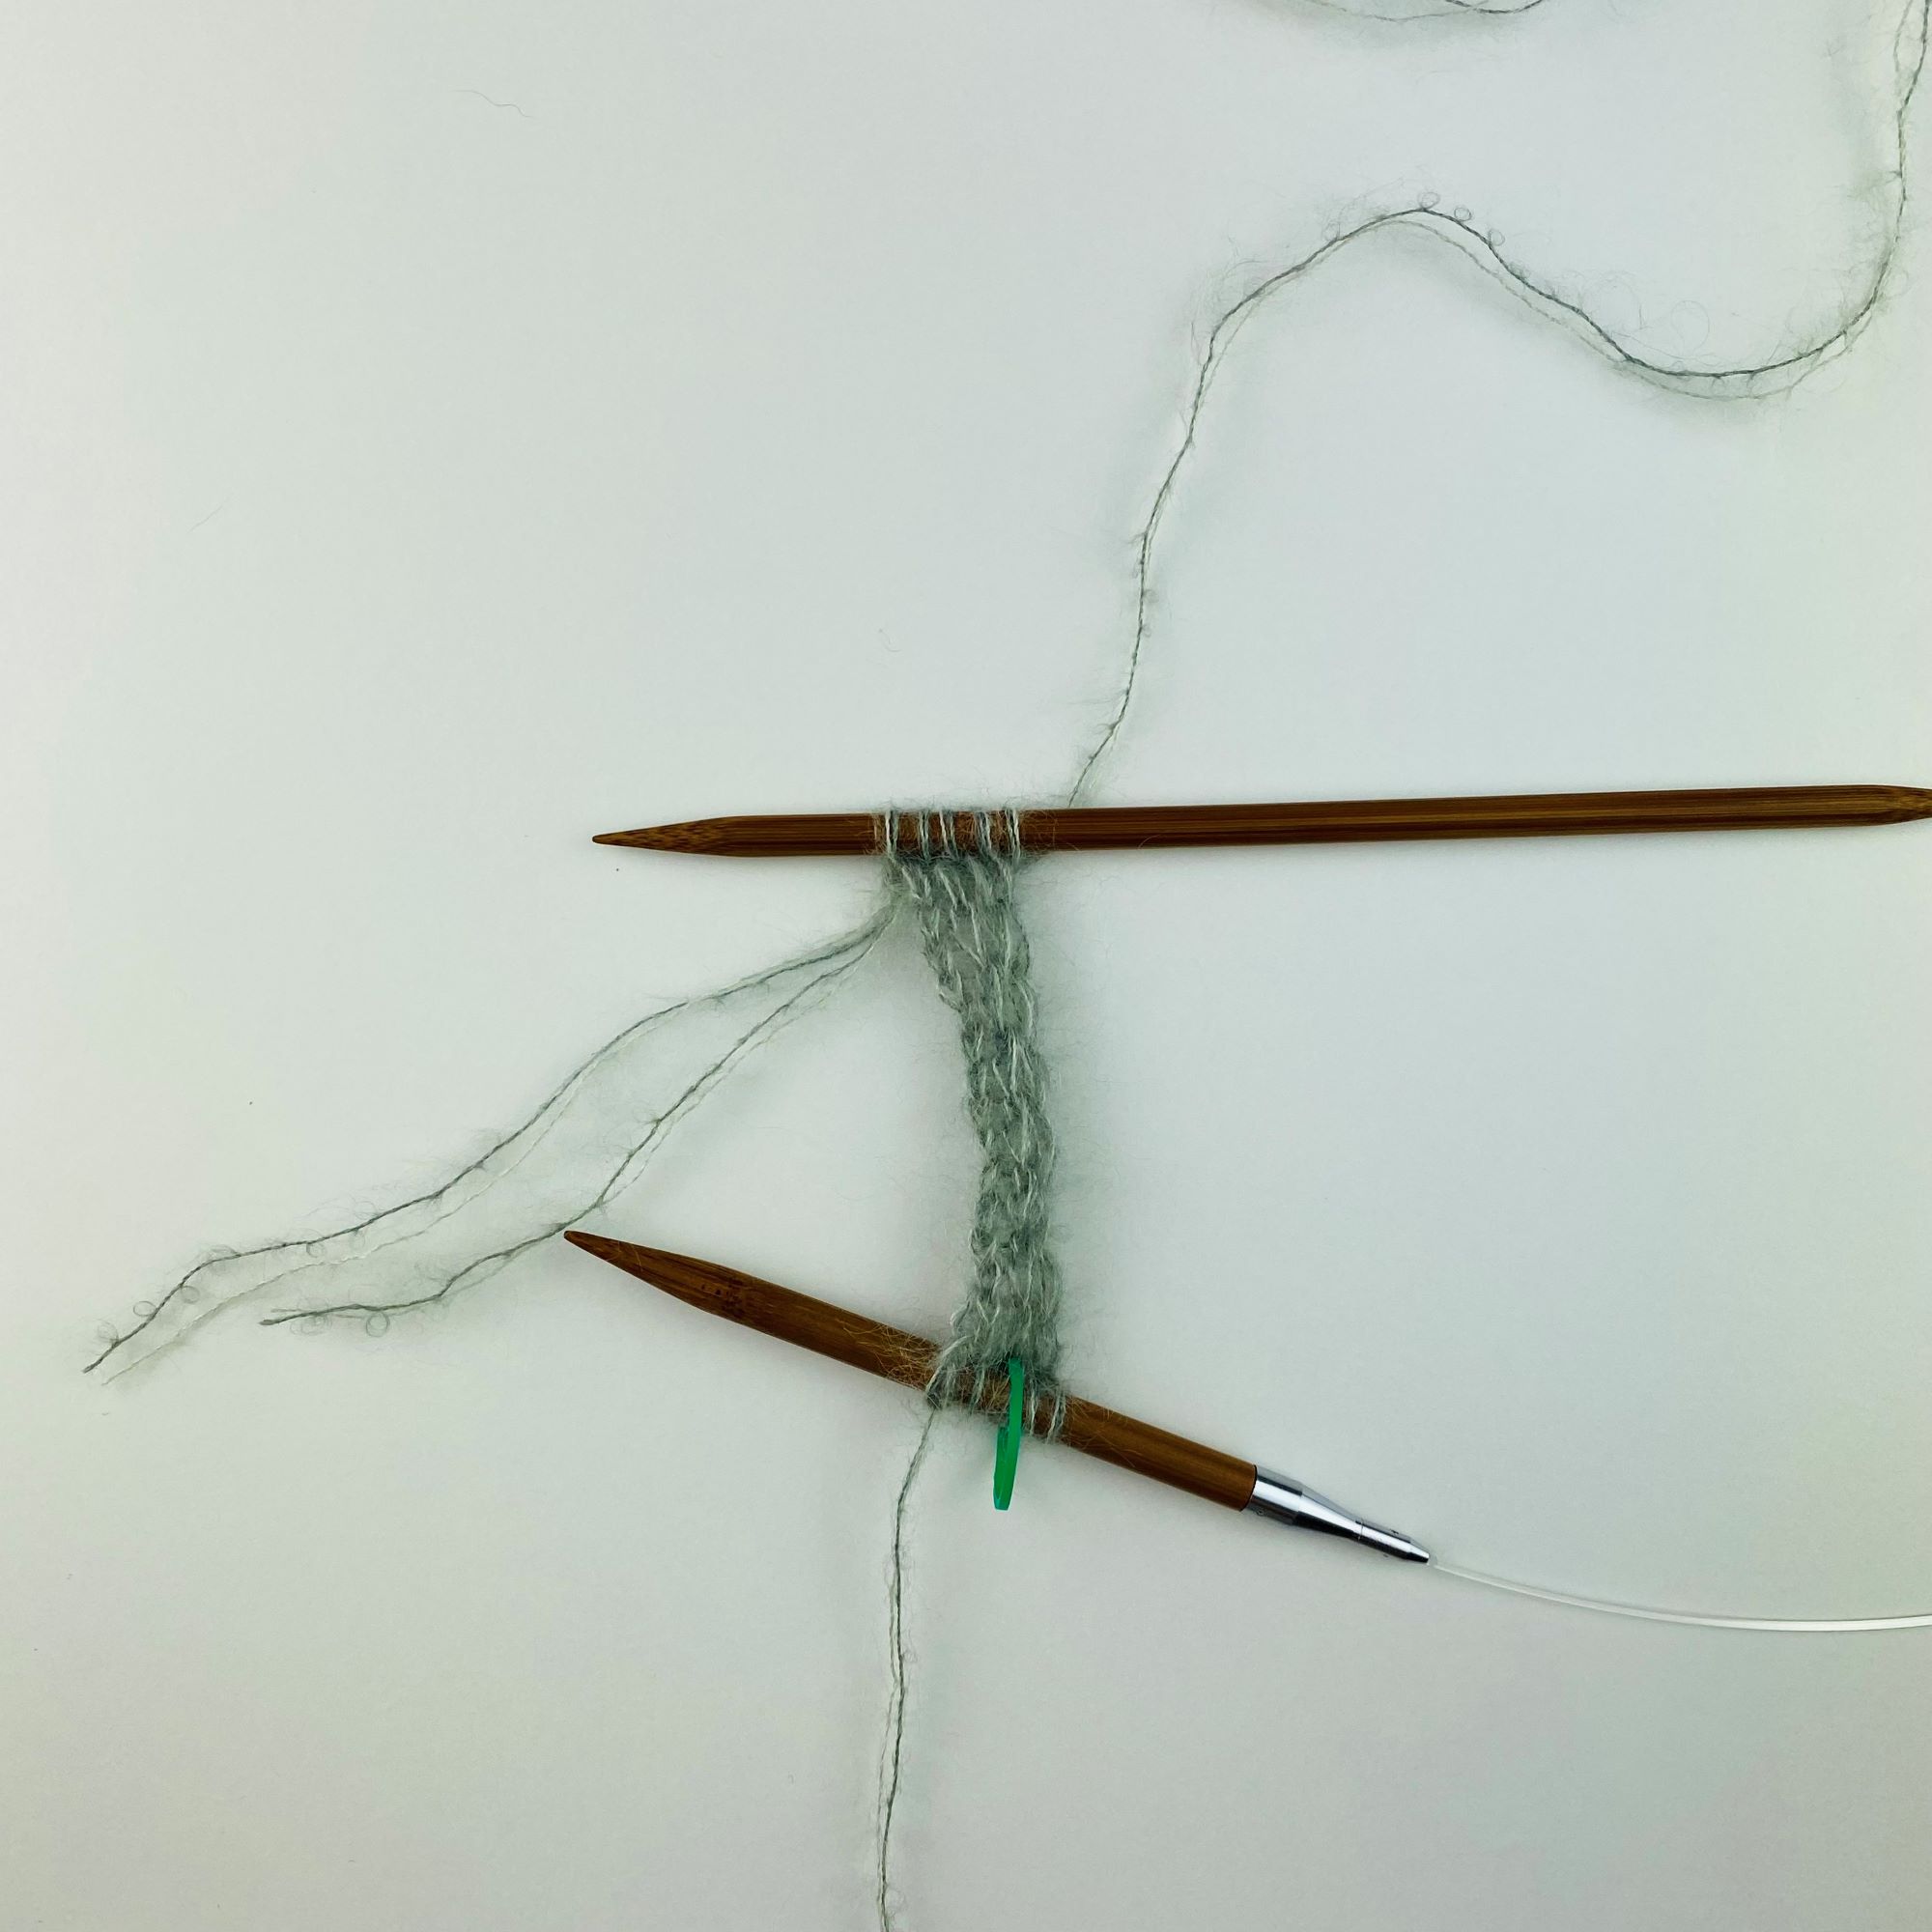
Zur Maschenaufnahme aus der Längsseite der Blende eine kleinere Nadelstärke benutzen. // Use a smaller needle for picking up stitches along neckband
Die ersten Maschen der linken Blende laut Anleitung stricken … // Knit the first stitches as indicated in the pattern …
… die letzte Masche (=Randmasche) mit der kleineren Nadelstärke stricken … // knit the last stitch of the left neck band (=edge stitch) with the smaller needle …
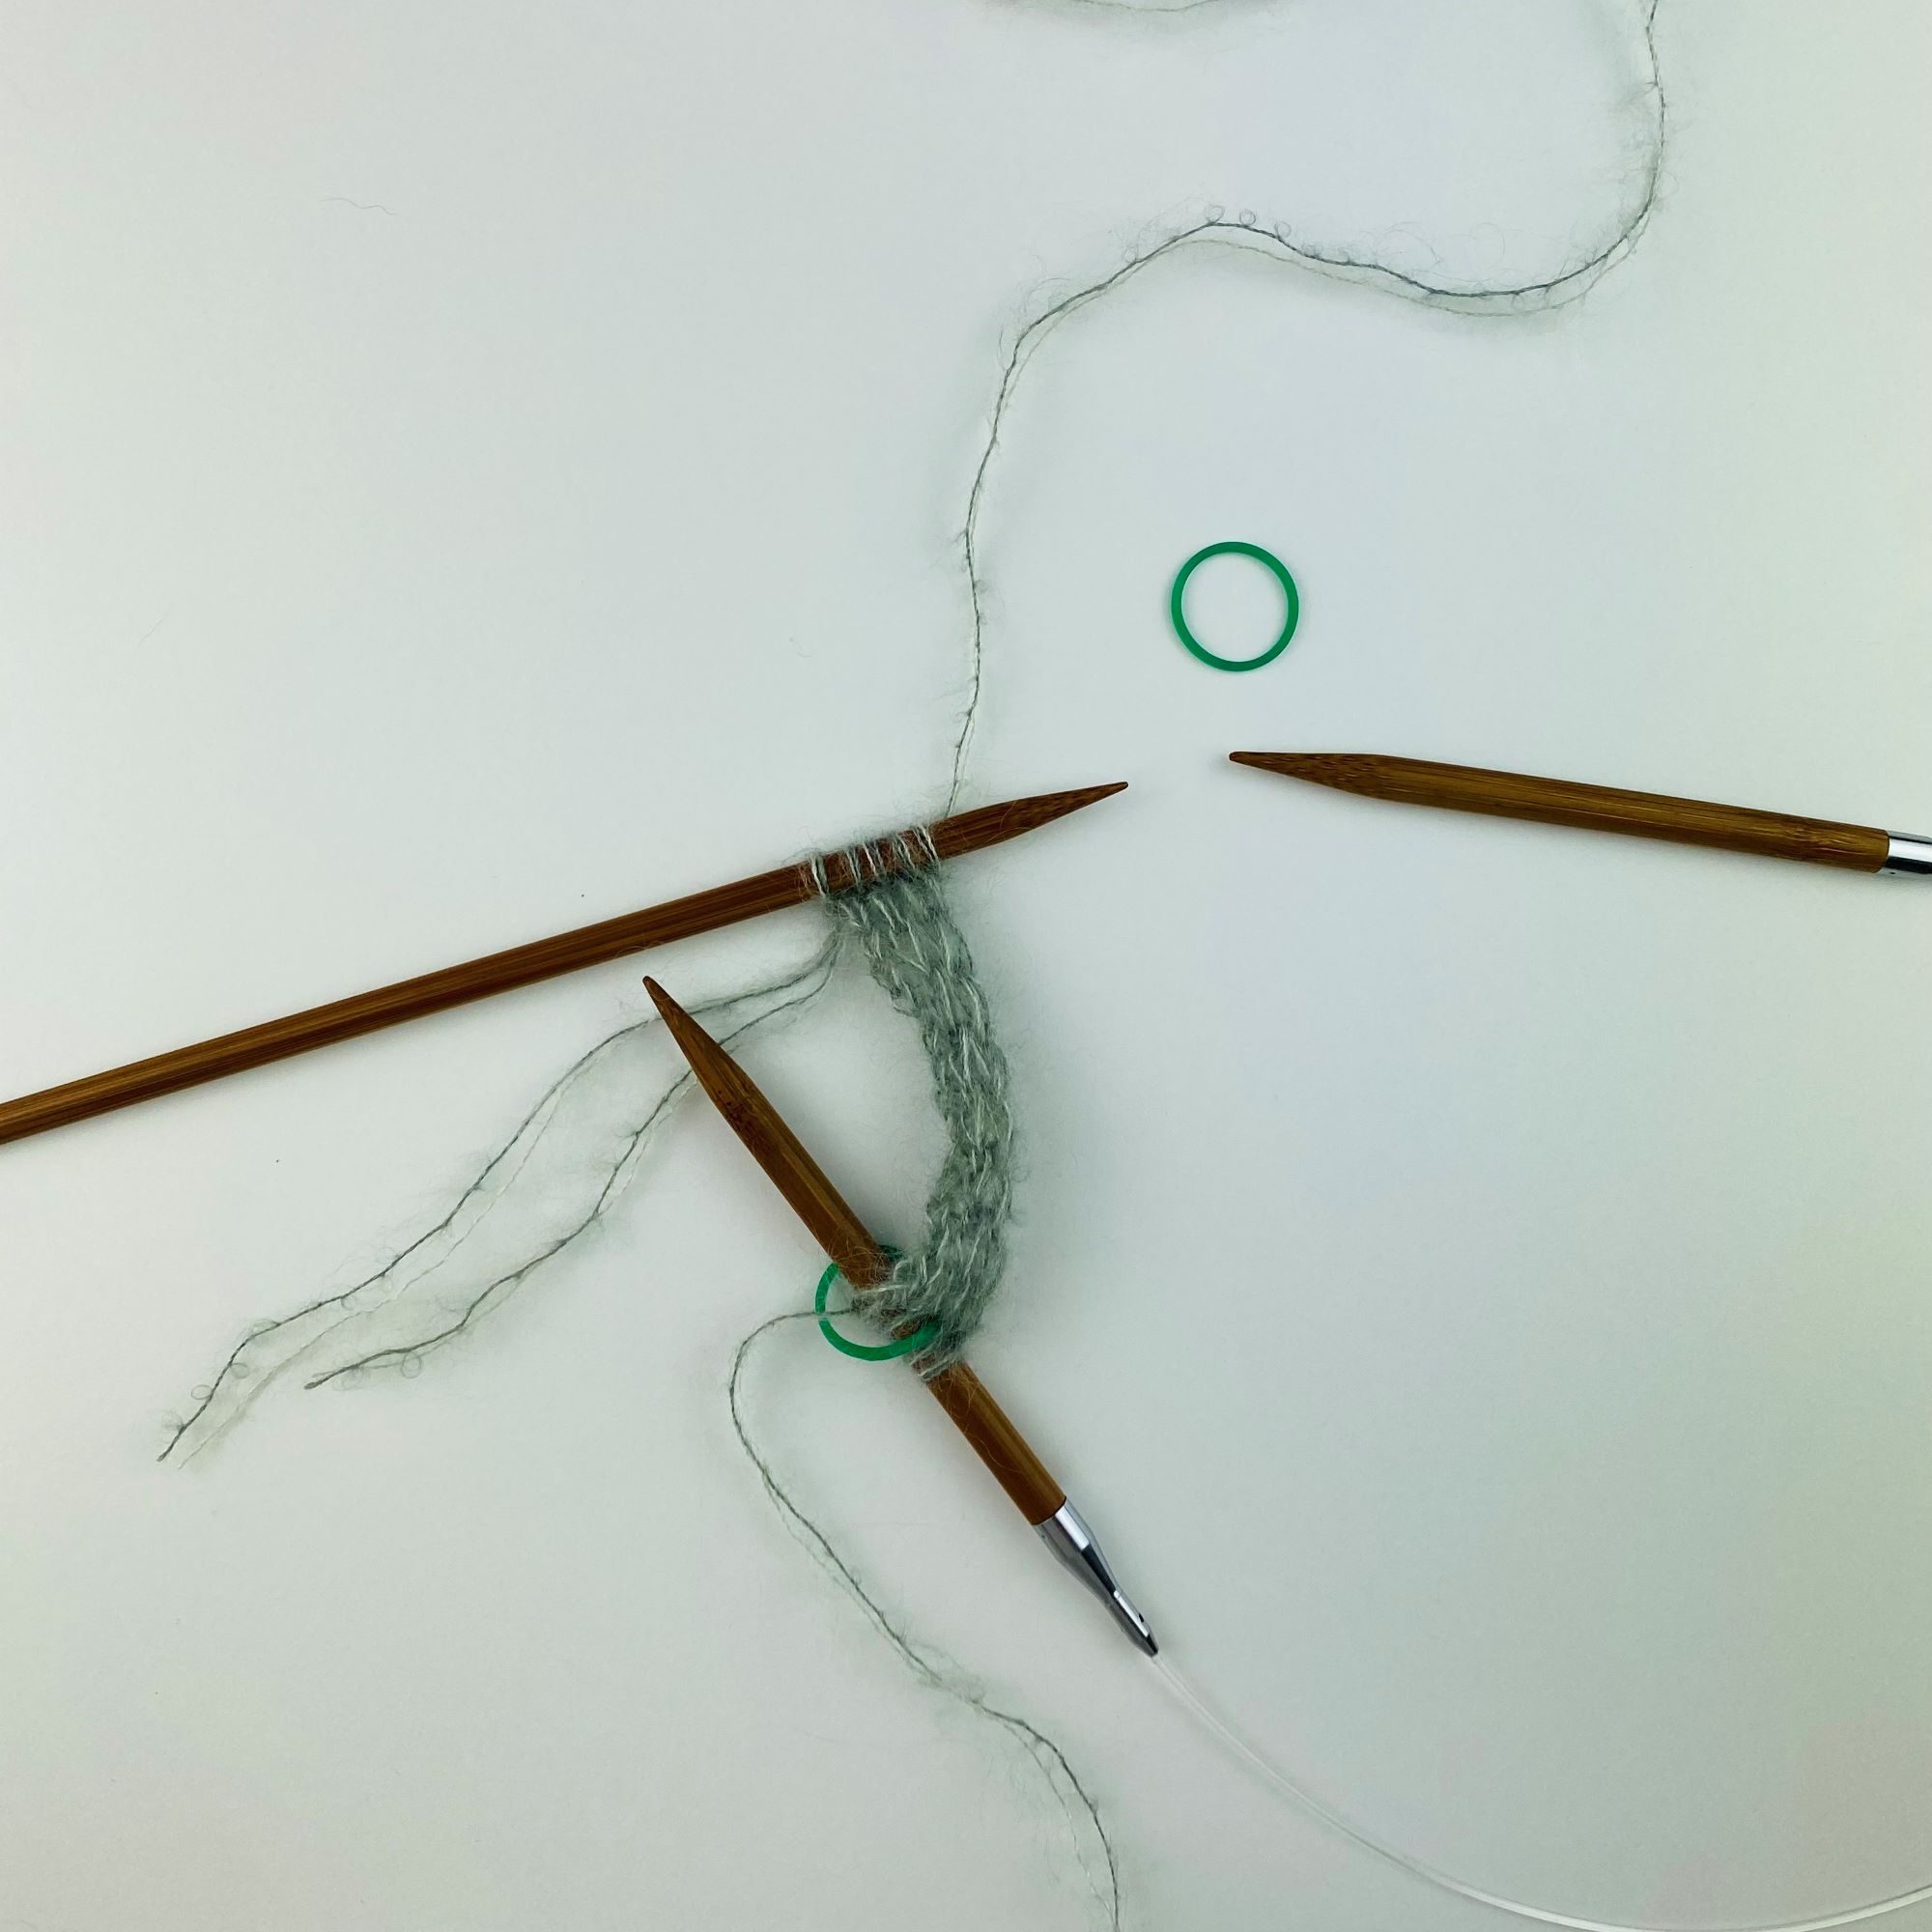
… fortlaufend die Maschenanzahl laut Anleitung aufnehmen … // and pick up further stitches along the neckband as indicated in the pattern
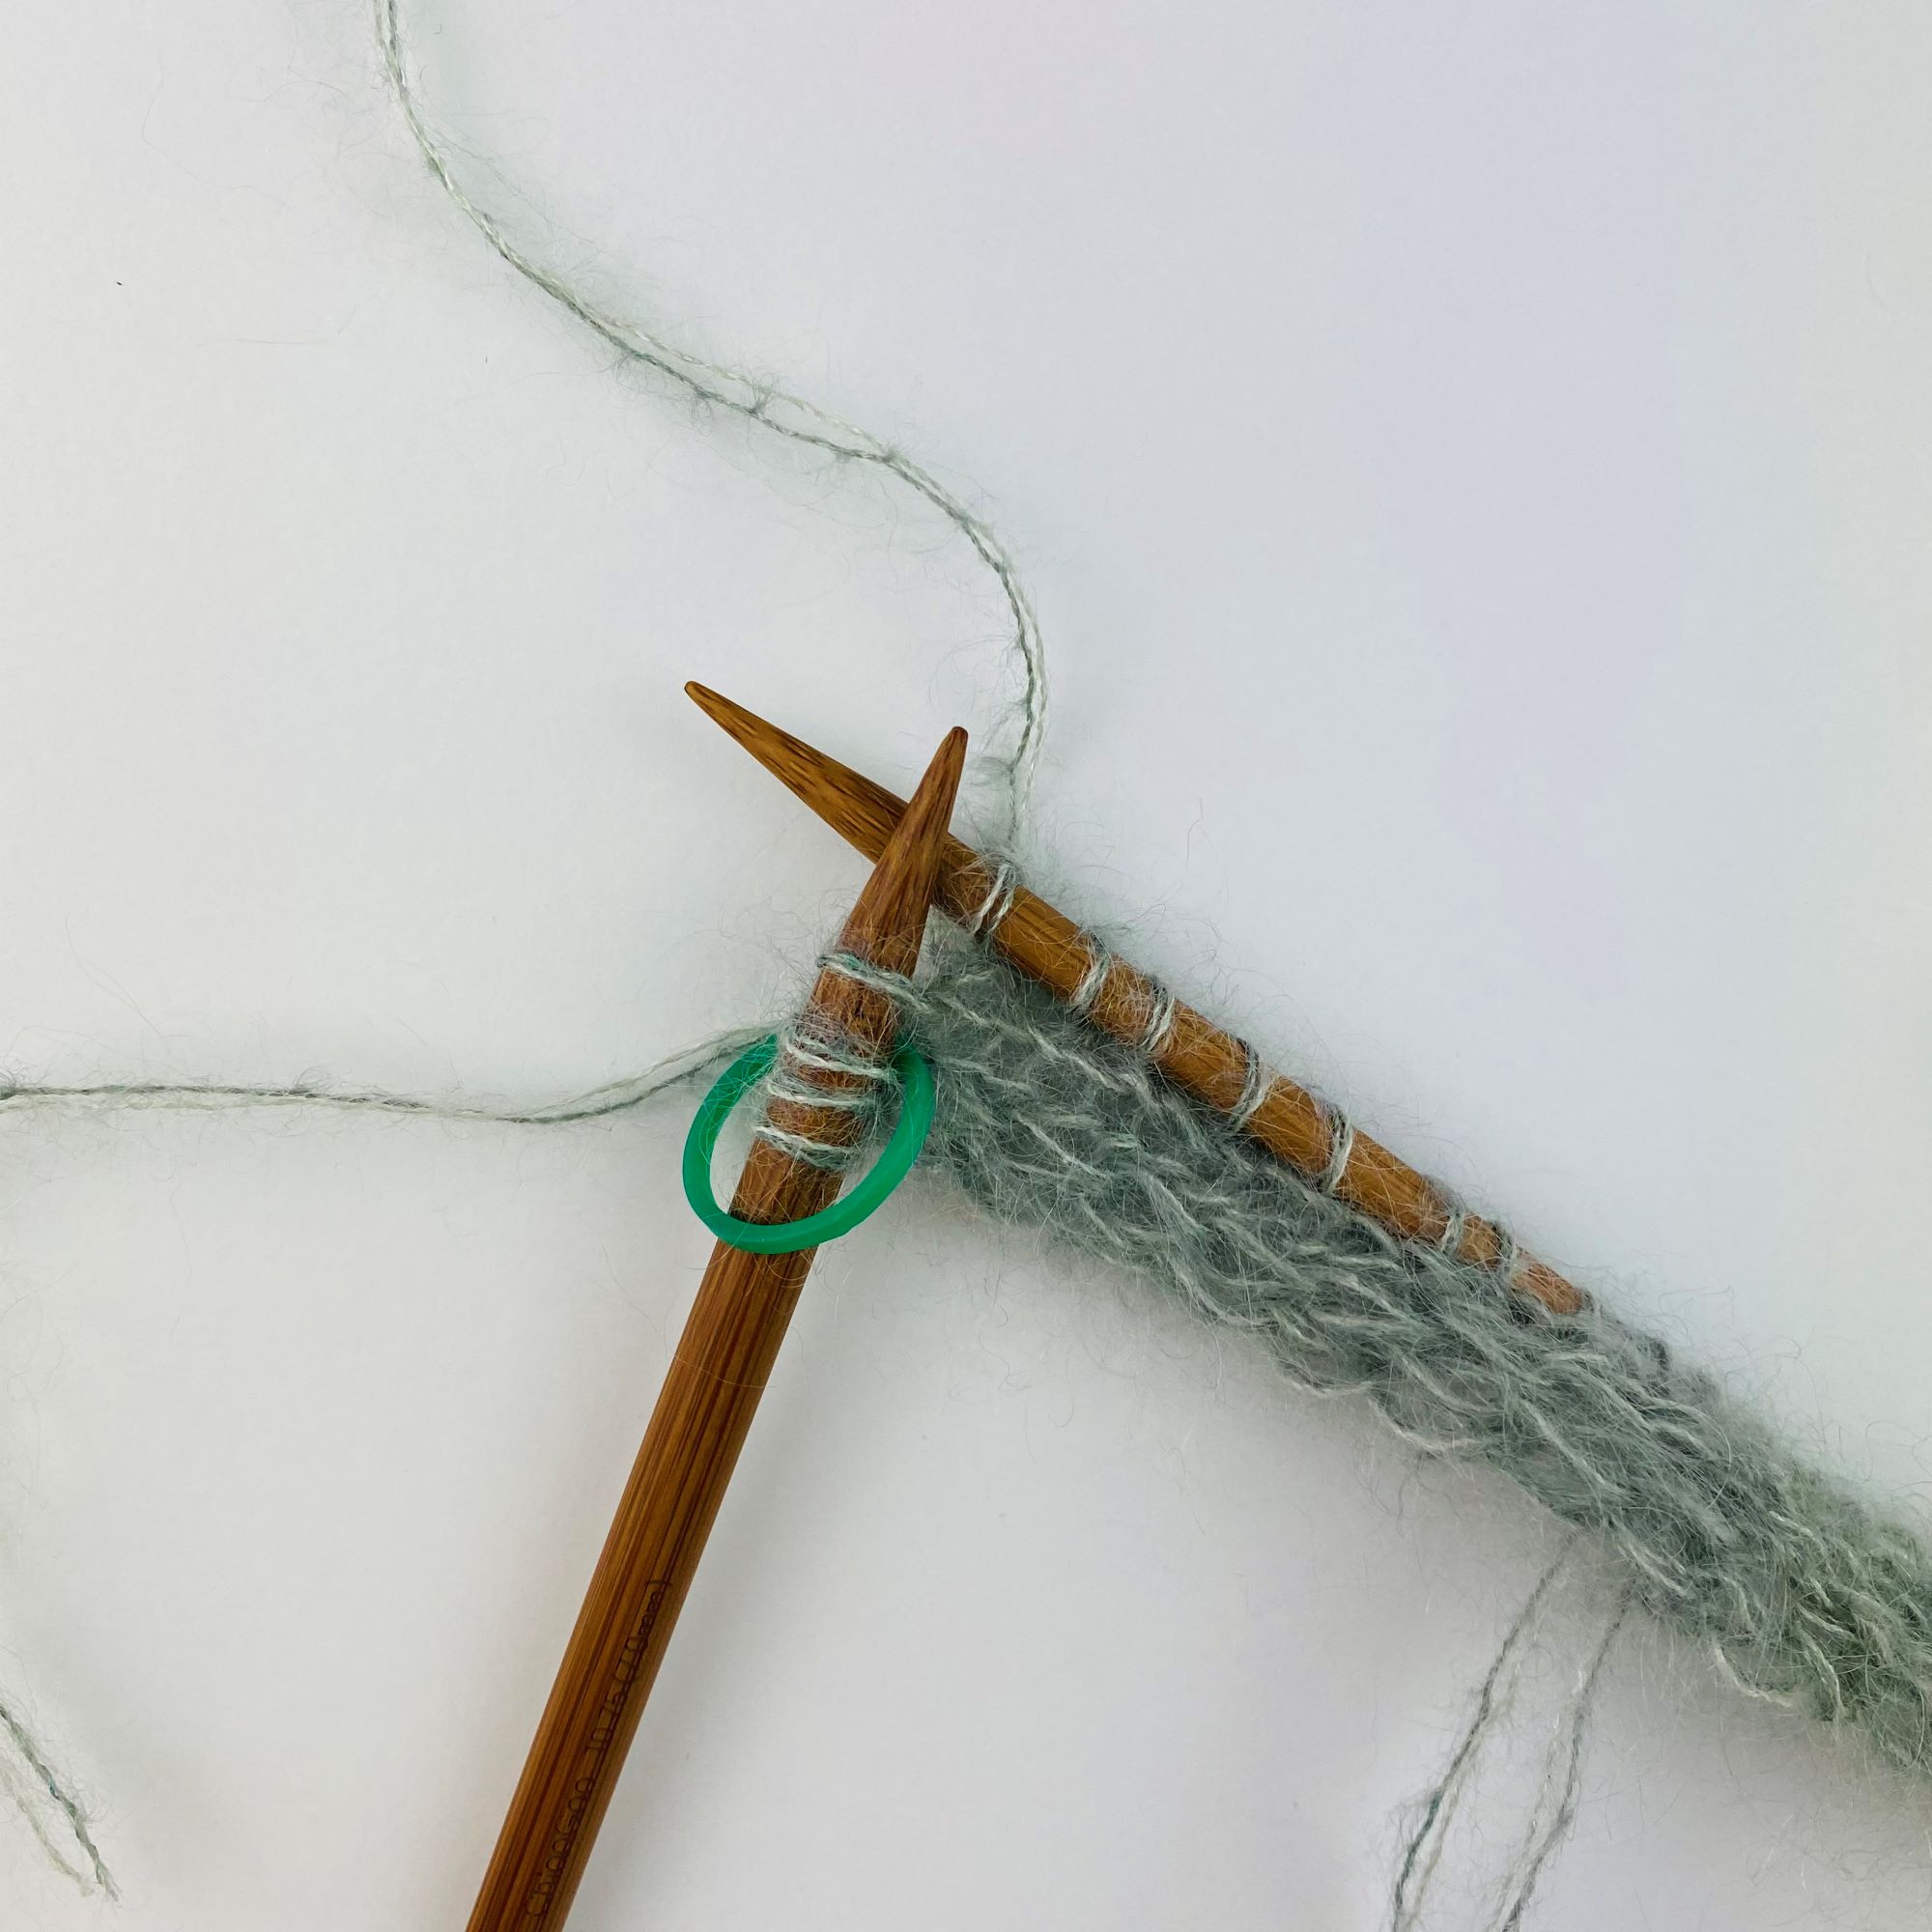
… die nächste Masche (Randmasche) der rechten Blende auch mit der kleineren Nadelstärke stricken. // … knit the first stitch (=edge stitch) from the right neckband also with the smaller needle.
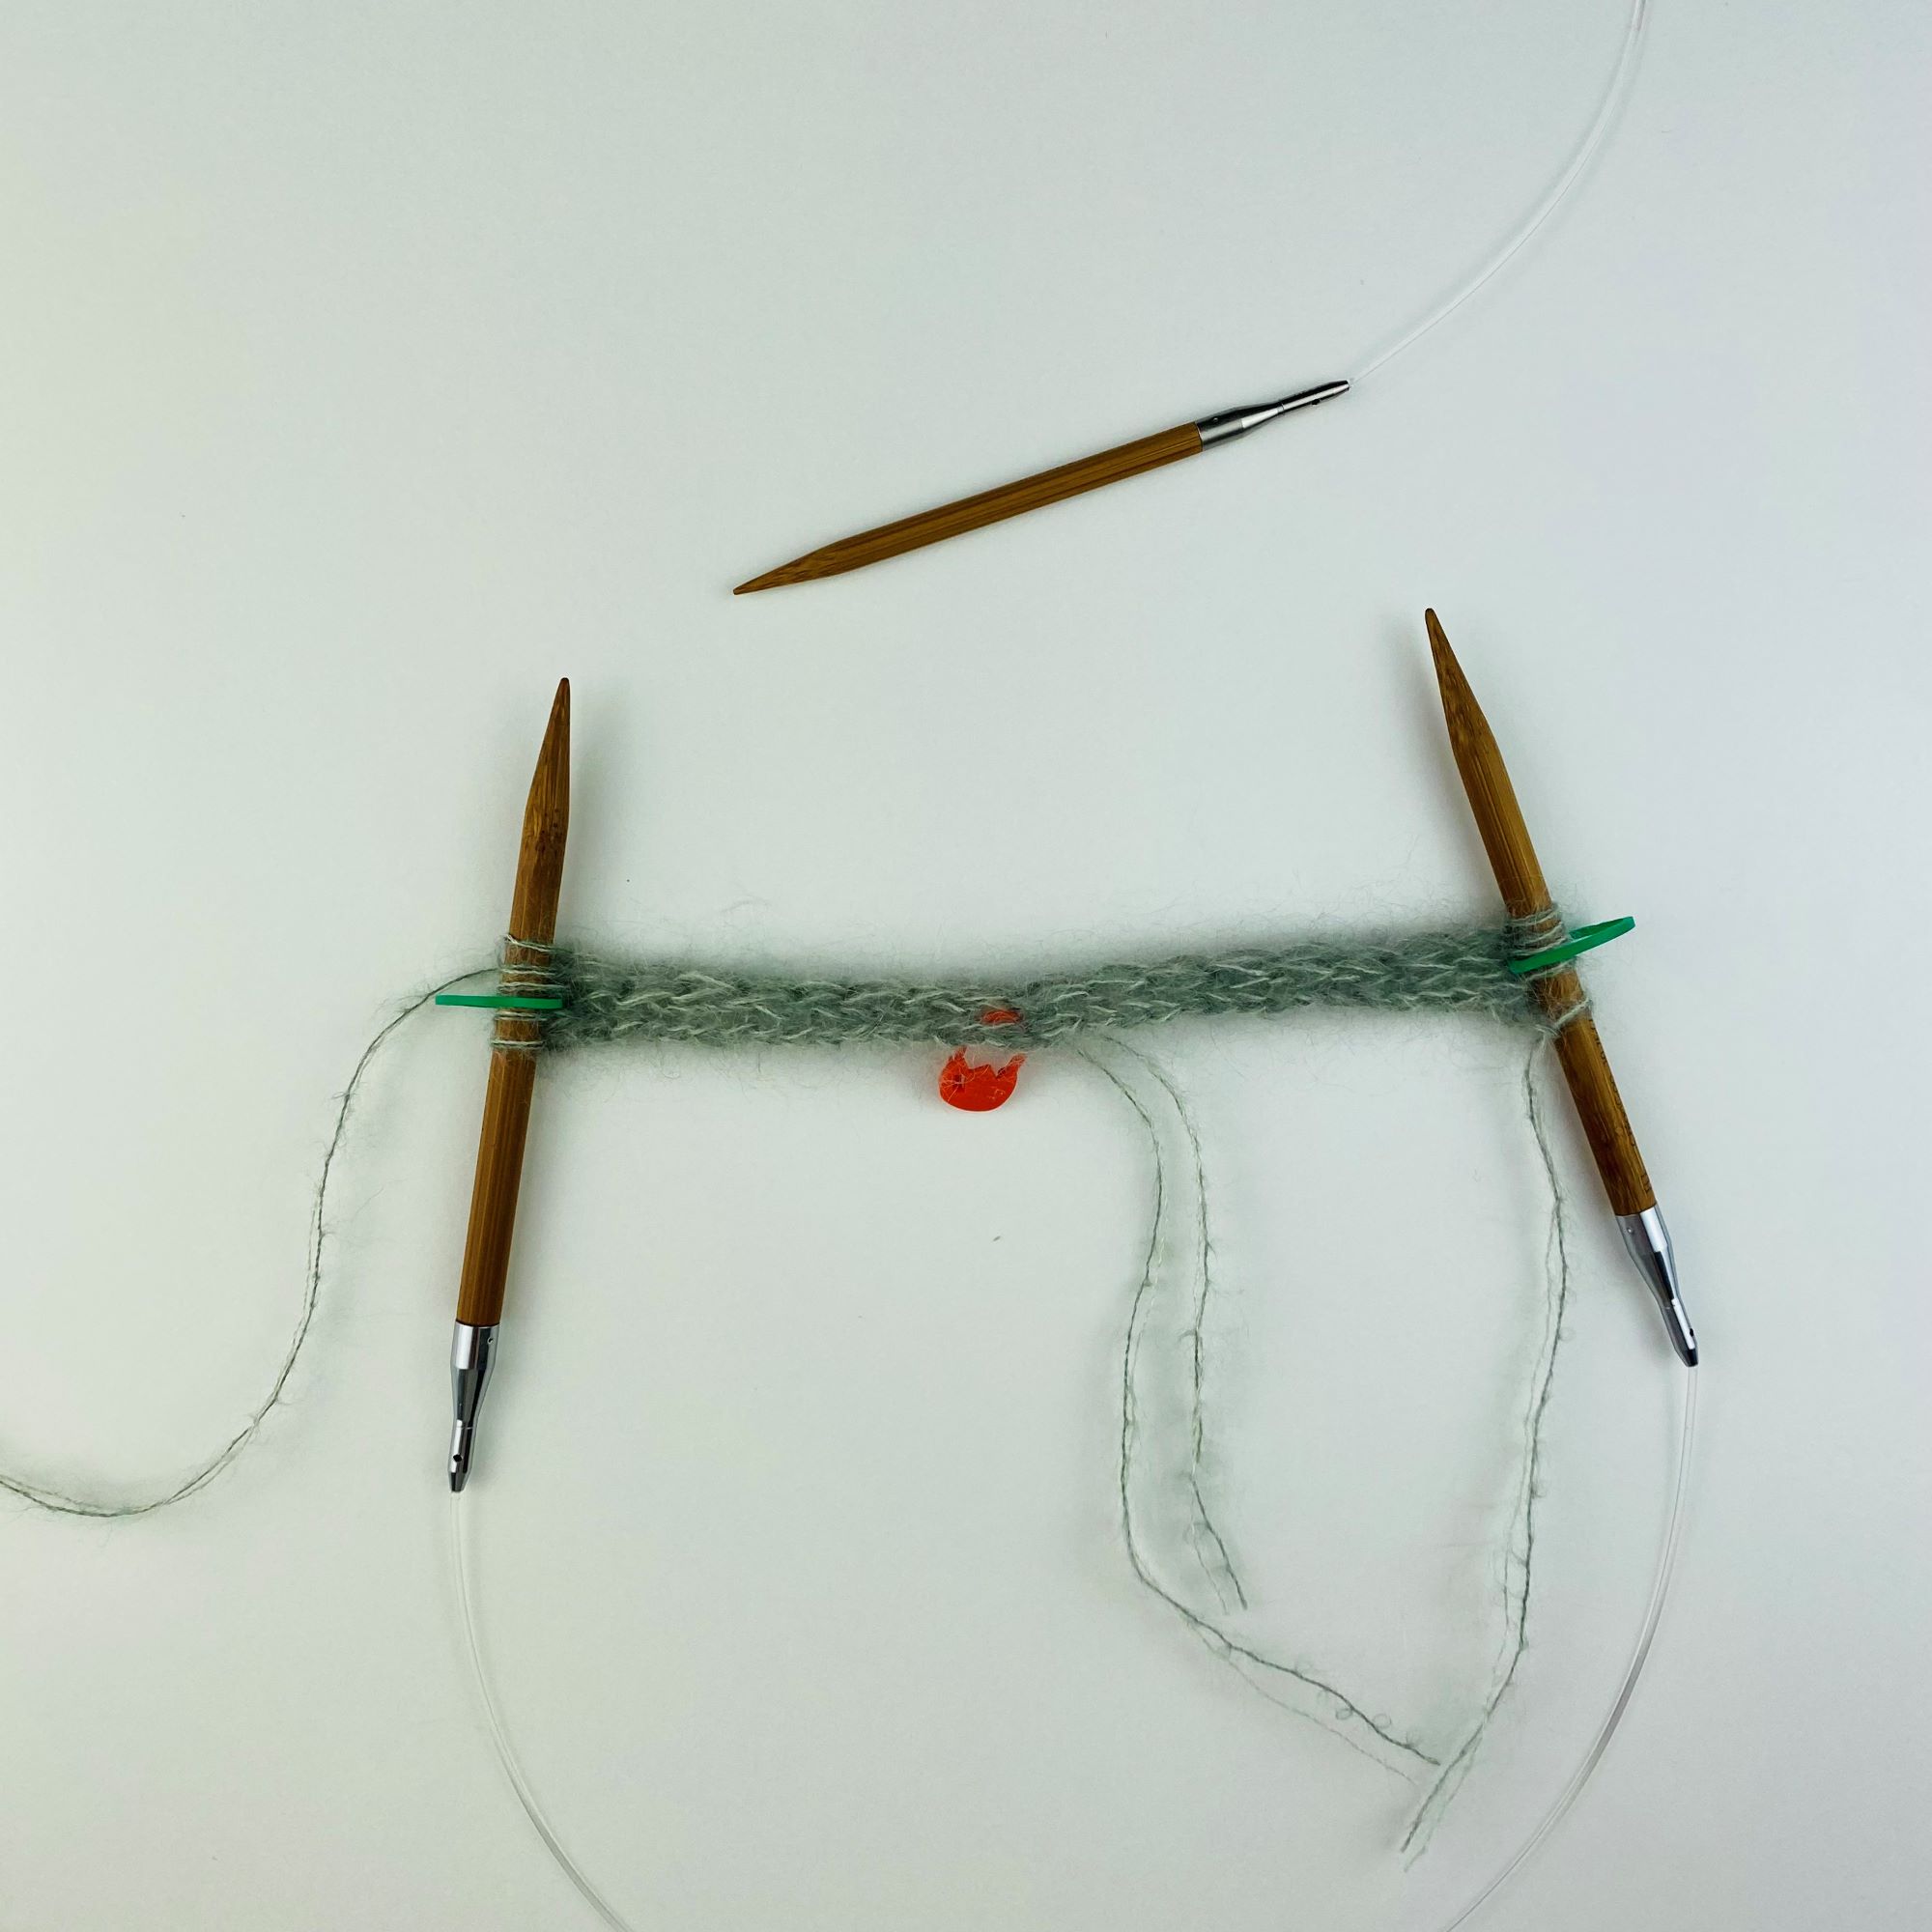
Maschenaufnahme fertig! // Picking up stitches done!
Wieder weiter mit der Hauptnadel nun die Maschen der rechten Blende stricken. // Knit the stitches from the right neck band using the bigger needle again.

Schritt 1 fertig! // Step 1 done!
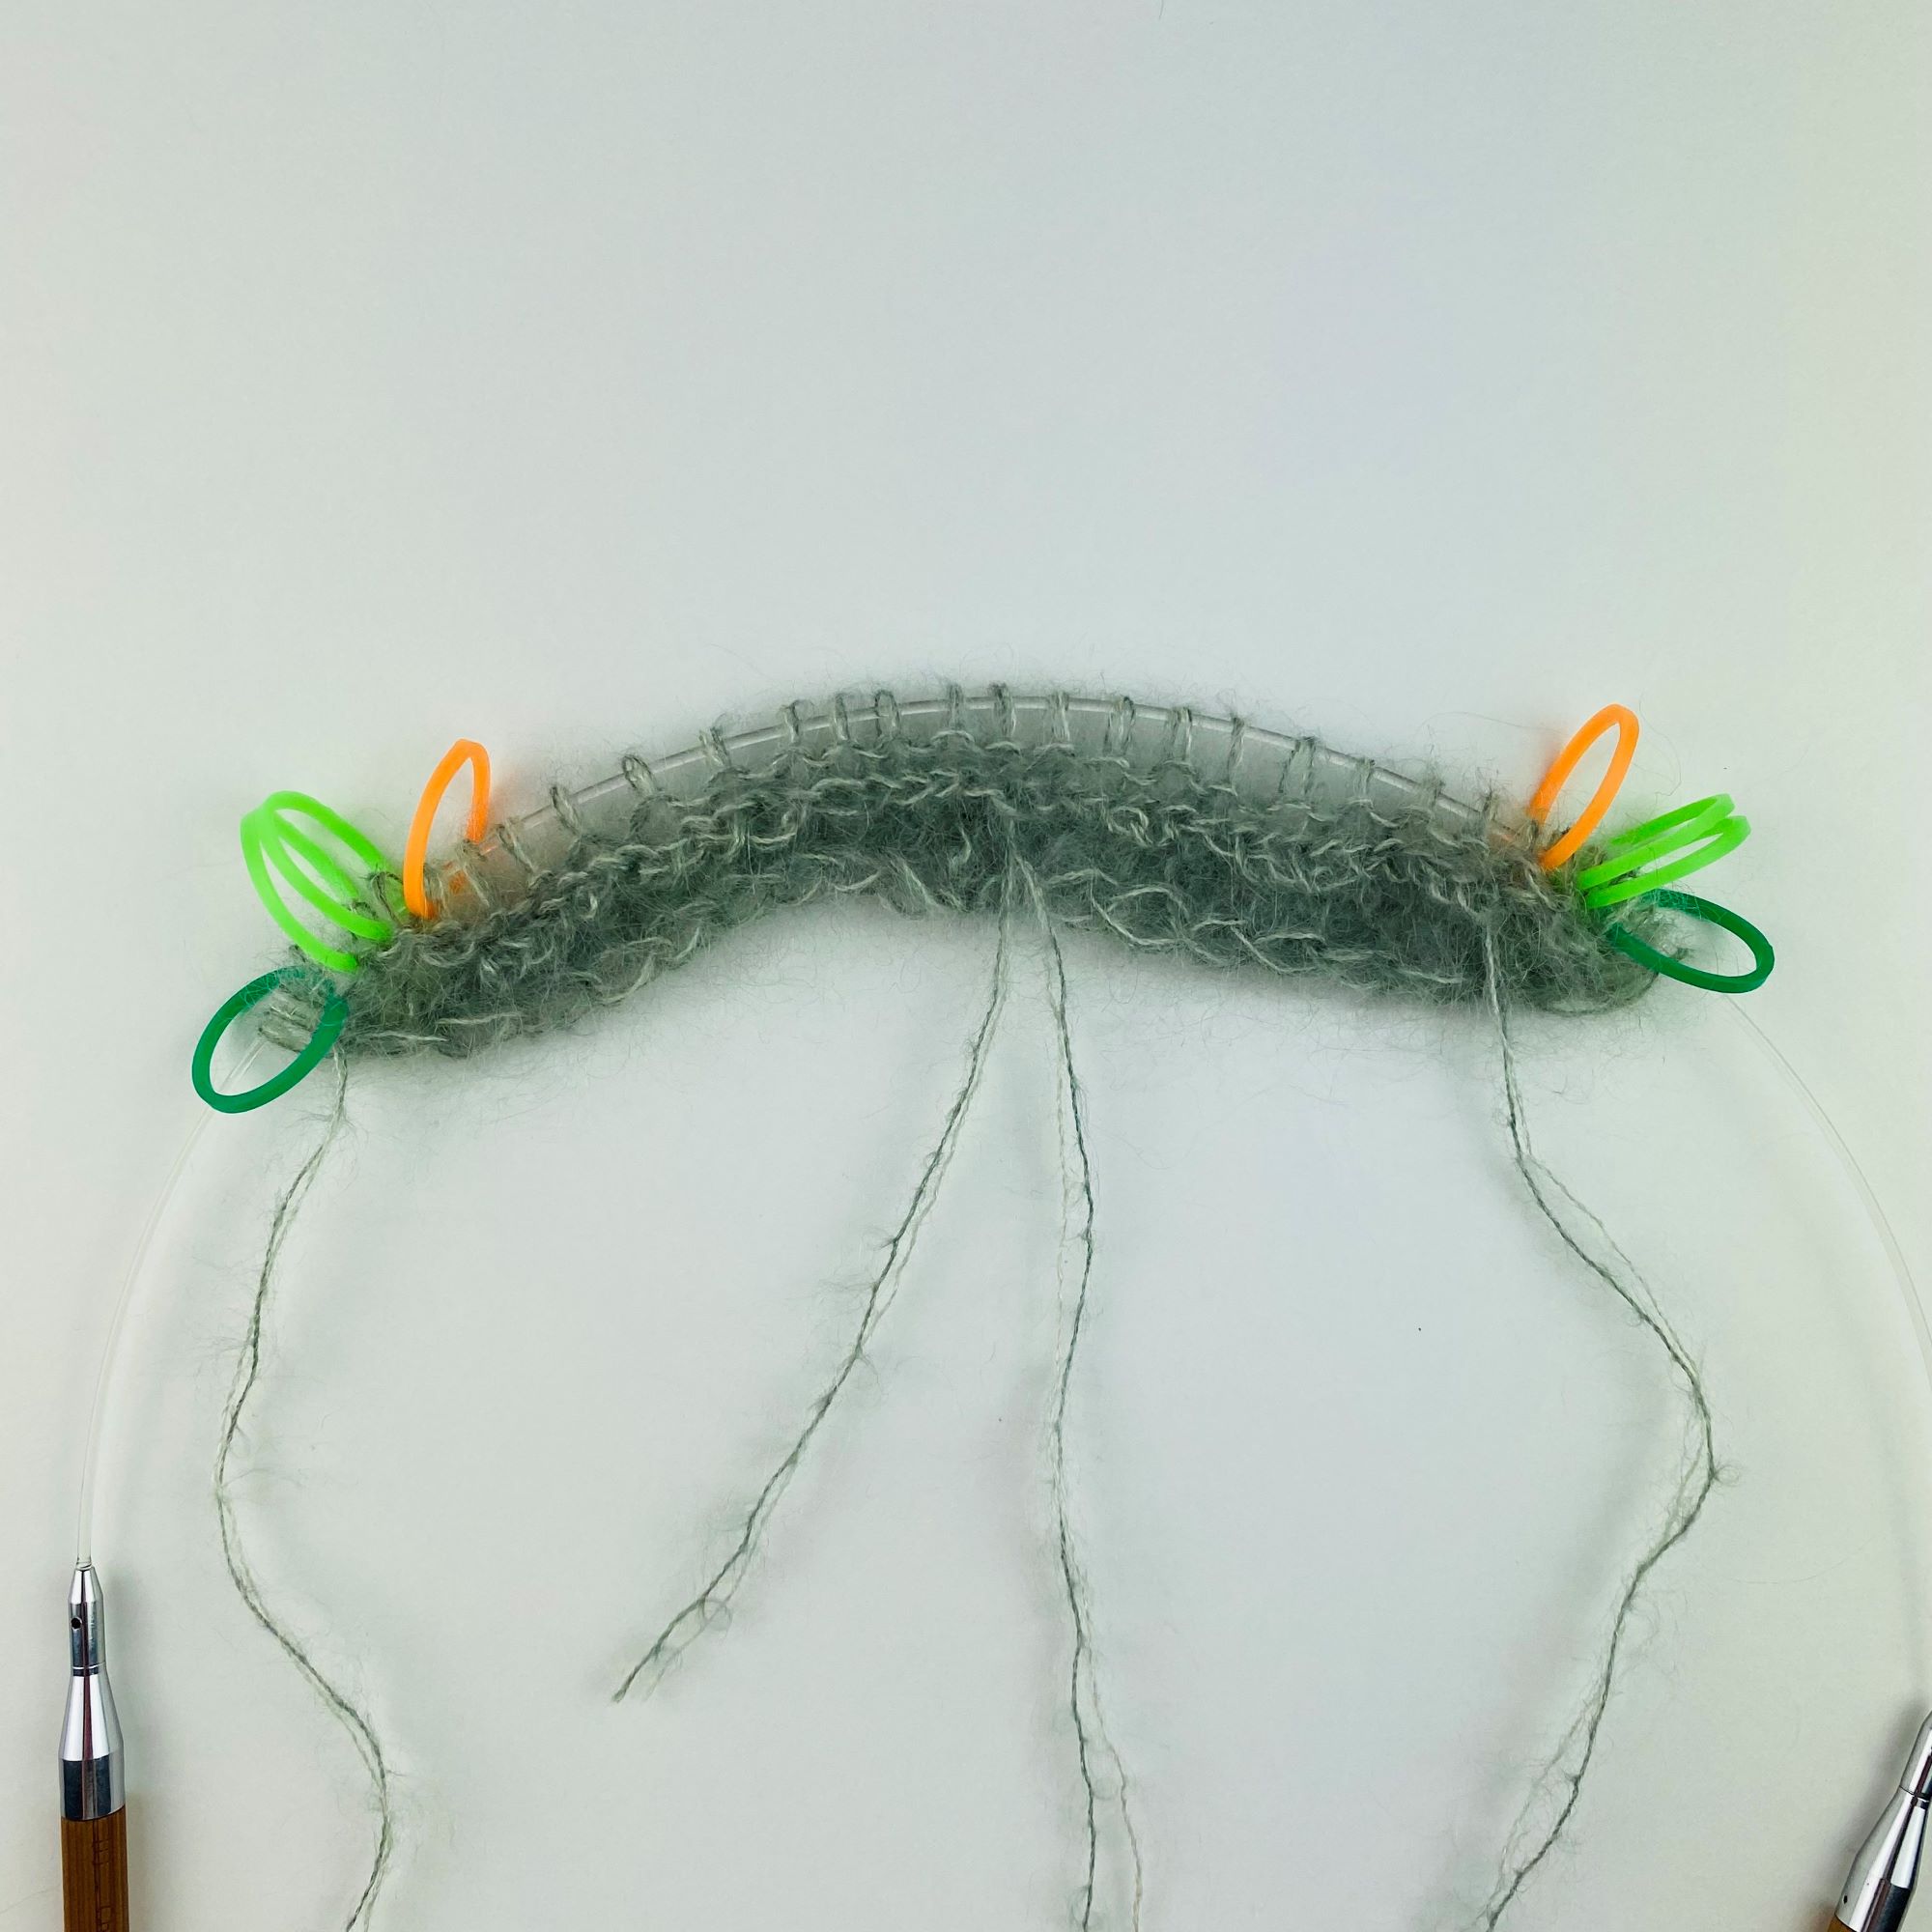
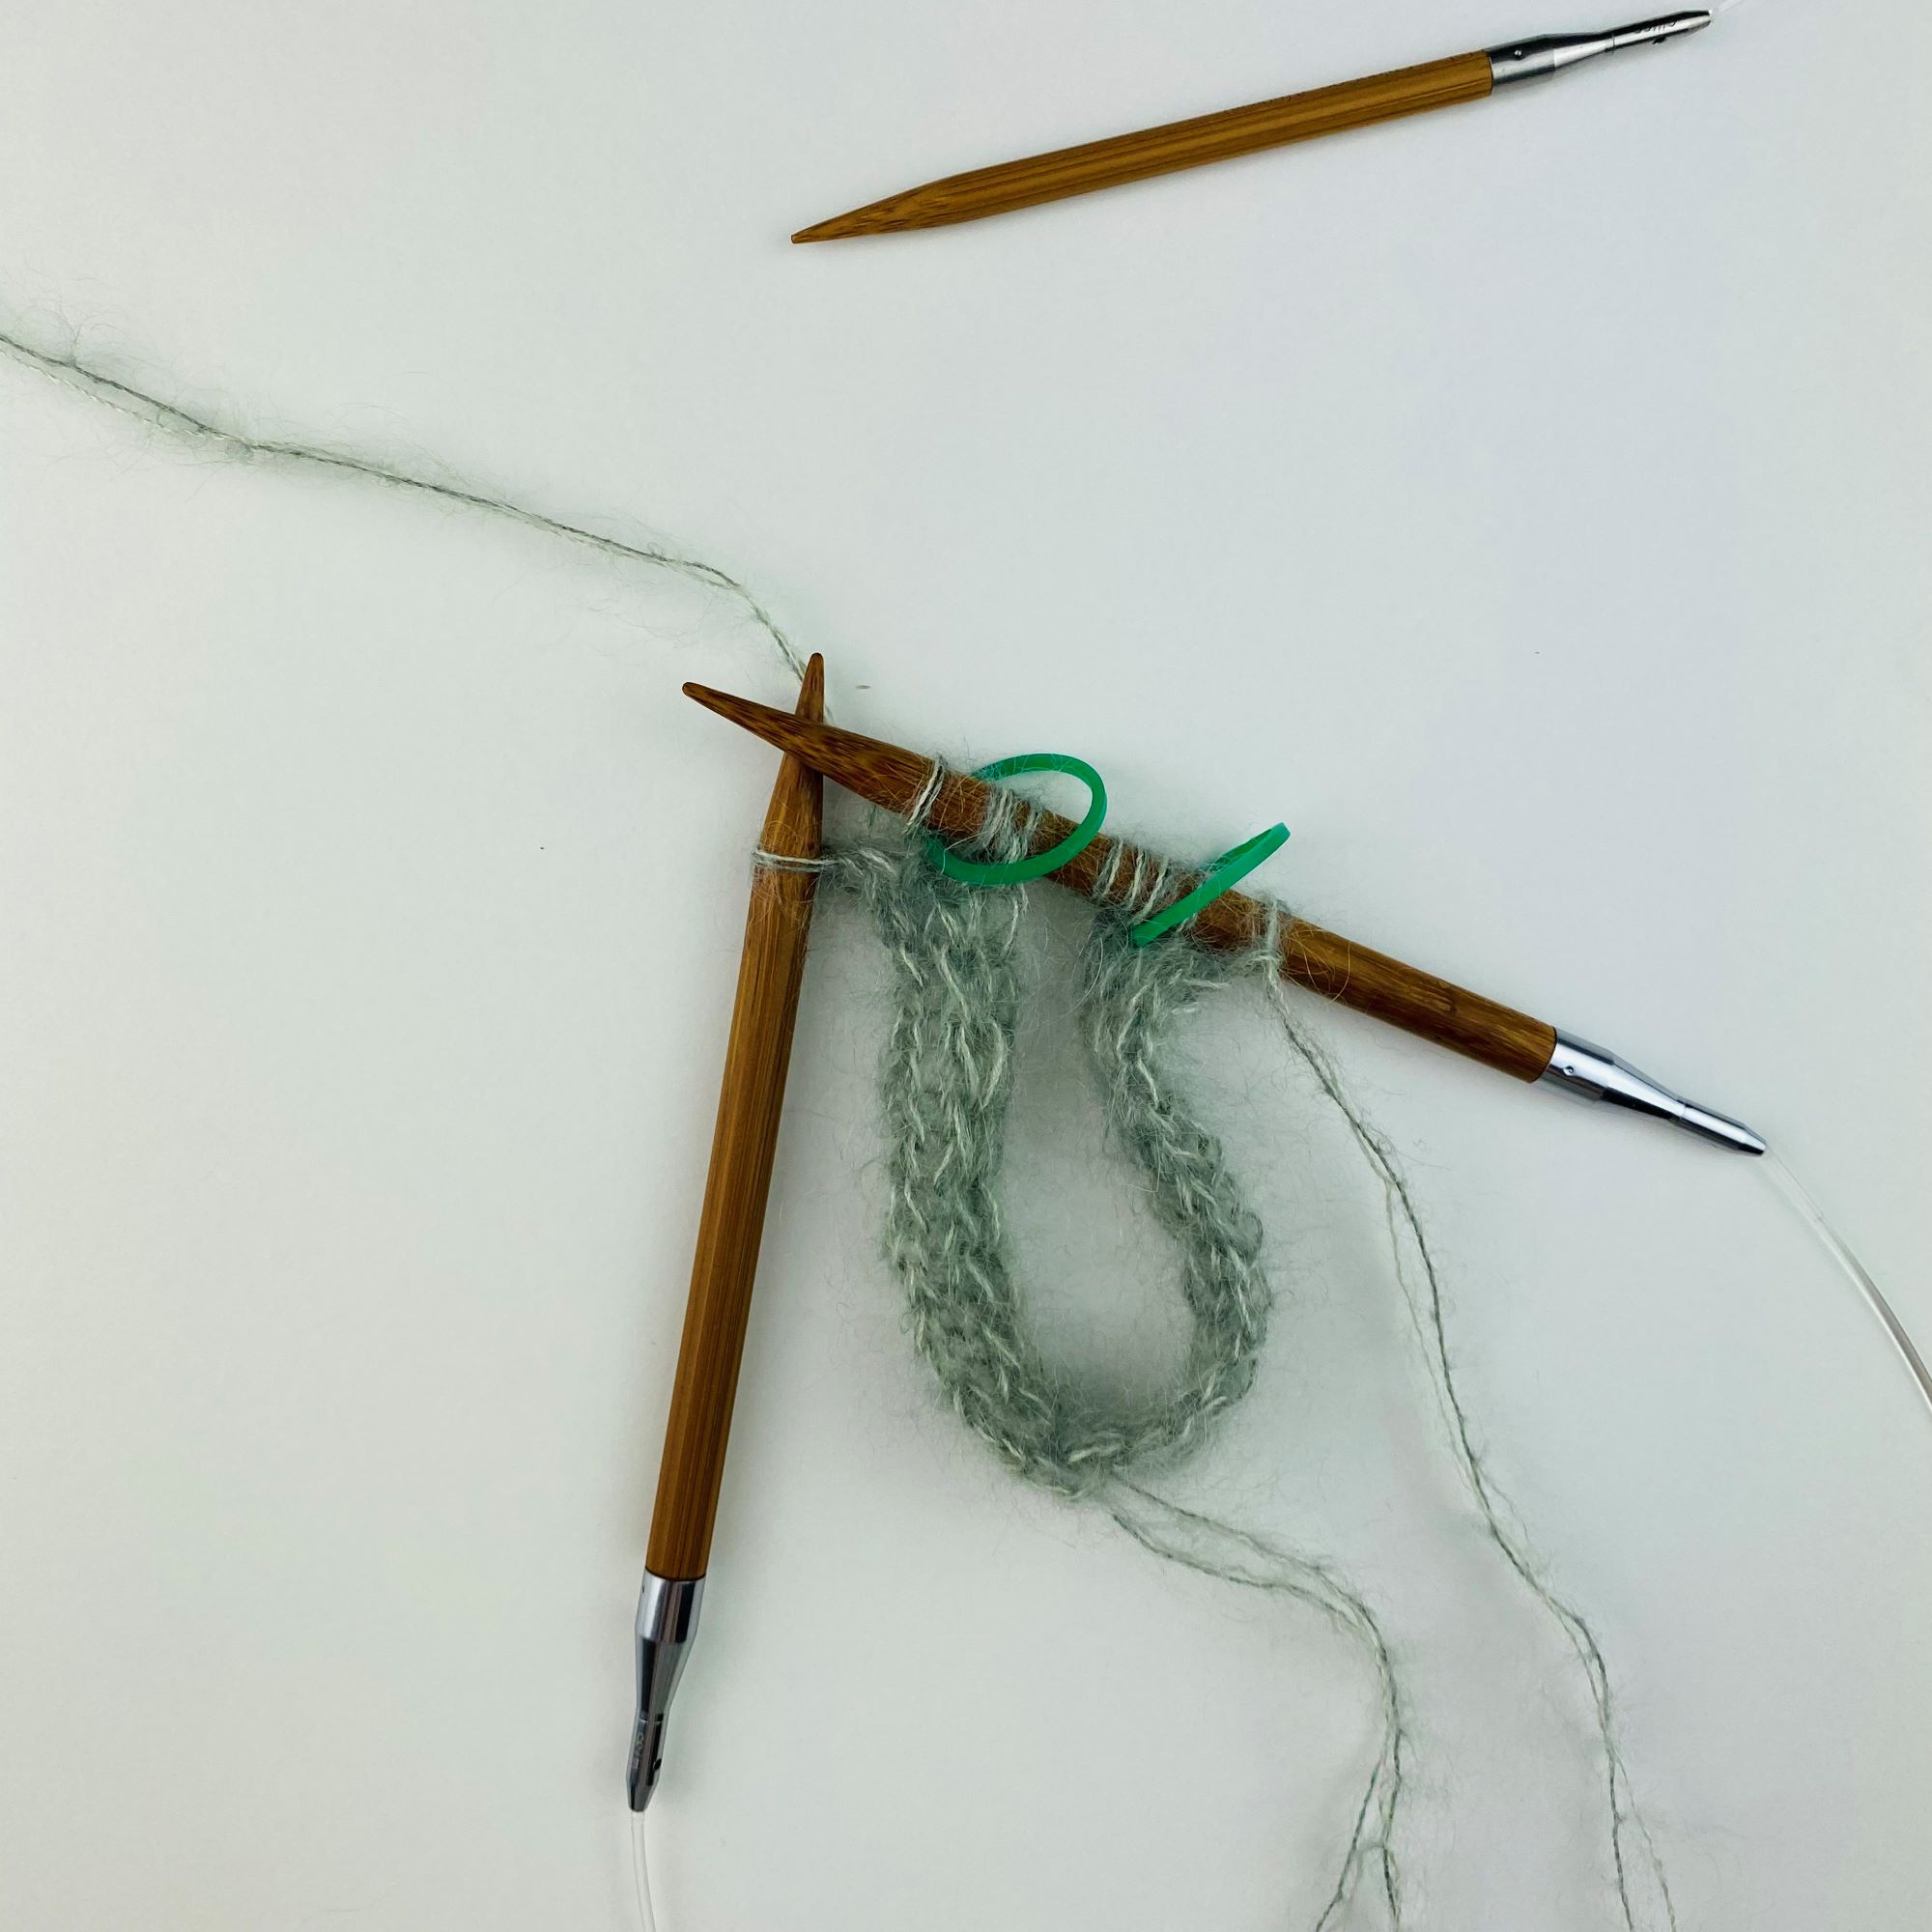
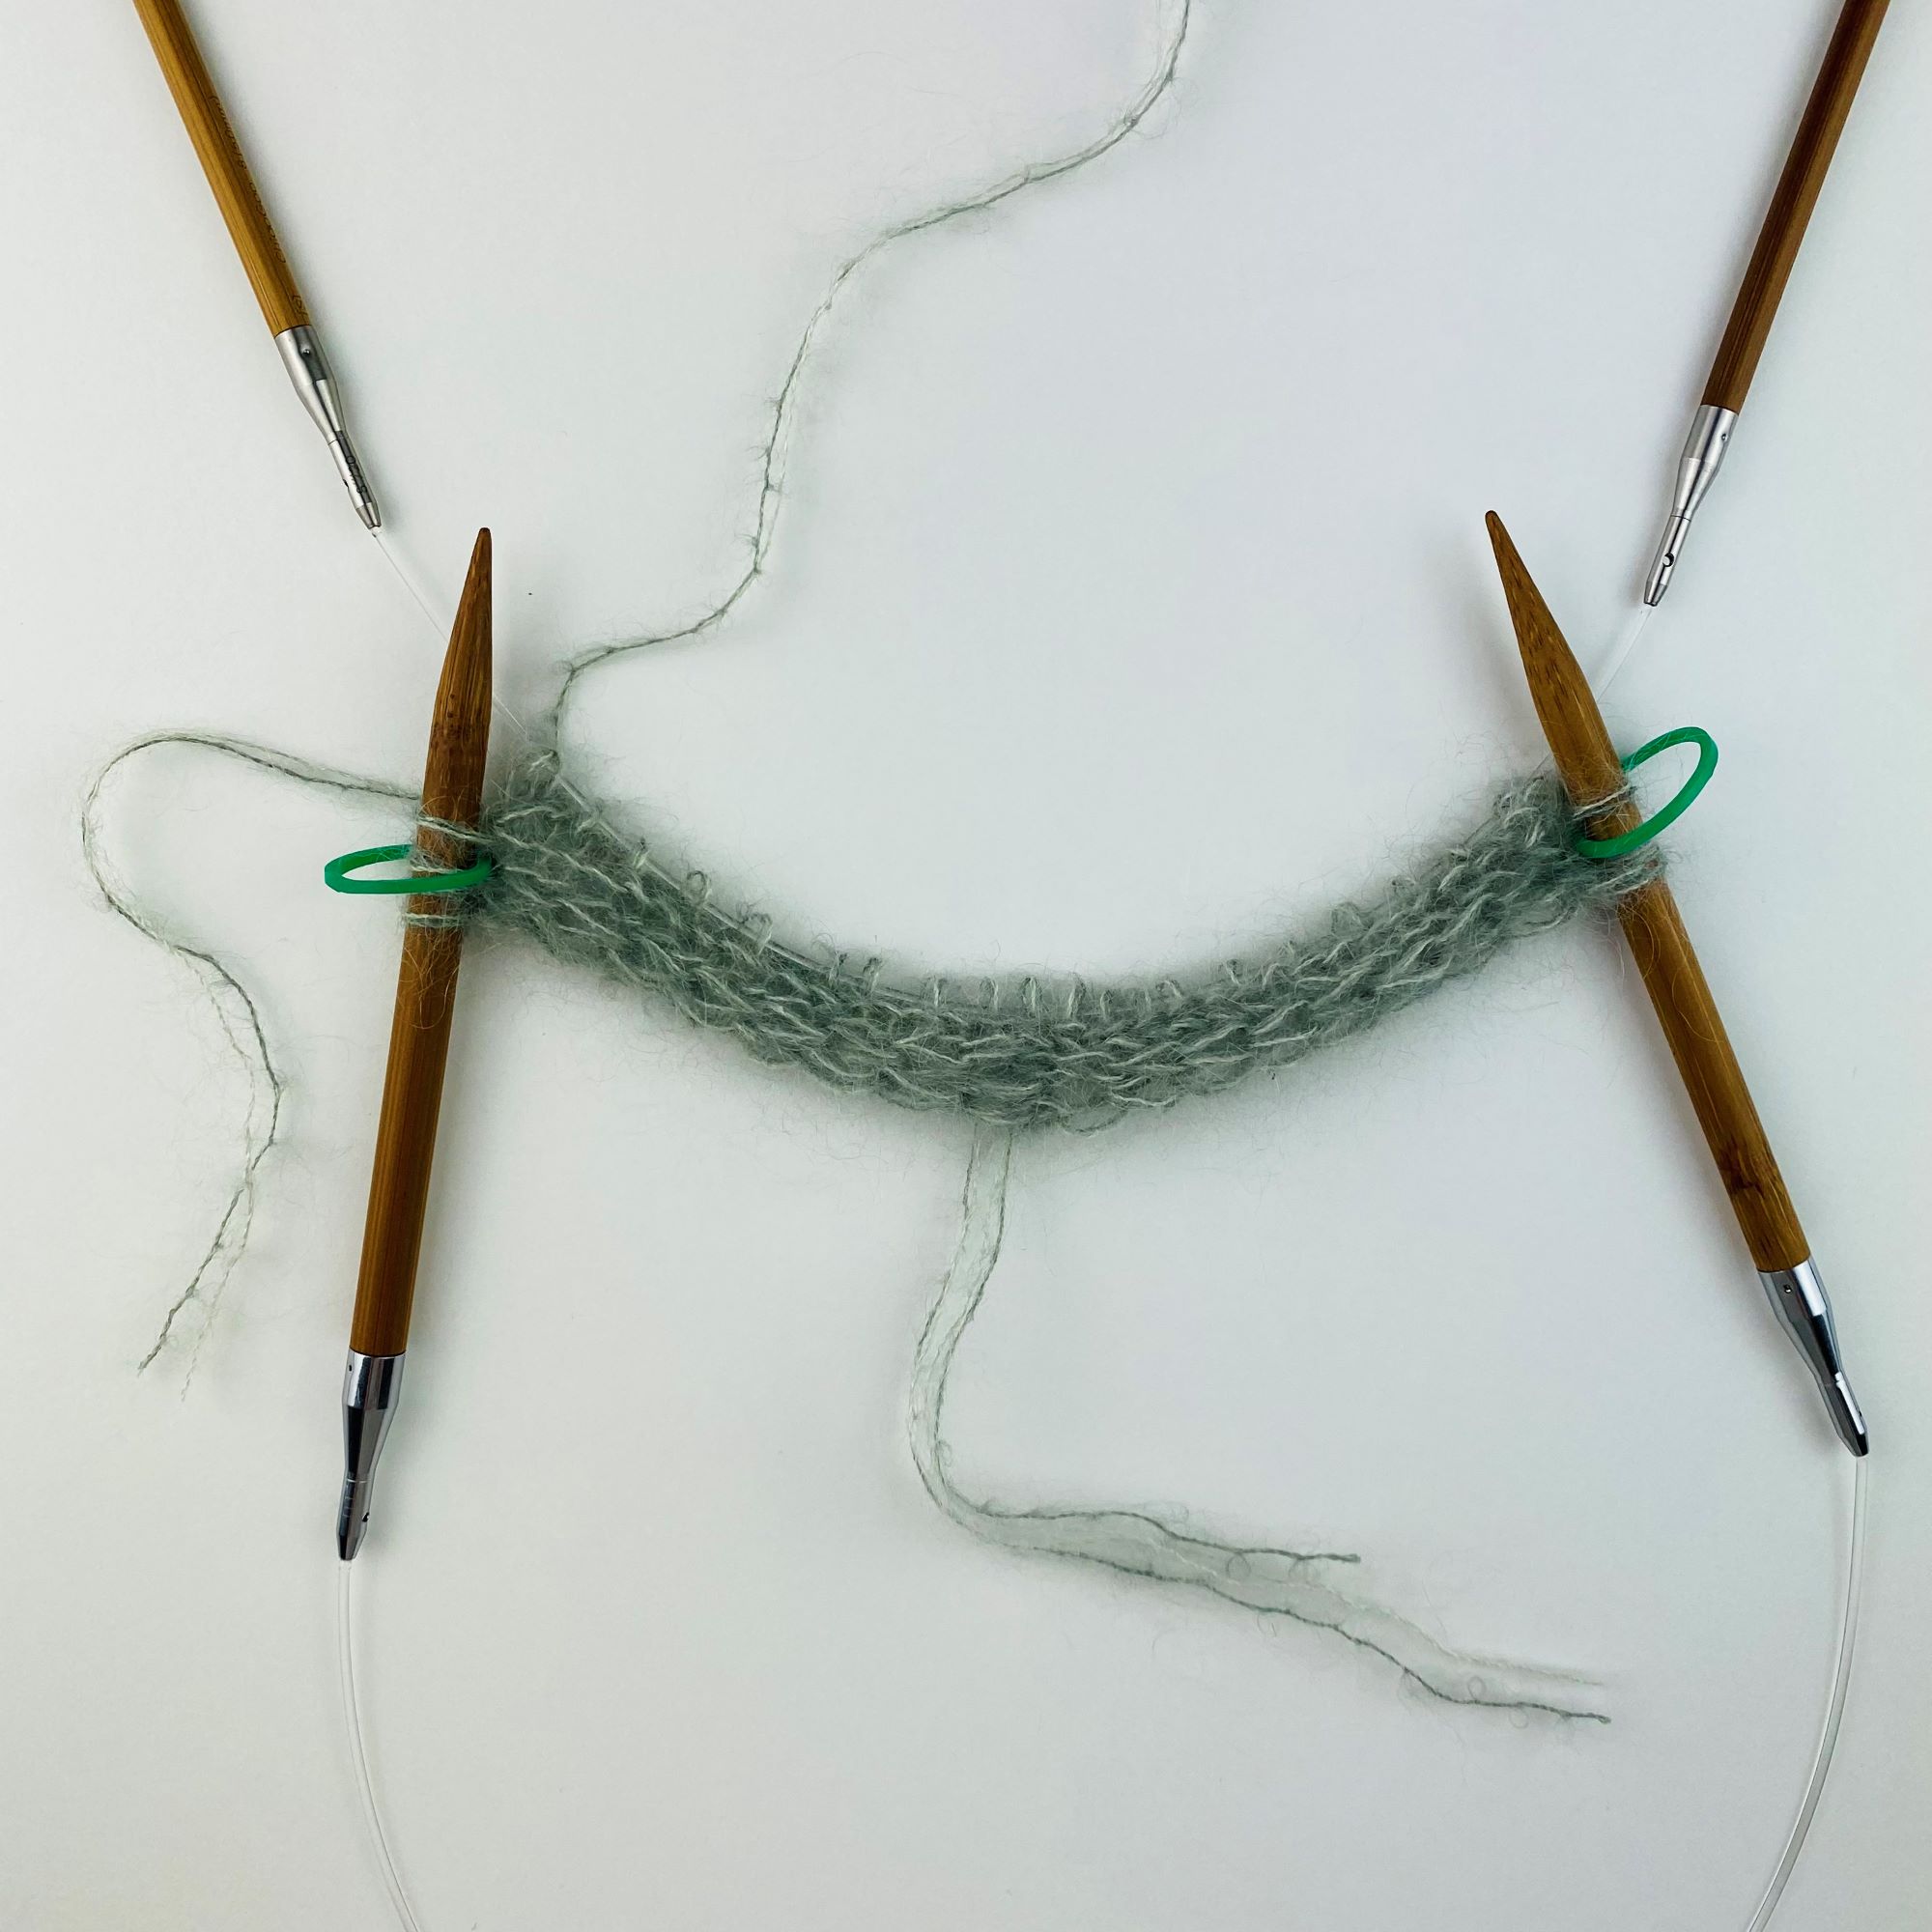
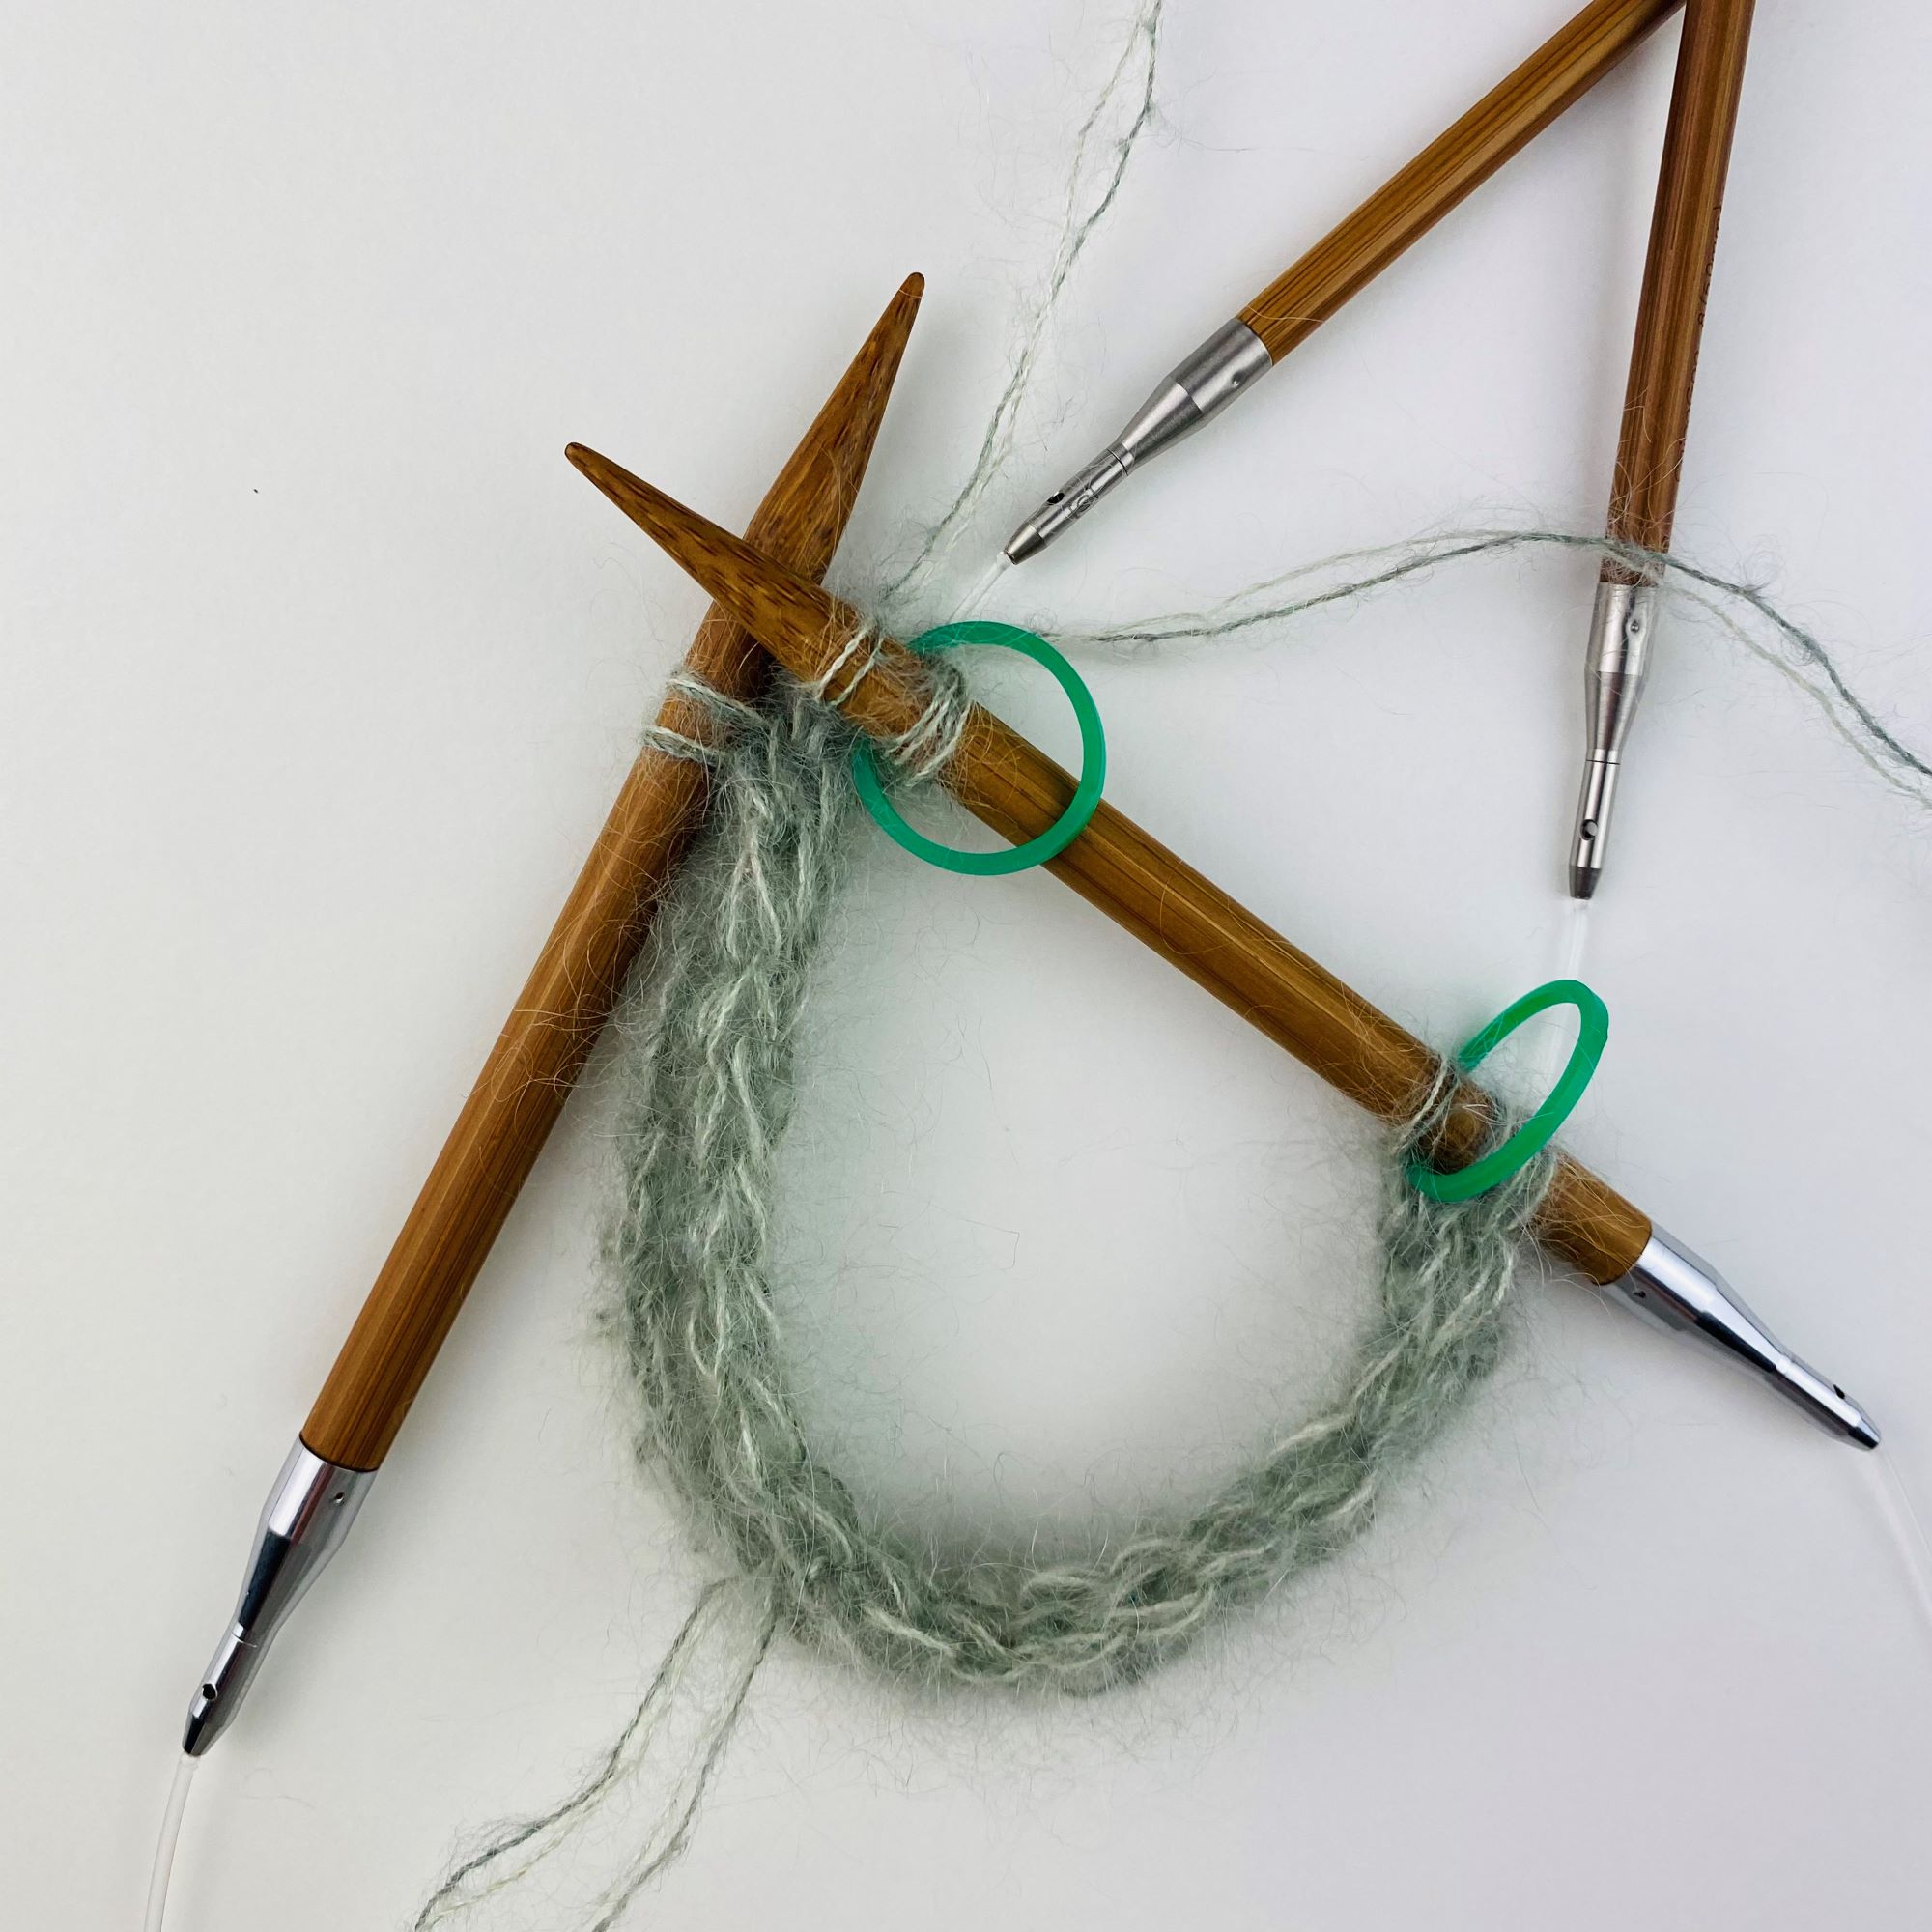
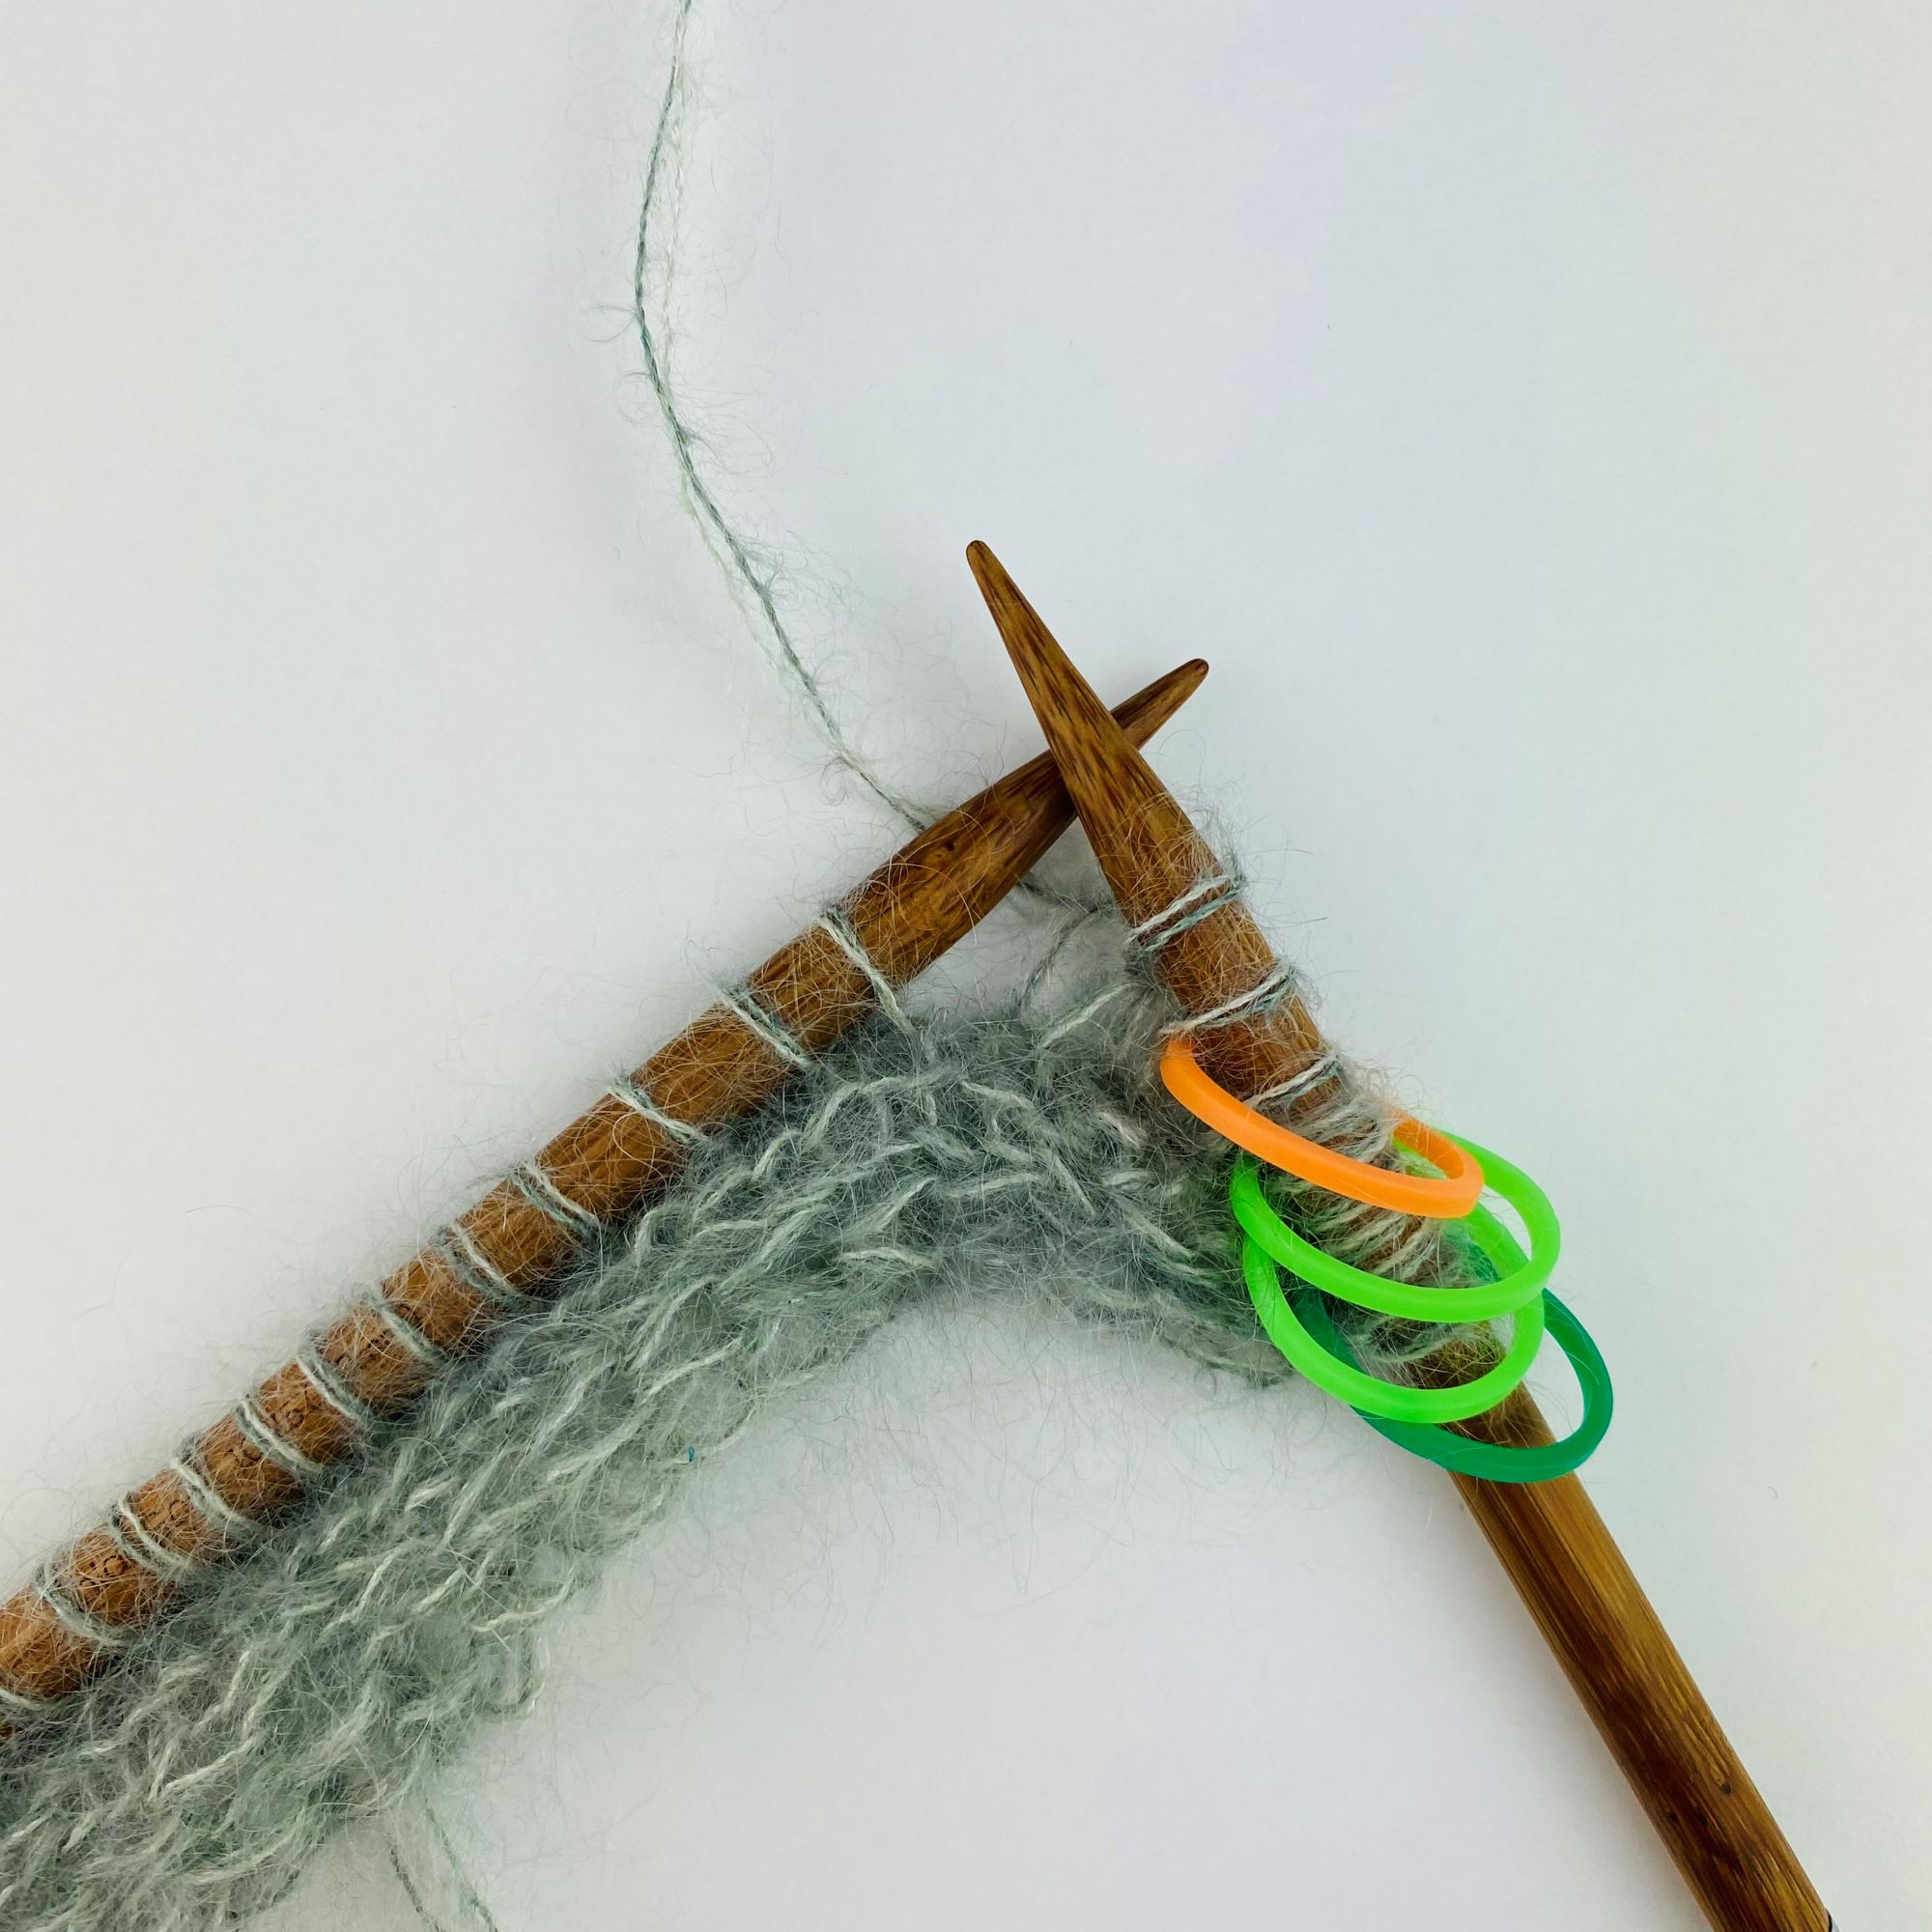
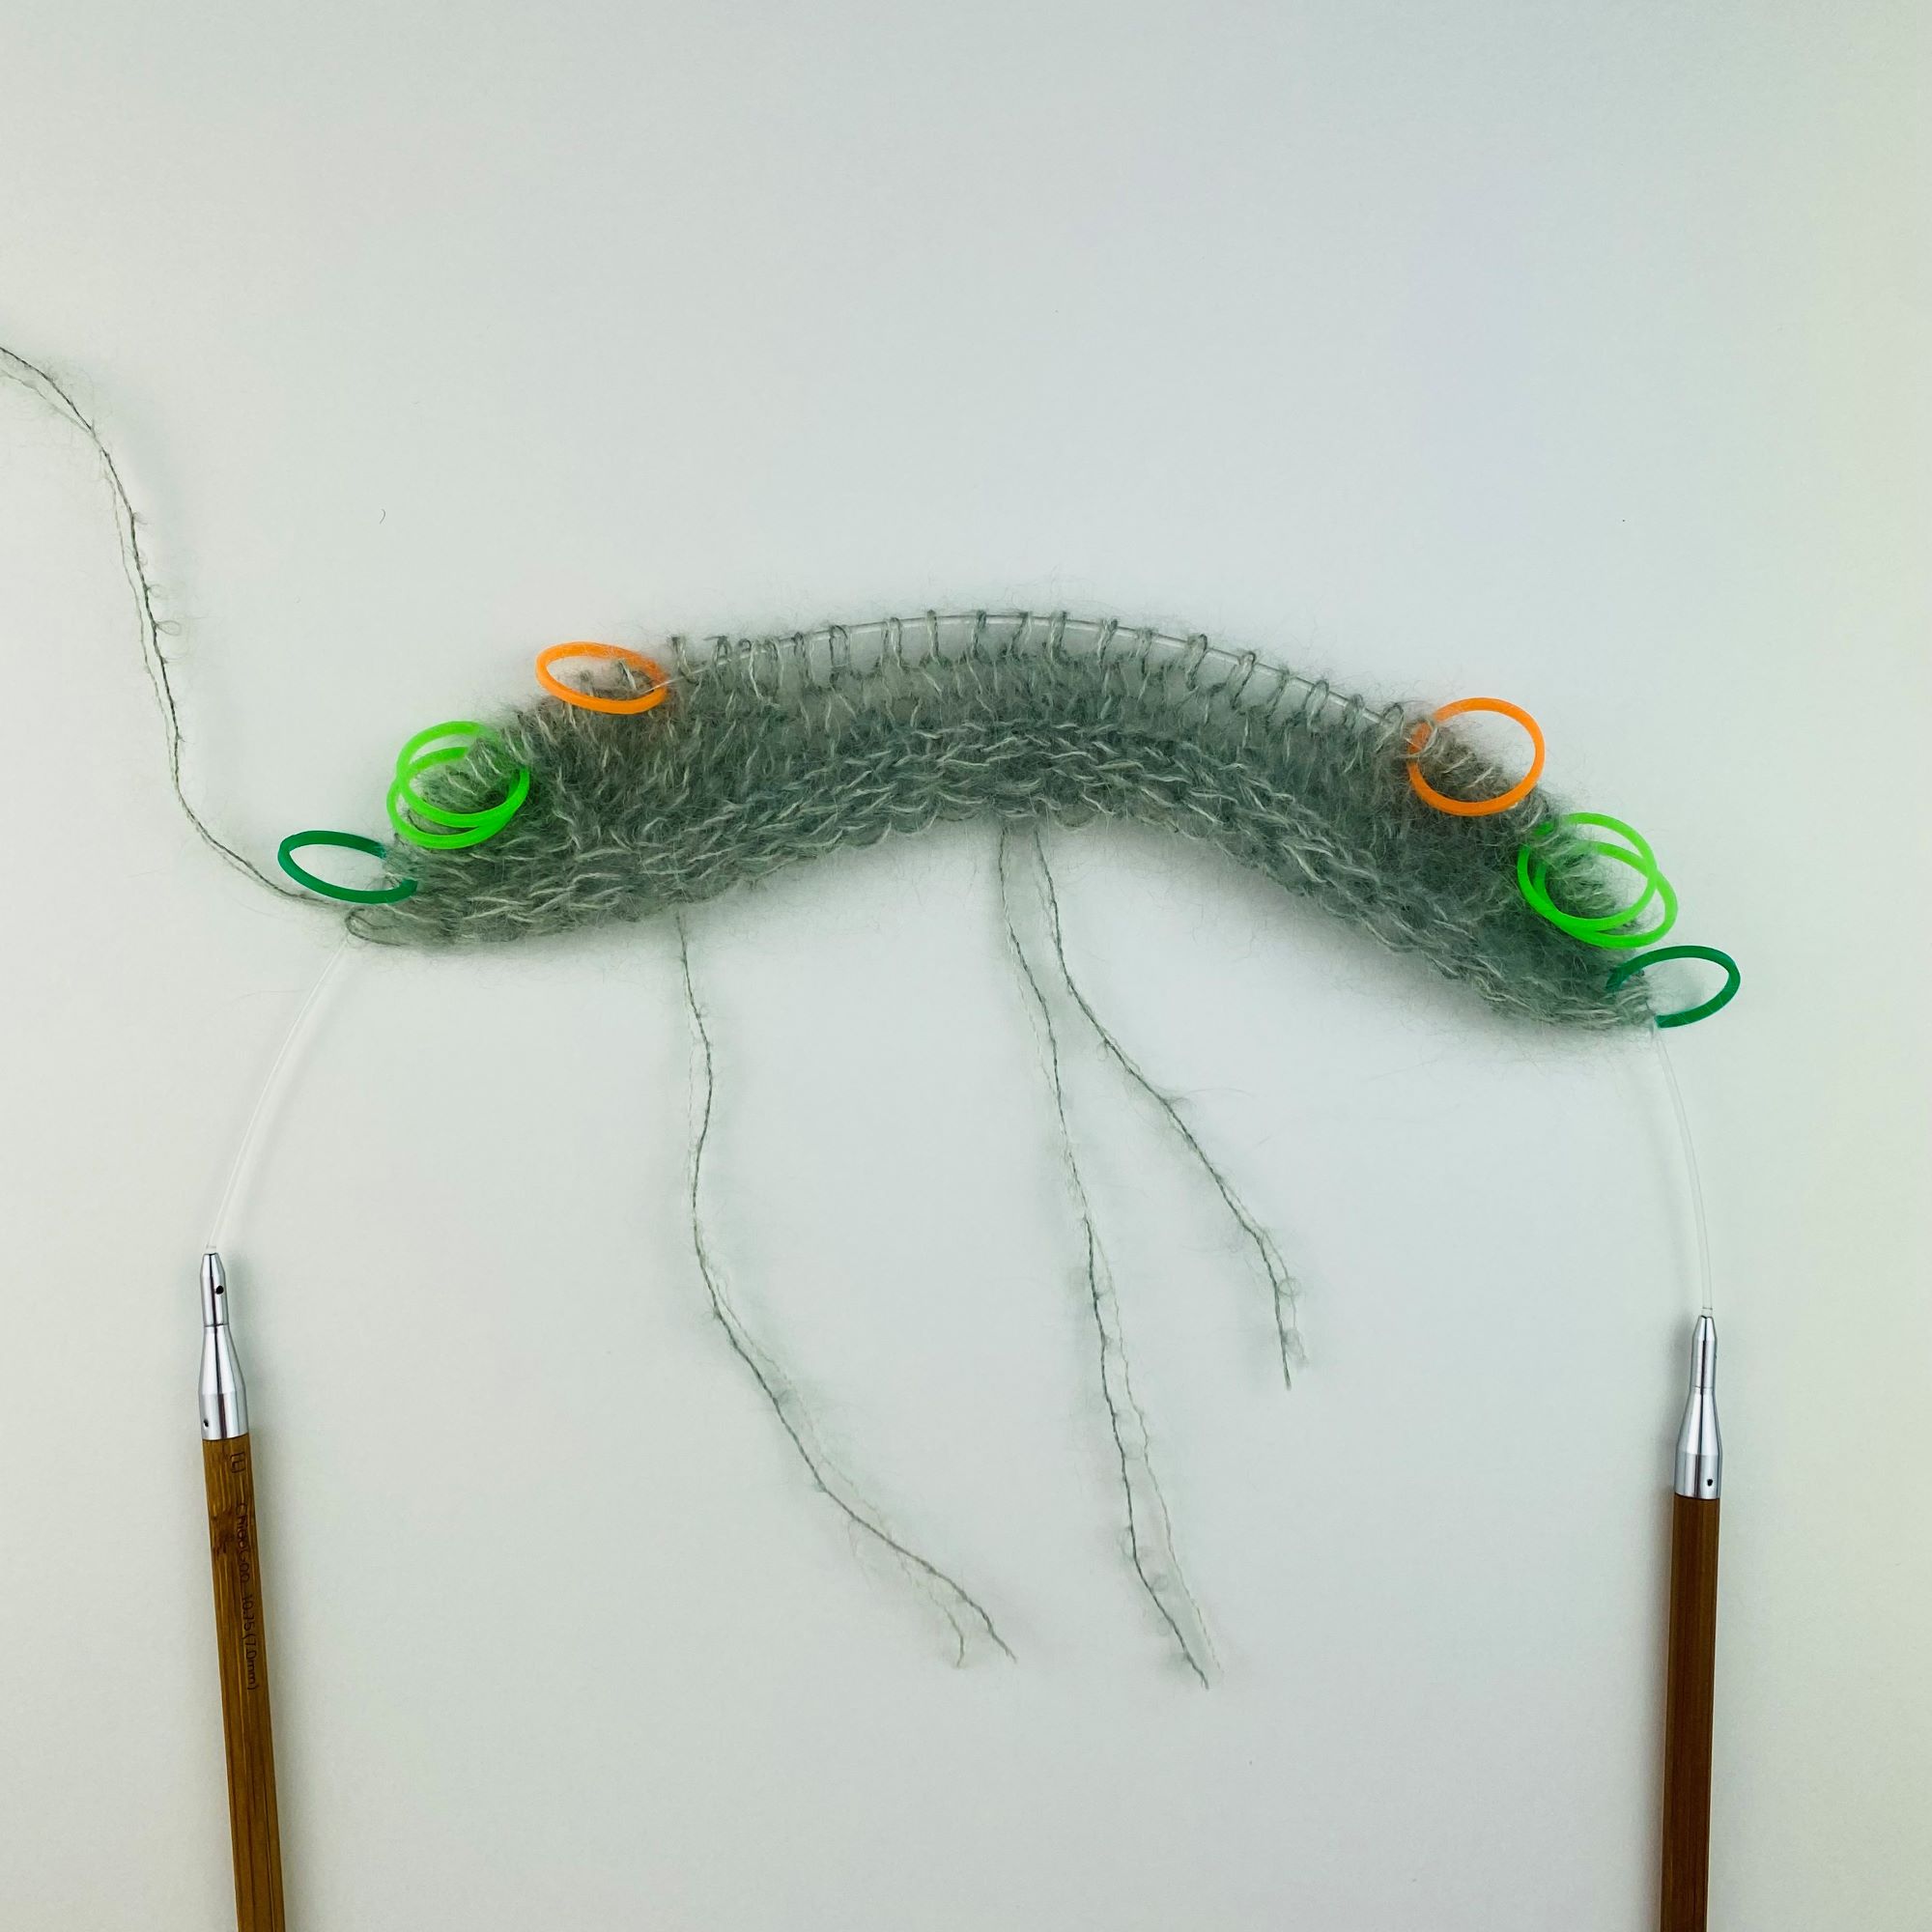
1. Reihe mit den ersten Zunahmen neben den Schultermaschen fertig und alle Maschenmarkierer gesetzt. // 1st row with increases done!
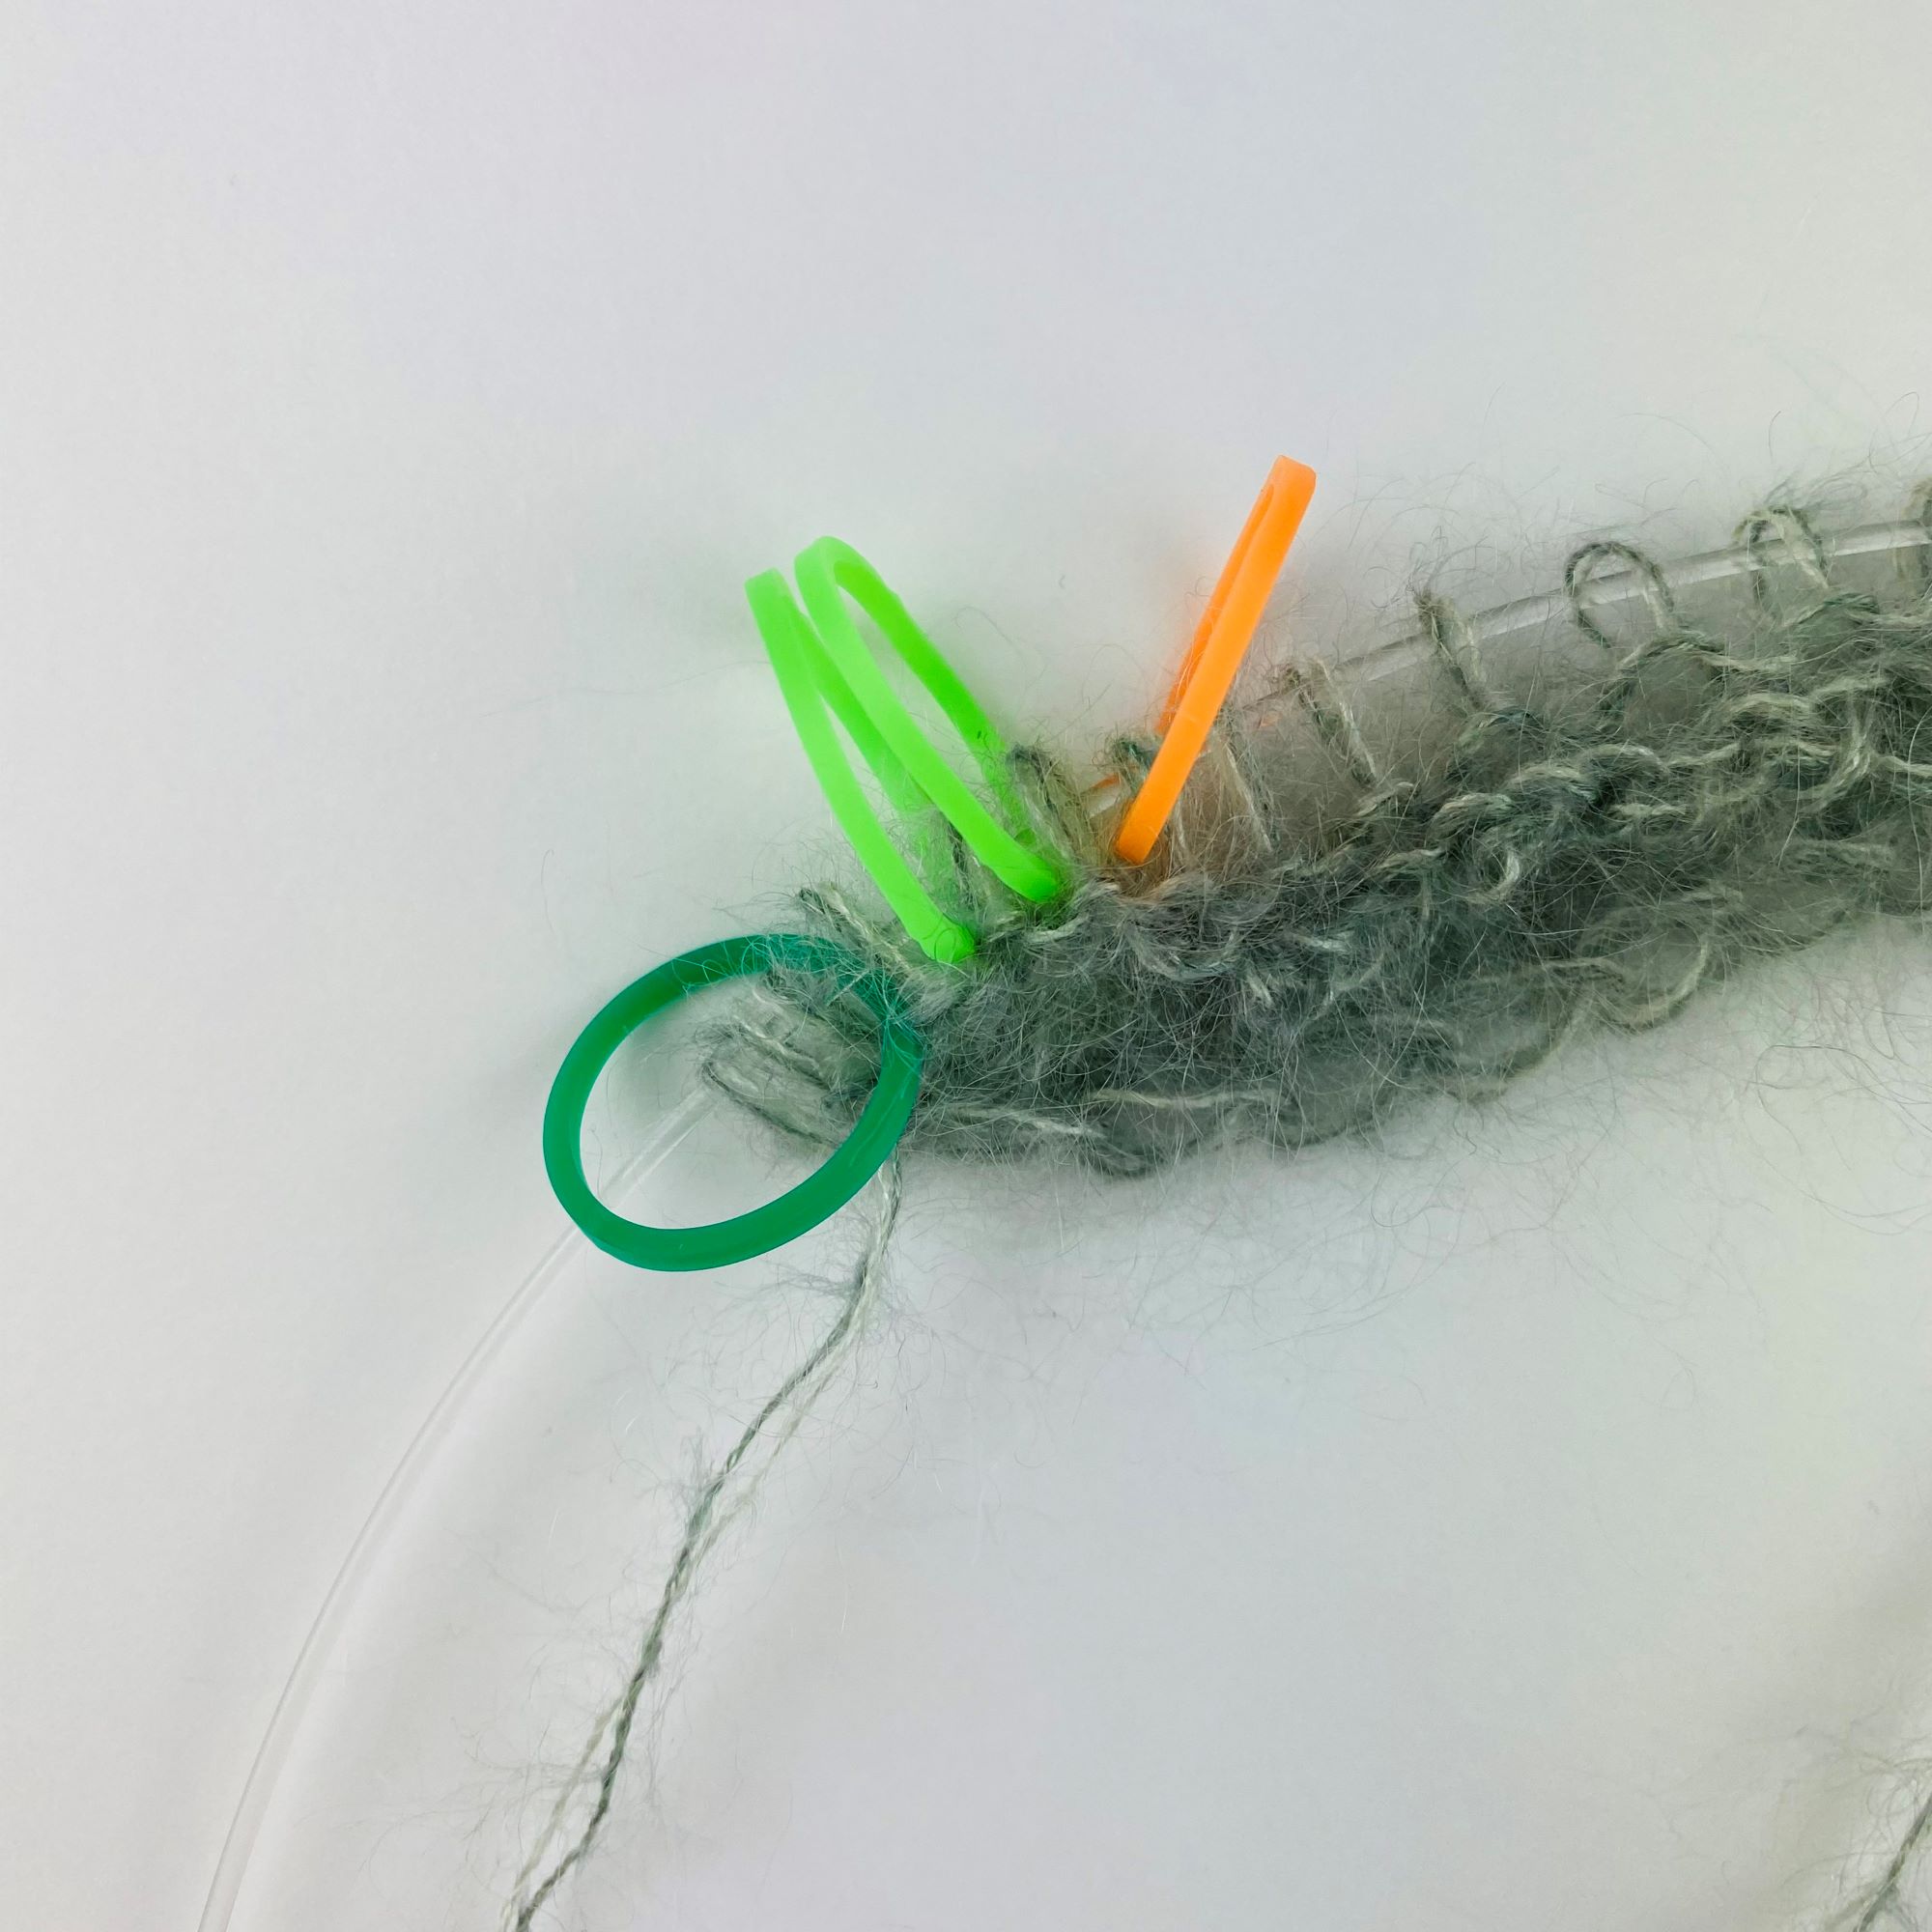
Randmaschen (dunkelgrün), linke Schultermasche (hellgrün), Linkes Rückenteil (orange) // Stitchmarker for Edge Stitche (dark green), left shoulder stitch (light green), Left Back (orange)
Rechts und links neben der Schultermasche (hellgrün) die Zunahmen arbeiten! // Work the increases to the right and left of the shoulder stitch.
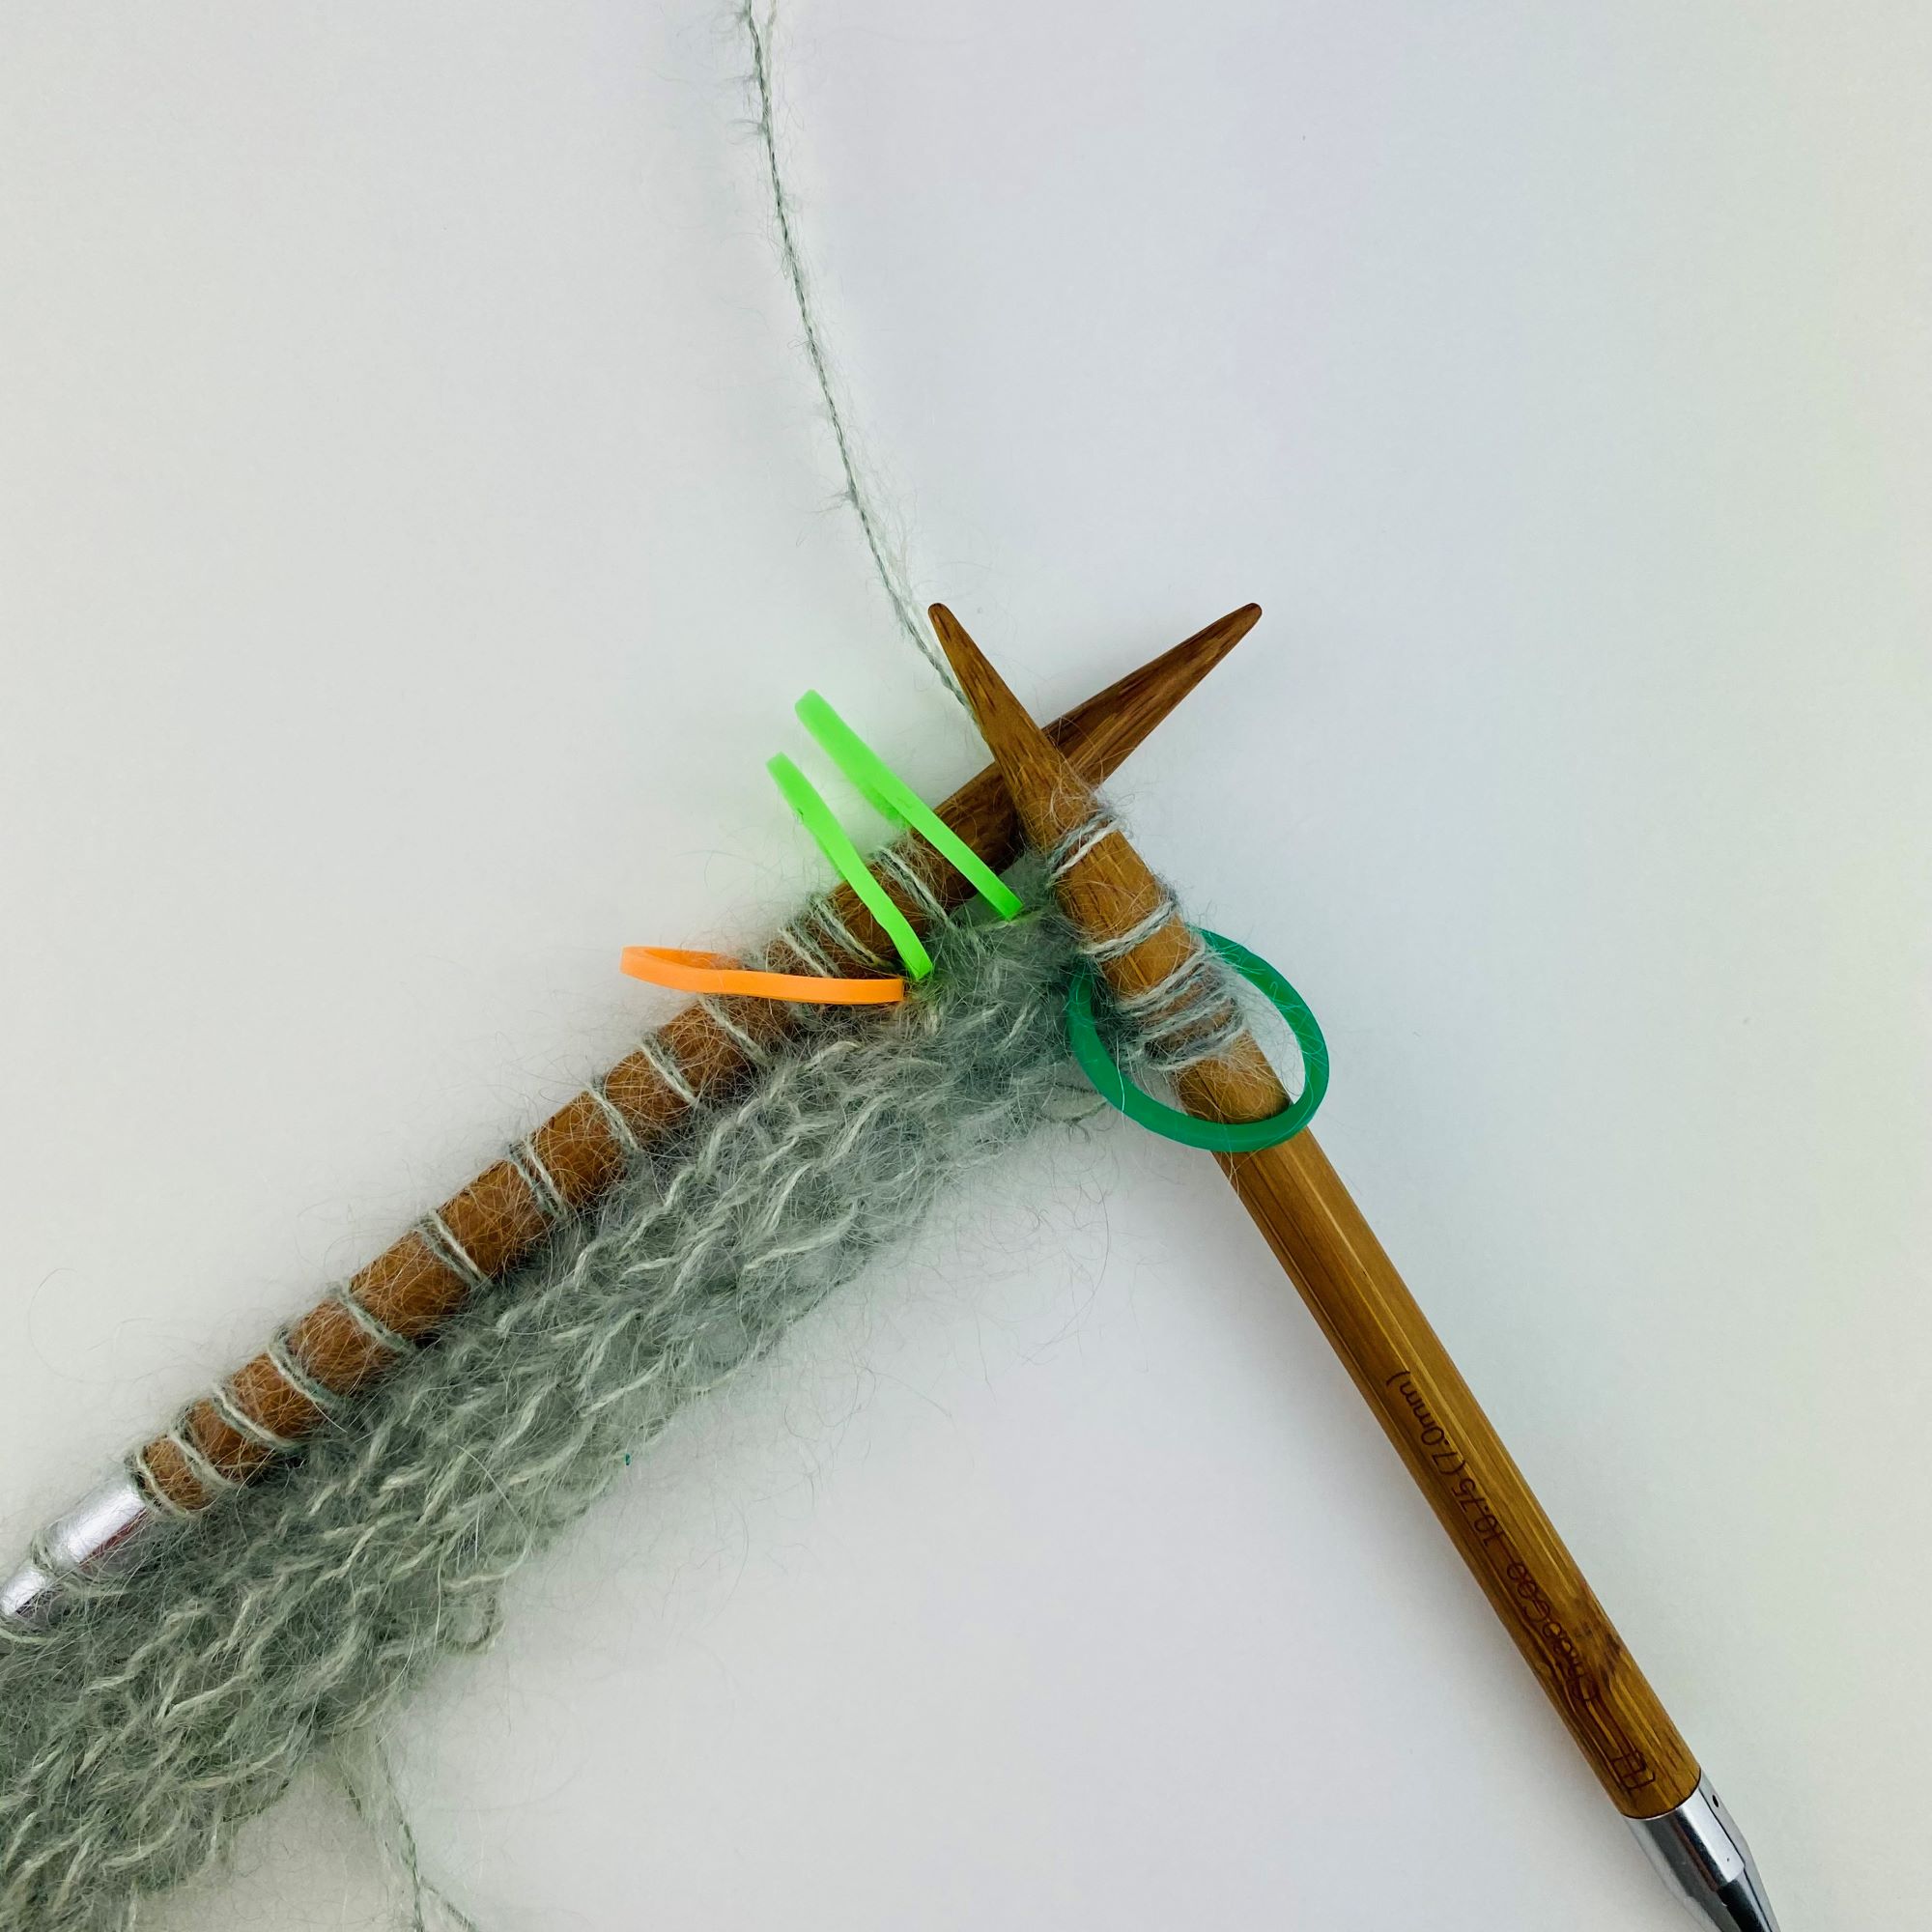
Die Maschenanzahl für den ersten Wendepunkt (1) nach dem Maschenmarkierer für das linke Rückenteil (orange) abzählen. Anschließend wenden, Doppelmasche arbeiten und laut Anleitung stricken. // Count the stitches for the first turning point (1) after the stitch marker for the left back (orange). After that turn and work german short row.

Zweiter Wendepunkt (2): über die erste Doppelmasche (beide „Beinchen“) rechts stricken und den nächsten Wendepunkt abzählen. Anschließend wenden, Doppelmasche arbeiten und weiter laut Anleitung (auch Anhang 3) stricken. // Second turning point (2)
Alle Wendepunkte wurden nun abgearbeitet und der hintere Halsausschnitt geformt! // All turning points are worked now (1st – 6th row)