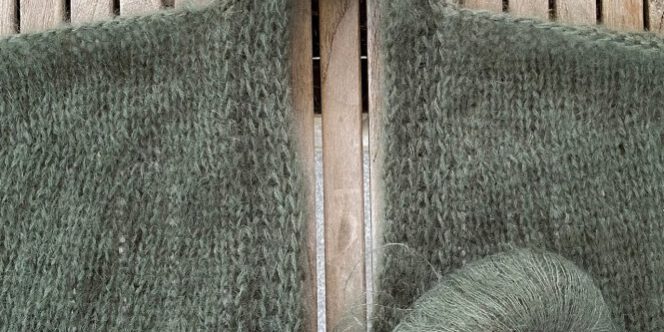
Linke Blende und Vorderteil // Left Neckband and Front Piece
A) Maschenaufnahme // Pick Up Stitches
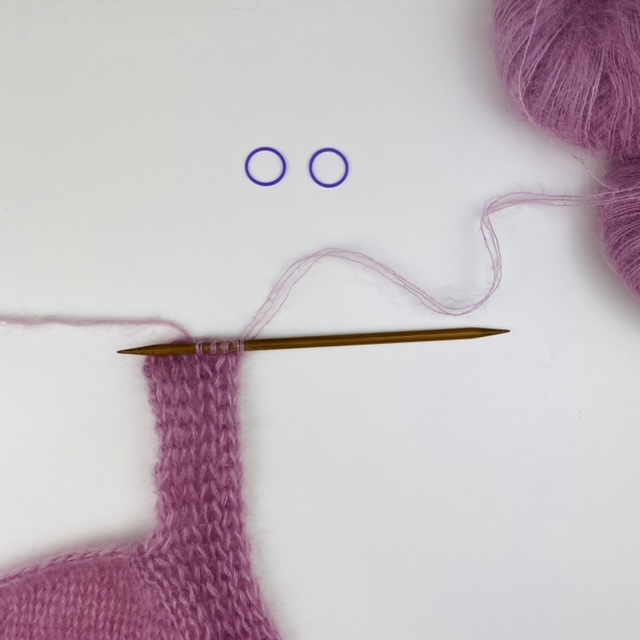
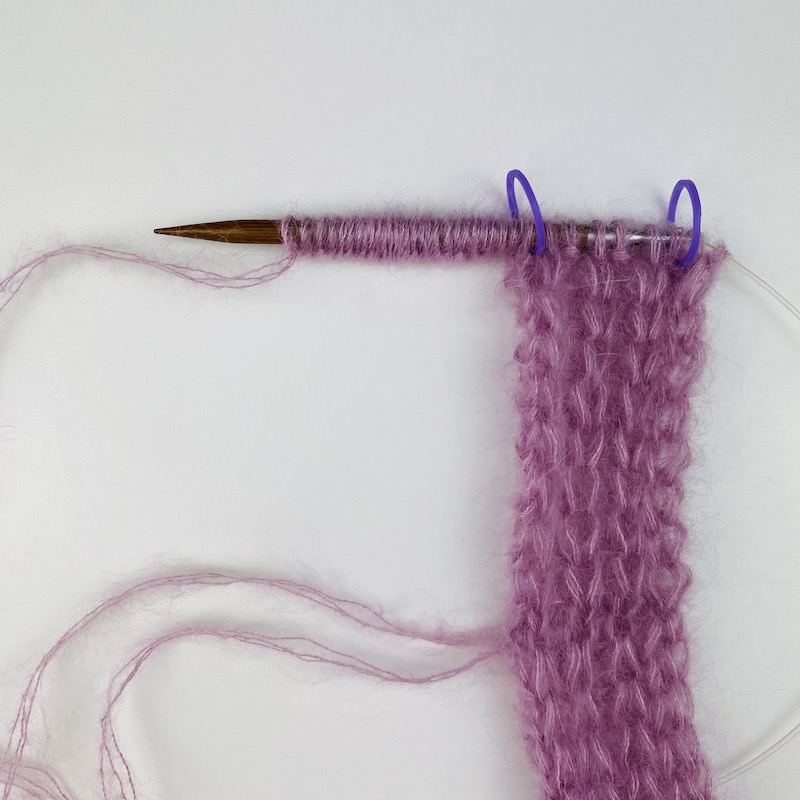
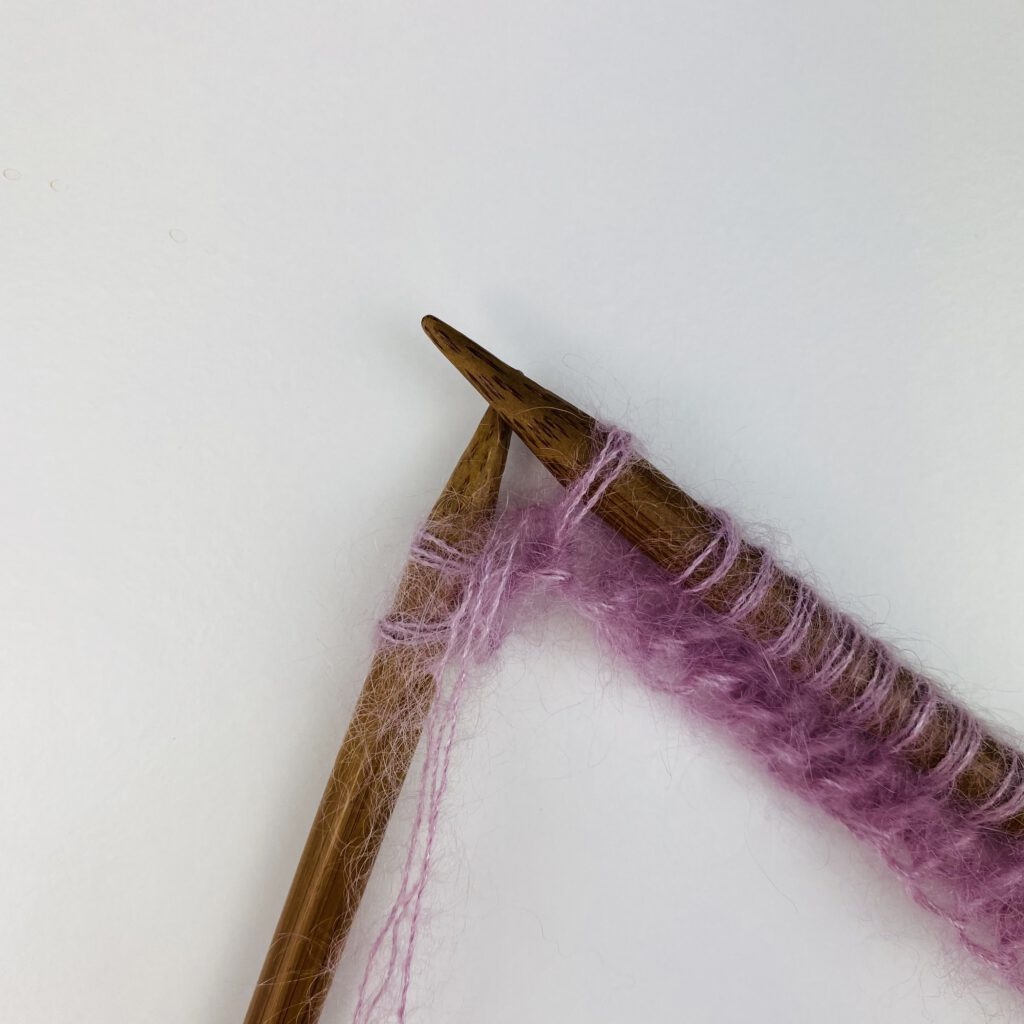
// Picture 1/2: Pick up stitches with a double pointed needle from right to left side … (the cast on yarn is placed at the left side)
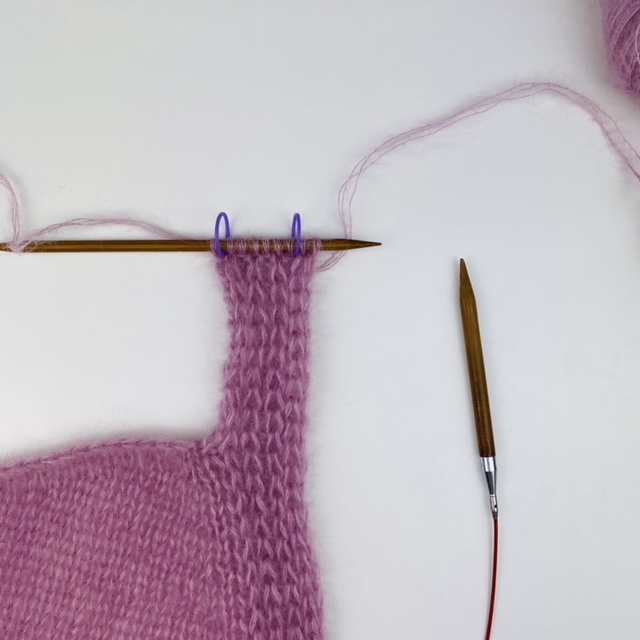
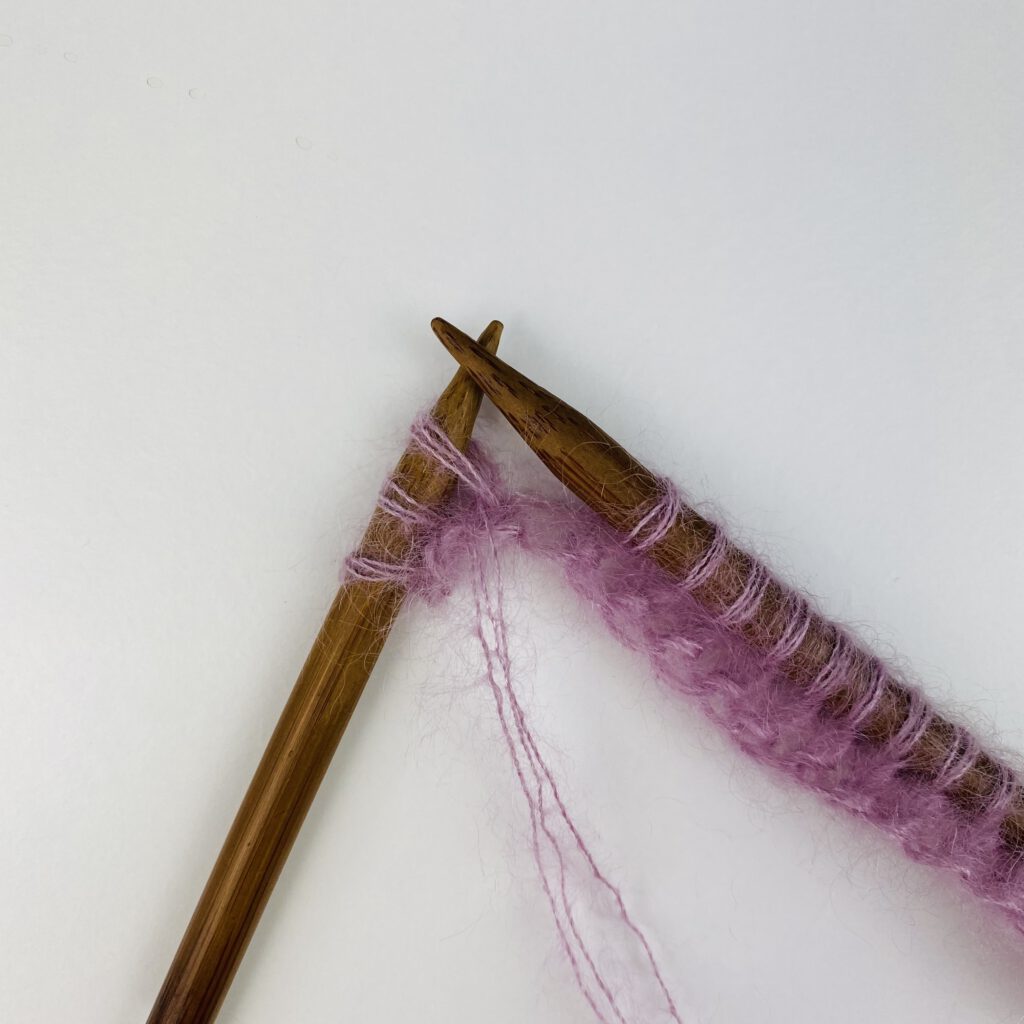
// Picture 2/2: … slide stitches to other end of needle and start at a right side row.
B) Linke Blende // Left Neckband
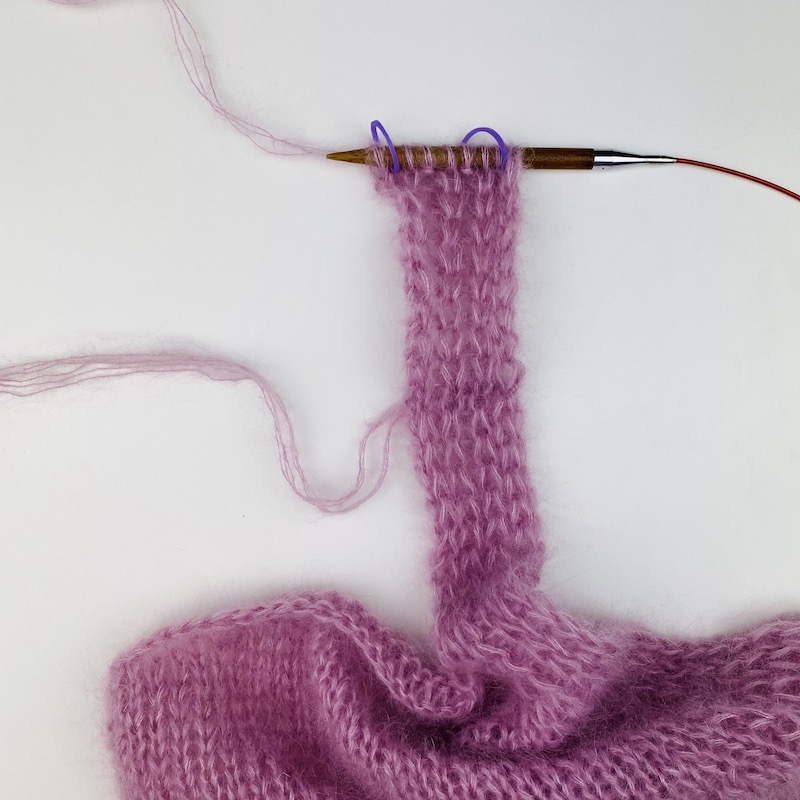
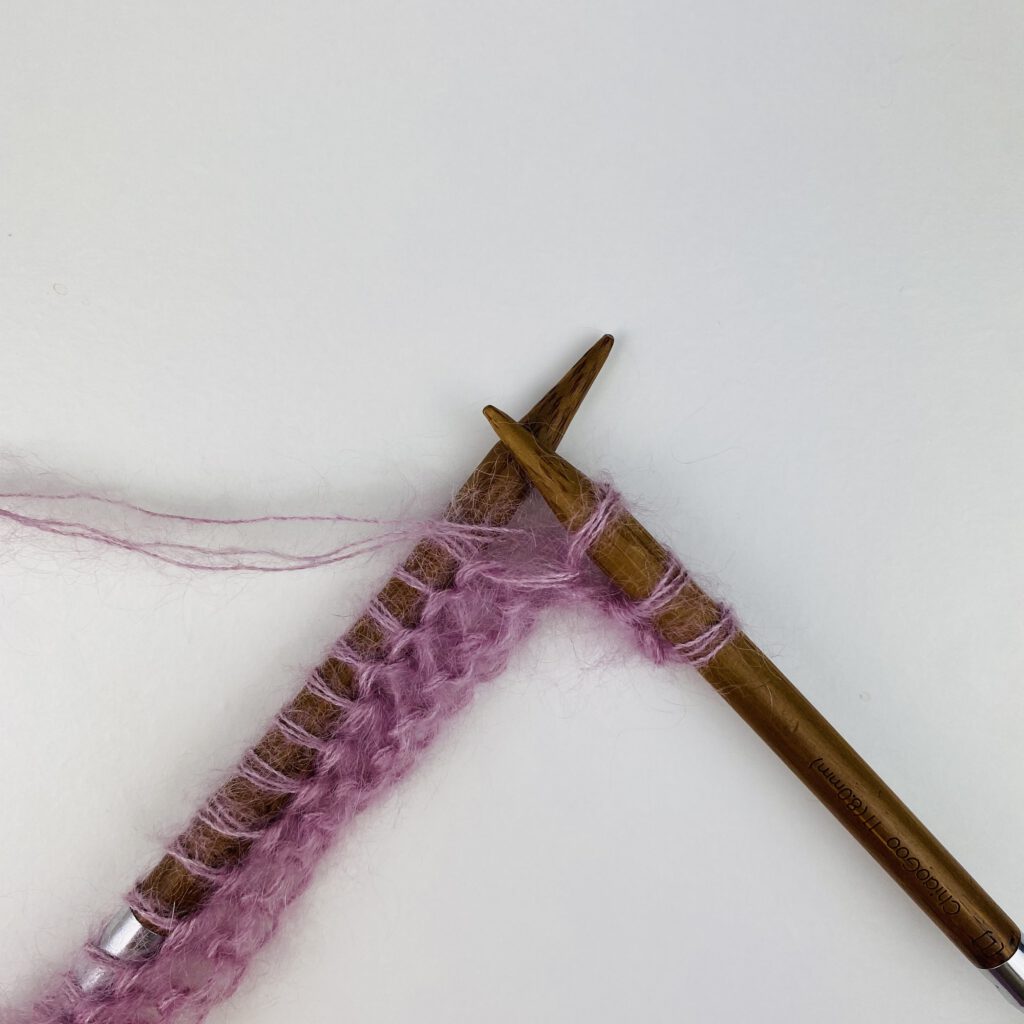
// Picture 1/2: At the end of a right side row pick up stitches for the shoulder with backward loop cast on.
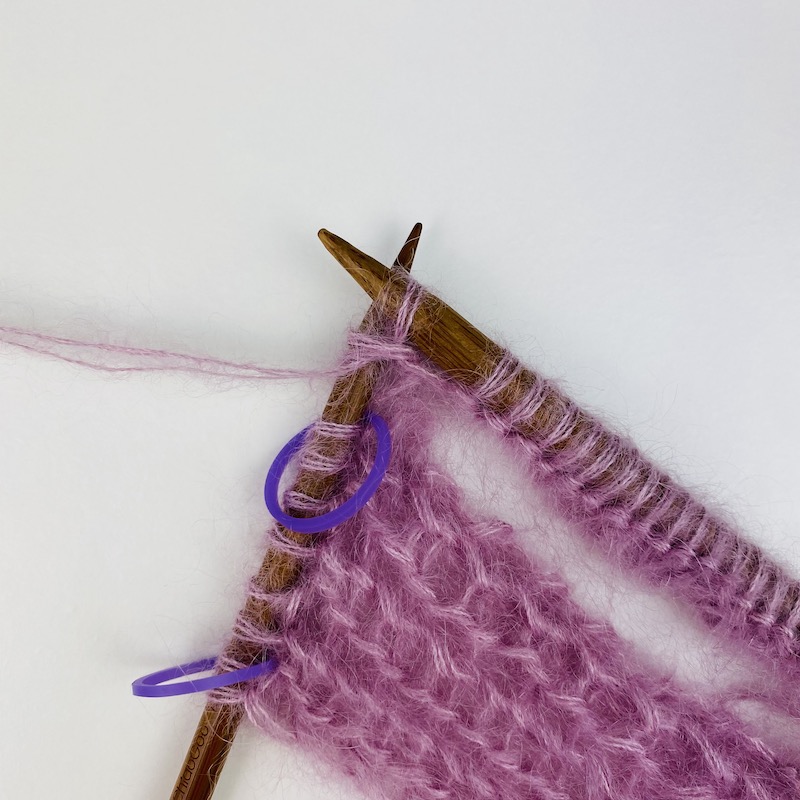
// Picture 2/2: In the next wrong side row purl the last stitch of the shoulder stitches with the first stitch of the left neckband (edge stitch) together.
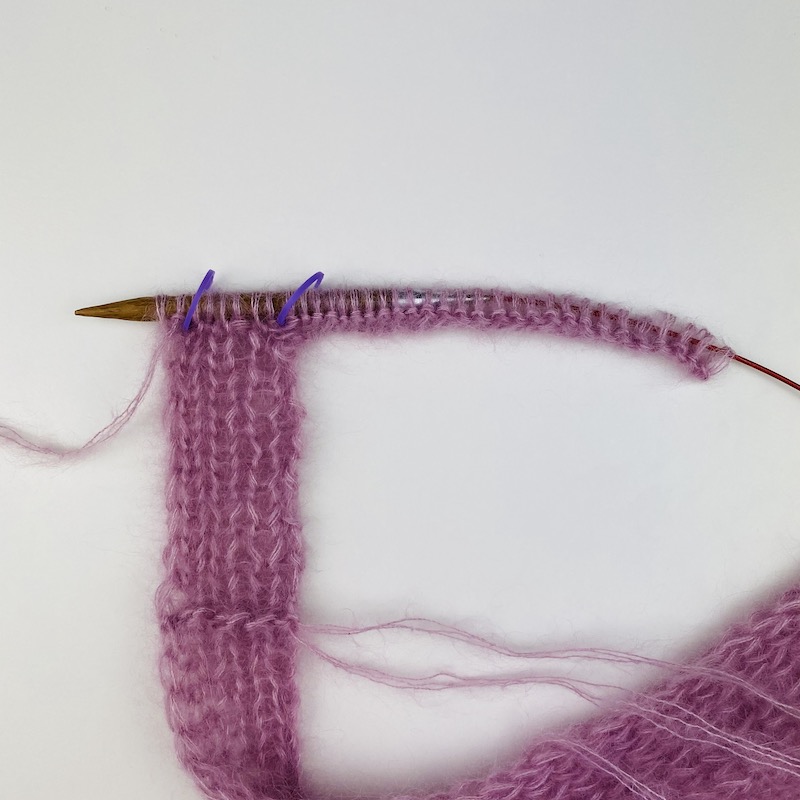
C) Linkes Vorderteil mit // Left Front Piece with
(1a) Verkürzte Reihen // Short Rows
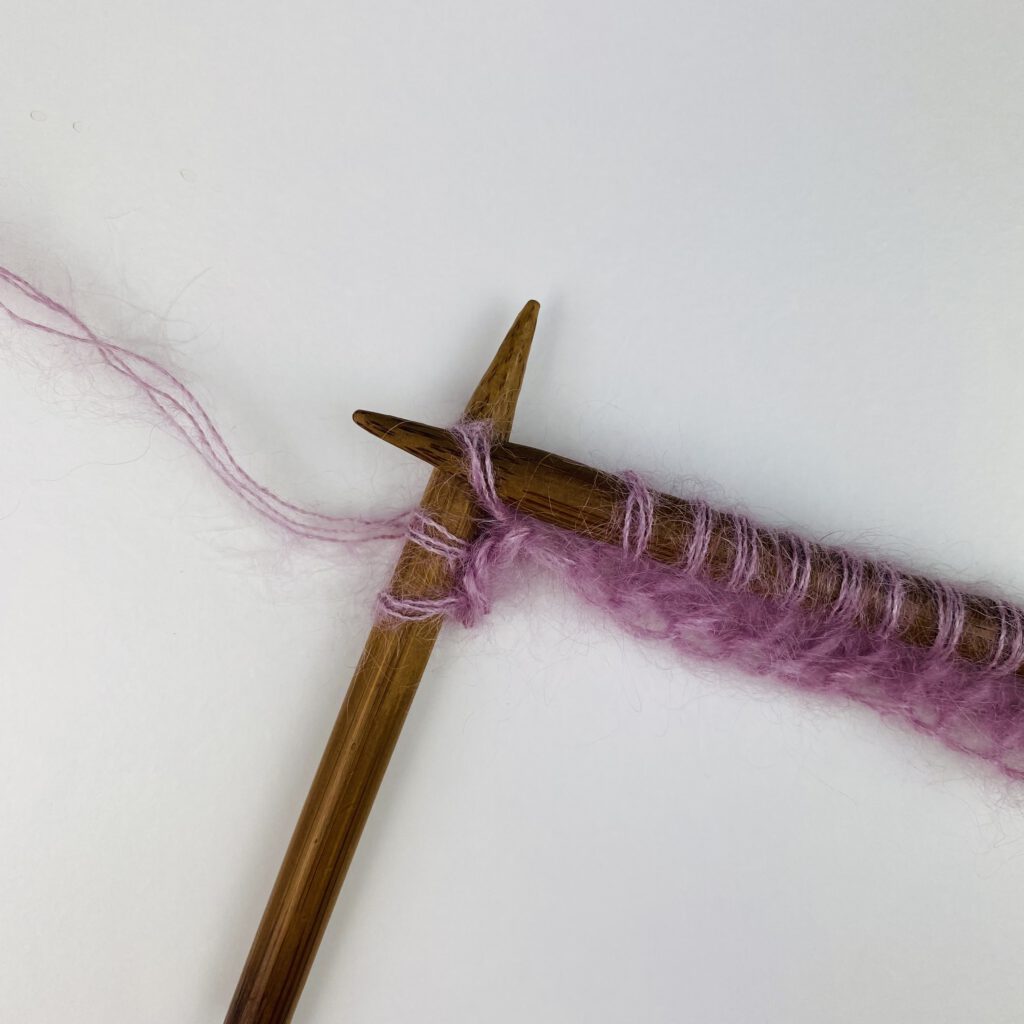
// Picture 1/4: At the turning point slip the stitch purlwise …
// Picture 2/4: … place the yarn in front of work …
// Picture 3/4: … place the slipped stitch back on the left needle …
// Picture 4/4: … turn work.
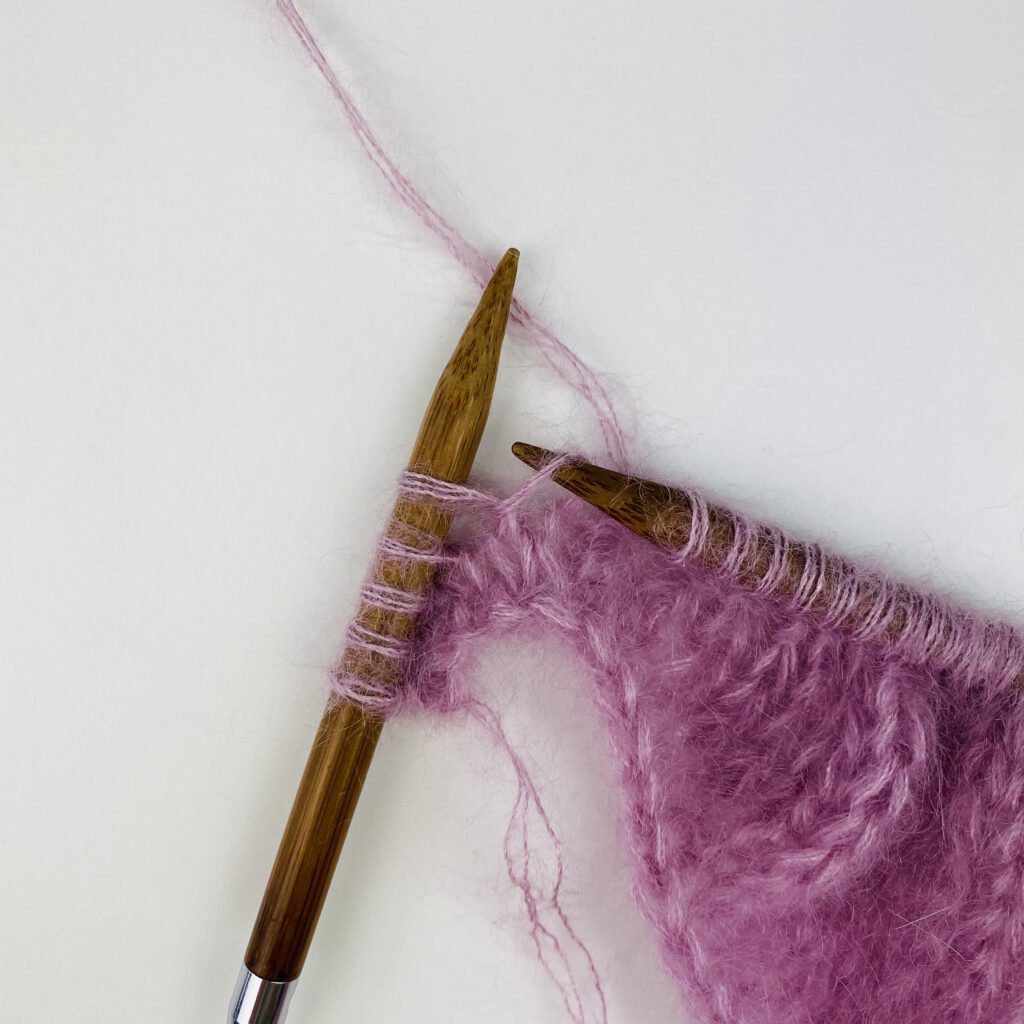
Bild 1/3: Stricke den Wickelfaden …
// Picture 1/4: Knit the wrap …
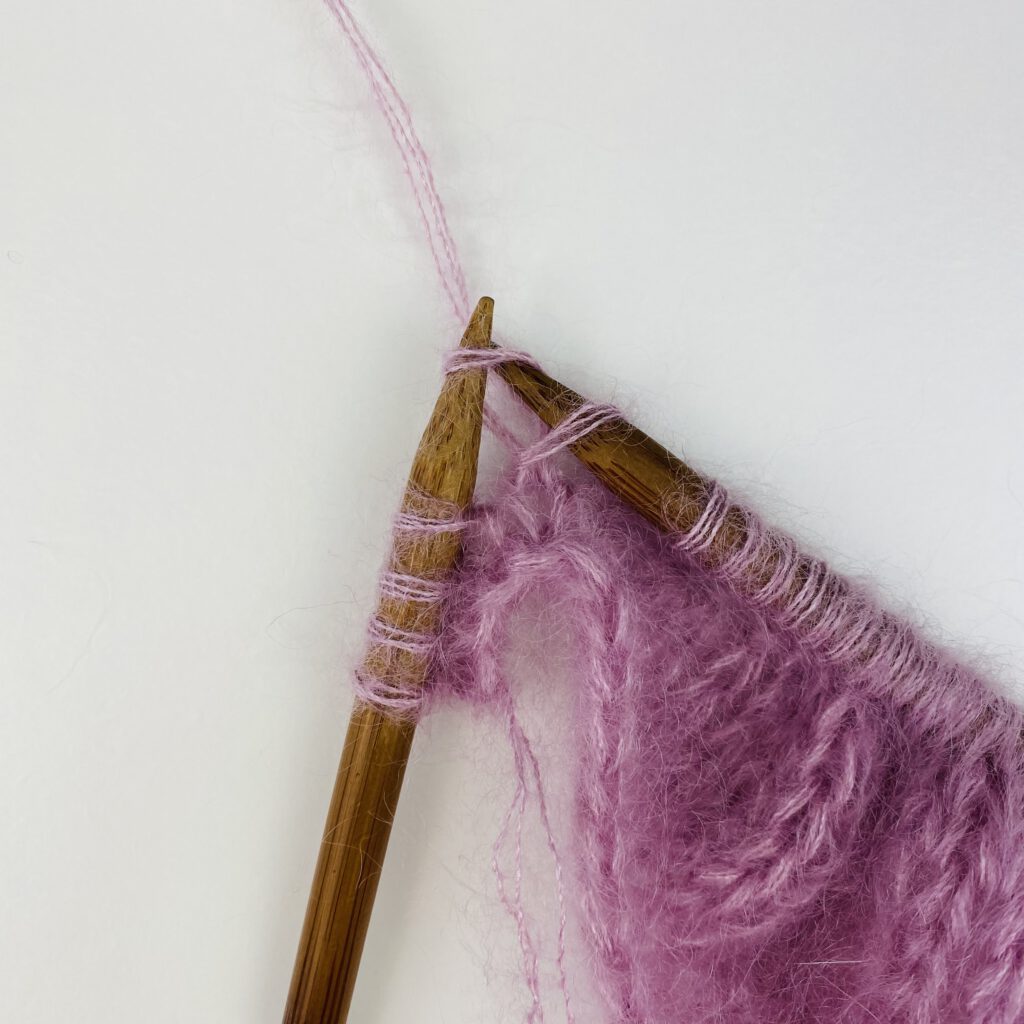
Bild 1/3: … mit der rechten Masche …
// Picture 1/3: … with the stitch …
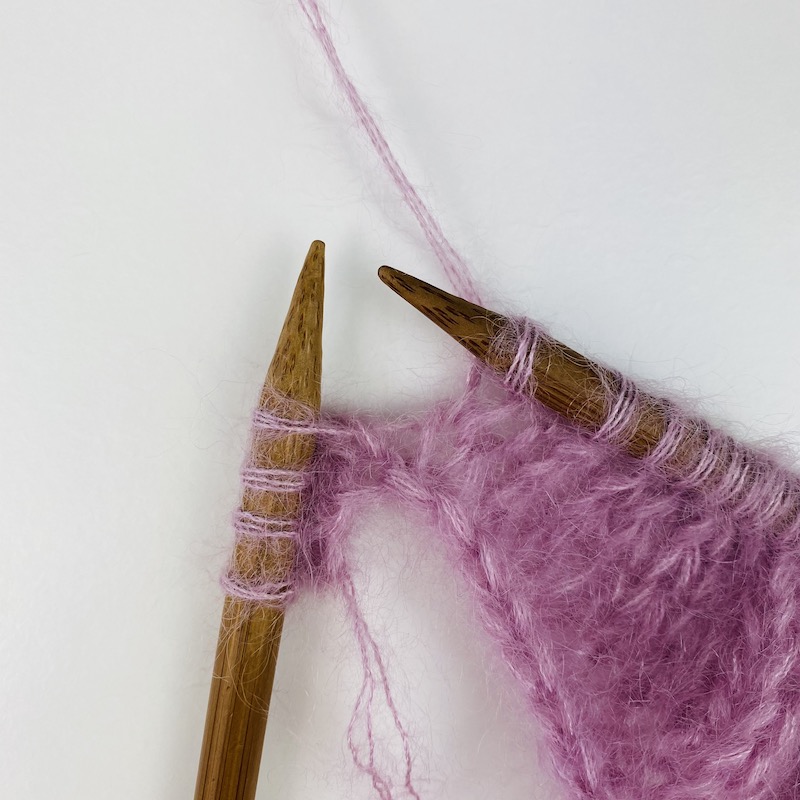
Bild 1/3: … zusammen stricken.
// Picture 1/3: … knit together.
(1b) Zunahmen V-Ausschnitt // Increases V-neck
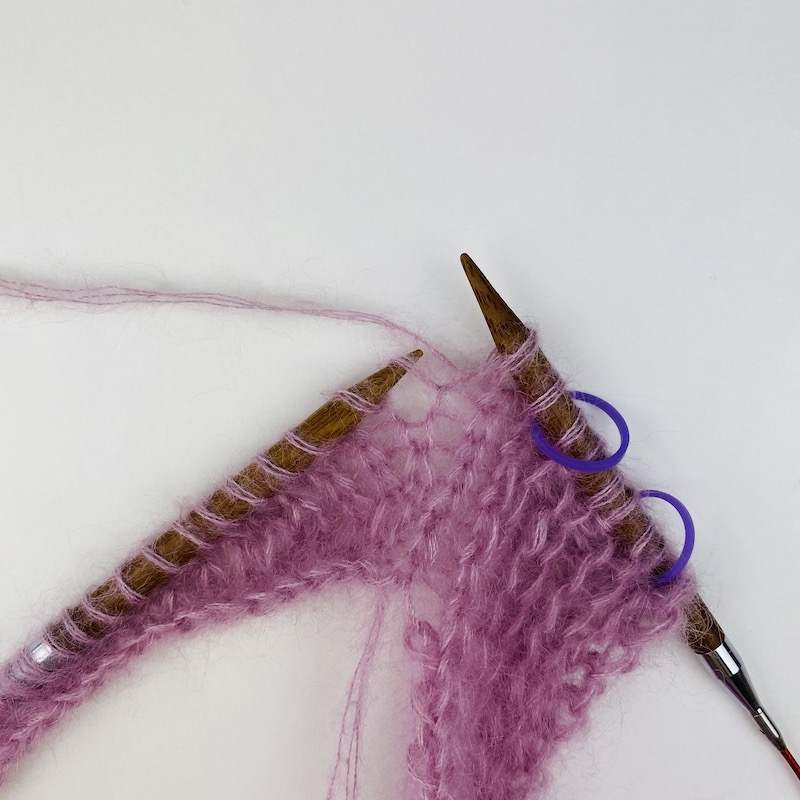
// Picture 1/3: At the beginning of a row pic up the bar between 2 stitches, bringing the needle from front to back
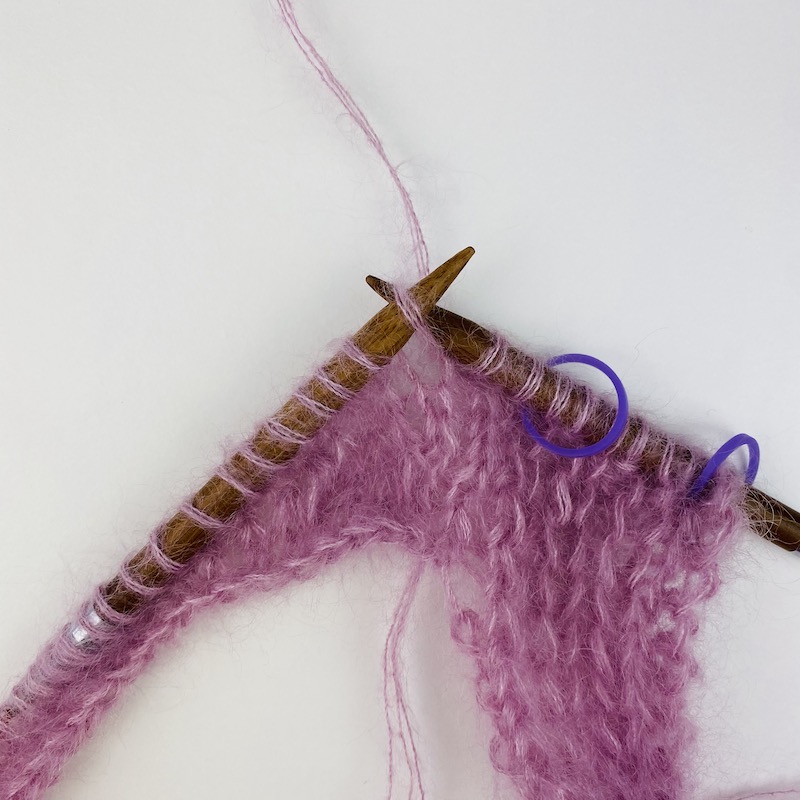
// Picture 2/3: … knit it through the back loop …
(1c) Abnahmen Armausschnitt // Decreases Armhole Opening

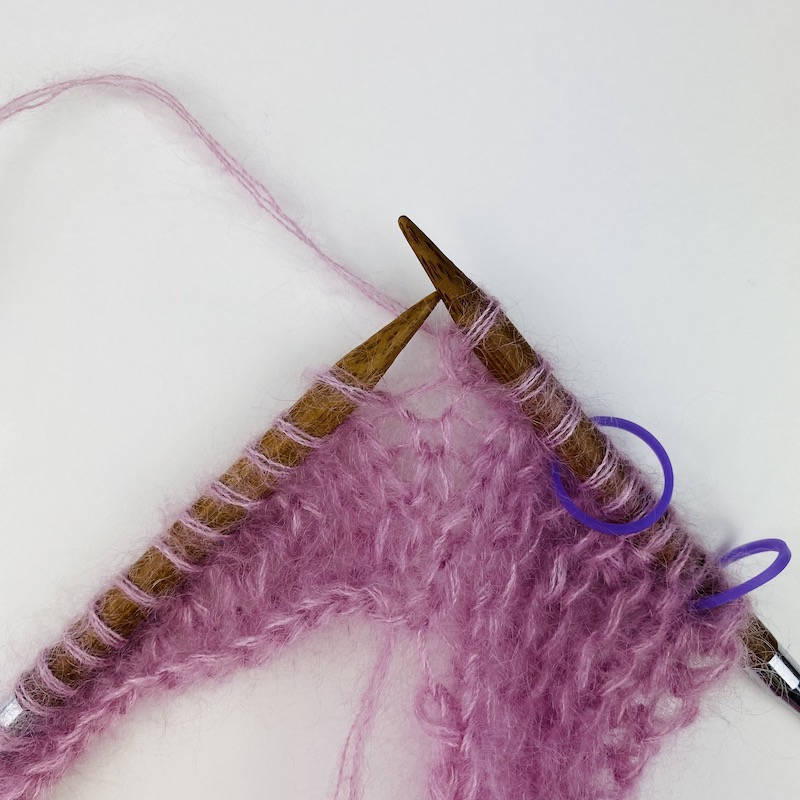
// Picture 1/2: Decreases for the armhole opening at the end of the right side row …


